The run stopped at injection 47 with Error 0x0402 “Vial not found” on a Agilent 1260 Infinity II, and the tray had 96 vials in it. The vial the needle was hunting for sat 0.8 mm low in its position because the tray had been swapped between two instrument stacks without a re-teach, and the gripper’s pickup window is tighter than most people assume. That is the shape of most autosampler vial pickup error and misalignment calls I get: the vial is fine, the geometry around it is not, and the instrument reports something that sounds like a vial problem.
This article is about the mechanical interface between the vial and the autosampler. Tray height, gripper tolerance, cap seating, and the error codes that each misalignment throws. I am not going to talk about septum polymer chemistry here; that is a separate problem with a separate signature.
The pickup window is measured in fractions of a millimetre, and the vial is only one contributor
A modern autosampler does not grab a vial by feel. It moves the gripper to a taught coordinate, closes the jaws to a fixed stroke, lifts, and checks whether the load cell or the encoder saw the expected mass or travel. If it did not, you get an error. The tolerance stack that decides pass or fail has four contributors: the tray position relative to the instrument frame, the nest or well depth, the vial’s own height and diameter, and the cap’s seated height. Any one of them can eat the whole budget.
On a typical 12 x 32 mm vial, the dimensional standard (GPI 12-400 finish, and the dimensional block in Hplc Vial specifications from most suppliers) allows a body height of 32.0 mm ± 0.3 mm and an outside diameter of 12.0 mm ± 0.2 mm. That is a 0.6 mm height window before you touch anything else. If your tray is 0.5 mm out of position and your vial sits at the low end of the height window, you are already outside what many grippers will accept.
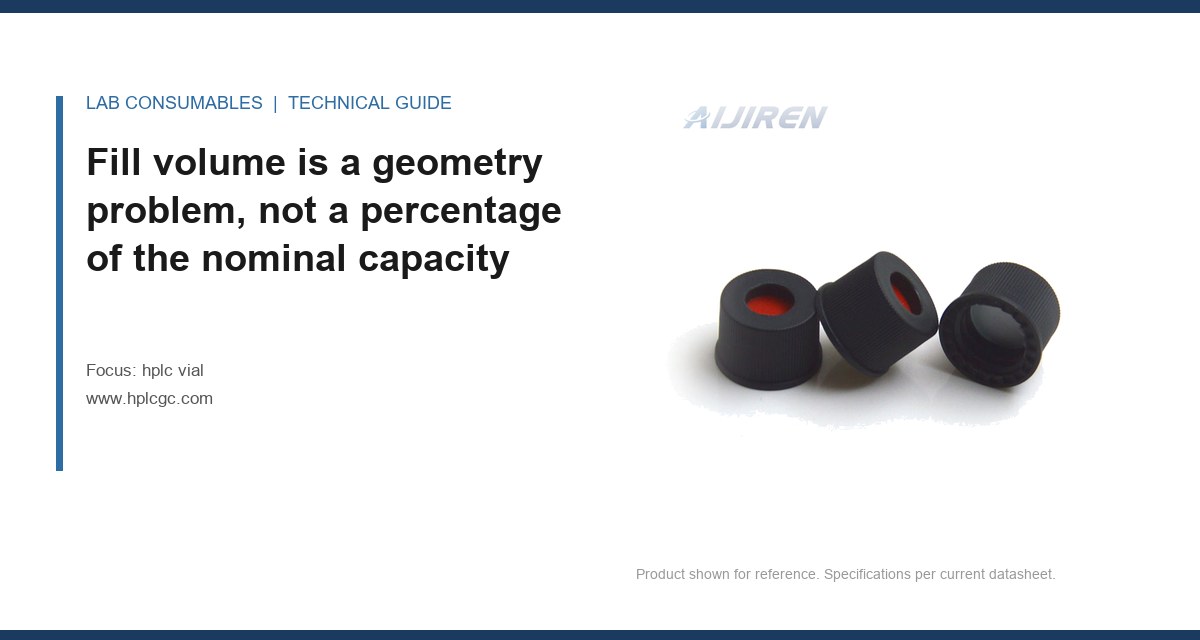
The gripper itself usually has a jaw opening stroke of 13.5 to 14.5 mm on a 12 mm vial, and it wants to close on the body between roughly 3 and 12 mm above the base. If the cap is not fully seated, the gripper can close on the cap skirt instead, and the lift either fails or the vial tips in the jaws. I have seen a partially seated crimp cap add 1.2 mm to the effective height of a vial and push it out of the pickup window on a tray that was otherwise perfect.
Error codes tell you which part of the tolerance stack failed
Vendors do not publish a universal code list, but the families are consistent enough to be useful. Here is what I have mapped across the instruments I service most often.
| Instrument family | Typical error text or code | What it usually means |
|---|---|---|
| Agilent 1260/1290 ALS | Vial not found / gripper error / 0x0402 family | Tray height out of teach, or vial below the pickup plane |
| Agilent 7697A headspace | Vial not detected in position | Nest depth or cap height mismatch, often a different cap style |
| Waters Alliance/e2695 | Carousel position error / vial missing | Carousel detent or nest wear, or vial seated at an angle |
| Thermo Vanquish / AS-i | Vial pickup failed / plate not detected | Tray not fully latched, or plate height offset not re-taught |
| Shimadzu SIL-30 series | Rack error / vial detection failure | Rack seated high, or vial diameter at the low end of tolerance |
The pattern is consistent: a “vial not found” on a tray that is loaded correctly almost always points to tray height or vial height, not to the vial being absent. A “pickup failed” that happens after a successful grip points to the gripper losing the vial, which is a diameter or cap-seating problem. If you log the error code alongside the tray position, you can usually bin the failures into height versus diameter within a day of data.
Tray height and the re-teach you skipped
Tray height is the single most common cause of pickup errors I see, and it is almost always an operator decision, not a manufacturing defect. Trays get swapped between instruments, stacked on top of a second tray, or replaced with a third-party tray that is dimensionally correct but sits a fraction lower because the locating pin is worn. The instrument was taught against one tray and is now working with another.
The fix is boring and it works: re-teach the tray any time the tray, the plate, or the instrument stack changes, and verify with a physical check. Put a vial in the first, middle, and last position, command a pickup on each, and watch the gripper close. If the jaws close on air or the vial lifts with a visible tilt, the tray height is wrong. A 0.5 mm shim under the tray locating feet will often bring a low tray back into the pickup window; a high tray usually needs the plate re-seated rather than shimmed.
Gripper tolerance and the diameter window
The gripper tolerance is where the vial’s own diameter spec matters. A 12.0 mm ± 0.2 mm vial can be 11.8 mm at the low end. On a gripper set up for a nominal 12 mm body, an 11.8 mm vial can slip during the lift, especially if the jaw pads are worn or glazed. The symptom is a pickup that succeeds, followed by a “vial dropped” or a needle strike on the next move.
I check gripper jaw condition every six months. Worn pads show as a polished, shiny surface where the vial body contacts. If the pads are glazed, replace them; a new set of pads costs less than one lost sequence. If your vials are consistently at the low end of the diameter window, that is a supplier conversation, not an instrument adjustment.
Cap seating is a height problem disguised as a closure problem
Everyone treats cap seating as a seal question. On the autosampler side it is a height question. A crimp cap that is not fully rolled, or a screw cap that is cross-threaded, adds height above the vial body and changes where the gripper contacts the vial. On a headspace instrument, where the vial is gripped and transferred to a pressurised oven, that extra height can prevent the vial from seating in the transfer position, and you get a “vial not detected” on an instrument that has nothing wrong with it.
For crimp caps, the roll should be even around the full circumference and the cap skirt should sit flush against the vial shoulder. I use a simple check: stand the capped vial on a flat surface and look across the top. A cap that rocks by more than about 0.3 mm at the edge is not seated. For screw caps, hand-tight plus a quarter turn is the working rule; a torque wrench at 0.8 to 1.2 N·m is the reproducible version if you are running a validated method and need to defend it. Over-torquing deforms the cap and can push the septum into the neck.
This is also where the choice of vial matters. A Autosampler Vial with a moulded-in neck finish holds its cap height more consistently than one where the finish is cut after moulding, because the thread geometry is set by the tool rather than the finishing operation. If you are chasing intermittent cap-height failures, compare the neck finish across your lots before you blame the capper.
Two field cases where the measurement found the fault
Case 1: the 0.8 mm tray offset that failed one position in twelve
A contract lab running a Waters e2695 reported intermittent “carousel position error” on position 7 only, roughly twice a week. The carousel was clean, the vials were the usual lot, and the error moved with the carousel, not the vial. I measured the carousel detent height at all twelve positions with a dial indicator: position 7 sat 0.8 mm lower than the rest because the detent spring had fatigued. The gripper could still pick up most vials because the diameter tolerance absorbed the offset, but a vial at the low end of the height window on that position fell outside the pickup range. The fix was a new detent spring and a re-teach; the error rate went to zero over the next month. The lesson is that a position-specific error is a tray or carousel problem, not a vial problem.
Case 2: the headspace cap that added 1.2 mm and stopped a transfer
A food testing lab running a Agilent 7697A started getting “vial not detected in position” on about 4% of vials, always on the transfer station, never on the tray. The vials were a new lot from a supplier they had used for years. I measured cap height on 30 vials from the lot: the crimp caps averaged 1.2 mm taller than the previous lot because the cap skirt was 0.4 mm longer and the roll was not fully closing it. The vials were within dimensional spec for the body, but the cap stack was not within the transfer station’s clearance. The fix was a capping tool adjustment and a lot return; the instrument needed nothing. That is a cap-seating failure that presented as an instrument error.
A decision checklist for the next pickup error
Work top to bottom and stop at the first check that fails. This is the sequence I use on a service call, and it resolves most cases before I open the instrument.
- Is the error position-specific? If yes, suspect the tray, carousel, or nest at that position. Measure the nest depth with a depth gauge; it should be consistent within 0.2 mm across the tray.
- Is the error lot-specific? If yes, measure vial height and diameter across 20 vials from the lot. Compare against the supplier’s tolerance block, not against the nominal.
- Is the error cap-style-specific? If yes, measure cap seated height on 10 vials. A rock of more than 0.3 mm means the cap is not seated.
- Has the tray or plate changed since the last successful run? If yes, re-teach and verify with a pickup on the first, middle, and last position.
- Are the gripper pads glazed or worn? If yes, replace them. This is a consumable, not a repair.
- Is the vial diameter at the low end of the window? If yes, check whether the gripper closes on the body or slips. A slip during lift is a diameter problem.
- Is the vial height at the low end of the window? If yes, check tray height. A low tray plus a low vial is the most common combination I see.
If none of these checks fail, you are into the instrument’s own teach parameters, and that is a service call. The point of the checklist is to keep you from calling service for a problem that a depth gauge and a shim will fix.
What the standards actually require, and what they leave to you
The dimensional requirements for a 12 x 32 mm vial are set by the GPI 12-400 finish and the supplier’s own tolerance block. U.S. EPA SW-846 test methods treat the sample container as part of the method, which means the vial’s fit is part of the method’s mechanical assumptions, not an accessory. If your method was validated on one vial lot and you switch lots, the fit is part of what changed. That is worth a line in your change control, even if the chemistry is identical.
For headspace work, the clearance in the transfer station is set by the instrument, not by a public standard, so the only defence is measuring cap height on incoming lots. A Headspace Vial with a controlled cap height is worth the premium if you are running unattended sequences overnight. The failure mode is a stopped sequence at 2 a.m., and the cost of that is not the vial.
For general HPLC work, the dimensional block in the supplier’s spec sheet is the document you actually need. If a supplier cannot give you a tolerance block with a stated window on height, diameter, and neck finish, you cannot predict whether the vial will fit your instrument. That is a procurement problem before it is a technical one. The Vial range from a supplier who publishes the tolerance block is the safer starting point, and the Agilent chromatography consumables documentation is a useful cross-check on what the instrument expects.
The fix is usually a measurement and a re-teach, not a new vial
Most of the pickup errors I get called for are resolved by measuring the tray, the vial, and the cap in that order, and then re-teaching the tray. The vial is the last thing to blame and the first thing to be blamed. If you take one thing from this, take the sequence: position-specific errors are tray or carousel problems, lot-specific errors are dimensional problems, and cap-style-specific errors are seating problems. Measure before you swap lots, and re-teach before you call service.
The decision rule I use is this: if the error moves with the tray, fix the tray; if it moves with the lot, fix the lot; if it moves with the cap, fix the capper. A vial that fails the pickup on a tray that passes the depth check and a lot that passes the height check is not the problem, and replacing it will not fix the run. The instrument’s teach parameters and the tray’s locating hardware are where the remaining tolerance lives, and that is where the fix usually is.
References & further reading
Related resources from our lab consumables network:
- Hplc Vial at hplcgc.com
- Autosampler Vial at autosamplerhplc.com
- Vial at vials-filters.com
- Headspace Vial at headspacevialsupplier.com
External references and standards: