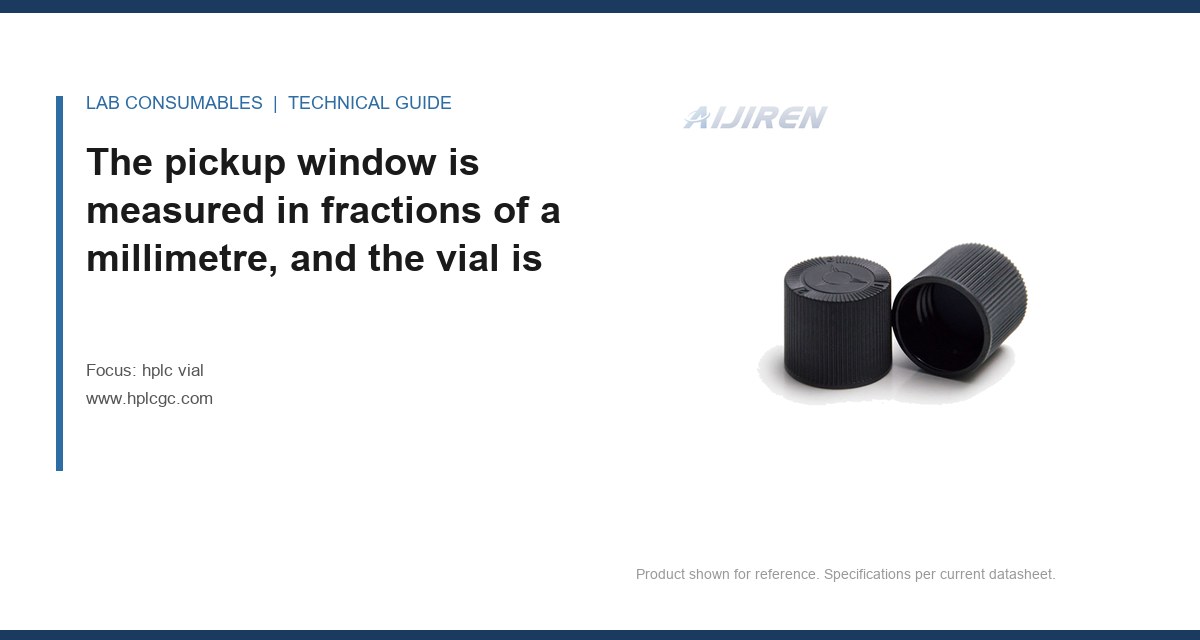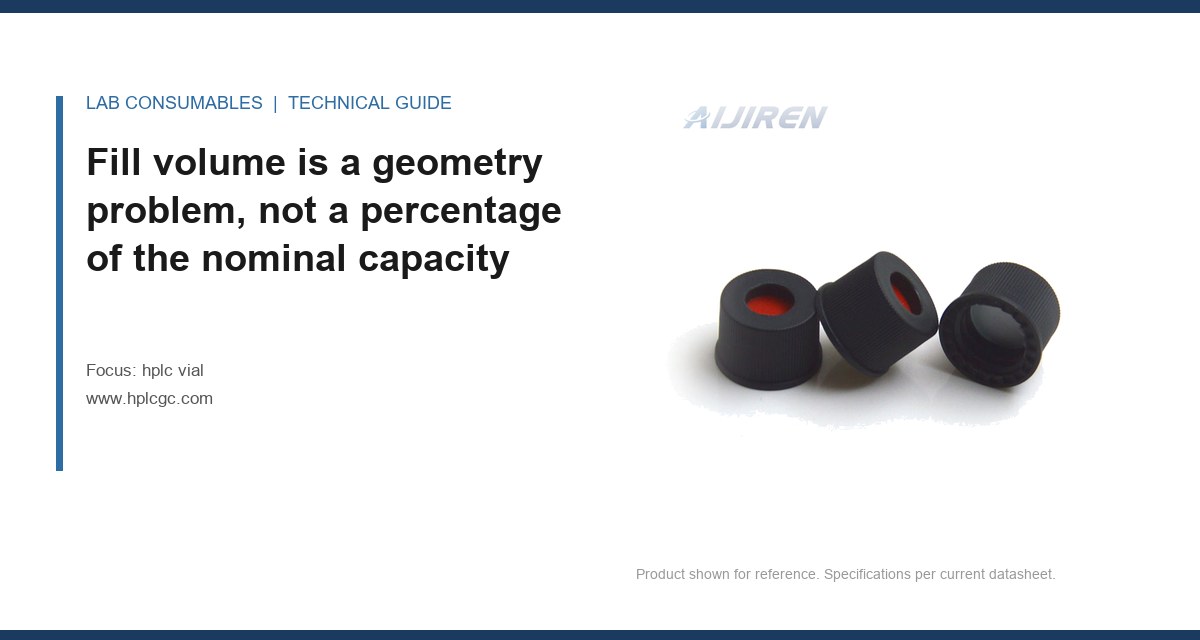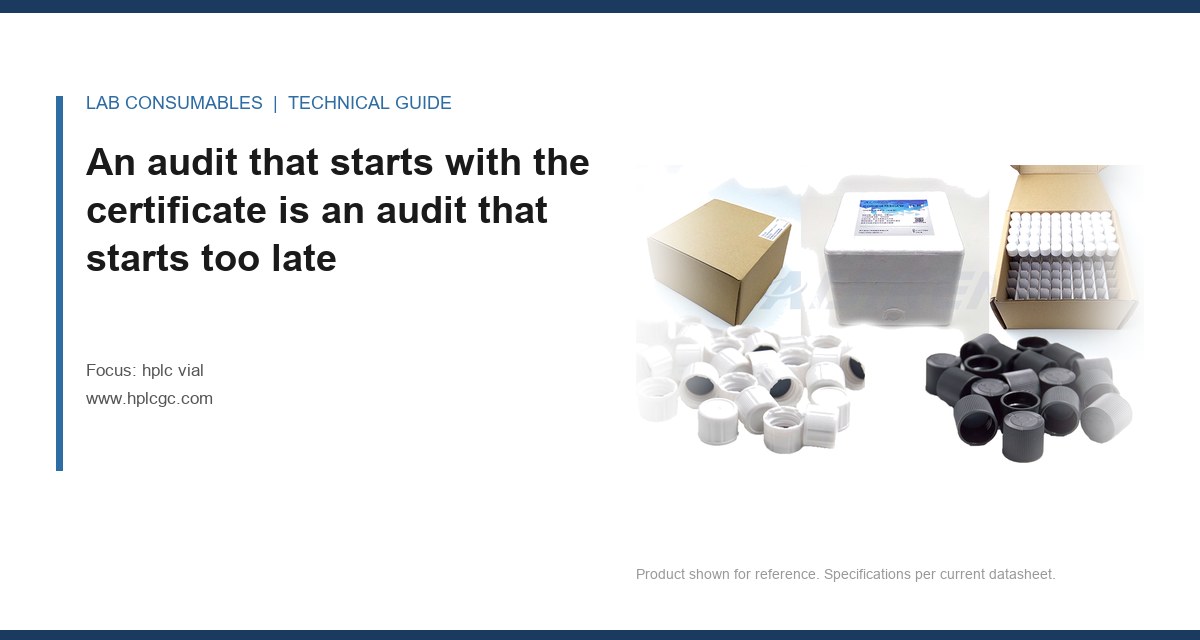
A 6-point drift in the internal standard response, first noticed on injection 41 of a 96-vial sequence, traced back to a supplier change on the 9 mm screw cap: the new septa were 0.5 mm thinner, and the autosampler’s torque setting was seating them 0.3 mm shallower than the old lot. Nothing in the chromatogram looked wrong until you plotted ISTD area against vial position. That is the shape of most revalidation triggers when an HPLC vial supplier or lot changes: not a failed system suitability run, but a slow drift that only shows up when you slice the data by consumable lot. This article is about the decision tree that follows, and how to document it so an inspector reads the entry and moves on.
Before you can decide whether revalidation is required, you need to know what physically differs between the old lot and the new one. In my experience running consumable qualification for a contract lab, five variables account for almost every real-world effect:
- Septum thickness and durometer. A 9 mm silicone/PTFE septum typically runs 1.0 mm nominal thickness, 45 to 55 Shore A. A shift of 0.2 mm in thickness or 5 points in durometer changes how the needle seats and how much the cap compresses.
- Septum formulation. Silicone vs. silicone with a different cure, or a switch from PTFE-faced to PTFE-laminated, changes extractables and needle drag.
- Neck geometry and crimp or screw dimension. A 11 mm crimp neck that is 0.1 mm out of tolerance changes seal integrity. A screw thread that is 0.05 mm tighter changes the torque-to-seal relationship.
- Glass class and interior finish. Type I borosilicate vs. Type I with a different annealing profile changes surface silanol activity, which matters for basic analytes at low pH.
- Lot-level cleanliness and packaging. A supplier that changes its washing line or its cleanroom classification introduces particle and extractable variability that is invisible until you run a blank.
If the change is confined to one of these, you can scope the response. If two or more move at once, you are looking at full revalidation, not verification. The HPLC vial is not a passive container in this analysis; it is a component of the sample introduction path, and each of these variables feeds directly into the peak area RSD you report on the certificate of analysis.
Which changes force revalidation, which only need verification, and which need nothing
The mistake I see most often is treating every supplier change as a revalidation event. That wastes weeks and annoys everyone. The opposite mistake, treating every change as “just a new lot,” is what gets you a 483. Here is the decision rule I use, and it has held up through three FDA inspections and two ISO 17025 audits.
Full revalidation is required when
- Glass class changes (Type I to Type II, or a different manufacturer’s Type I with a different annealing profile). Surface chemistry affects adsorption of basic compounds. You need accuracy, precision, LOD/LOQ, and a stability check at the low end of the calibration range.
- Septum formulation changes (silicone to silicone/PTFE laminate, or a different cure system). Extractables profile changes; you need blank runs, carryover, and a 24-hour extractables screen at your method’s injection volume.
- Neck or thread dimension changes beyond the tolerance block on the drawing. Seal integrity is now in question; you need a leak test (pressure decay or dye ingress) plus precision at the autosampler.
- Supplier changes entirely, even with an identical drawing. Different molding line, different annealing oven, different washing line. Treat as a new component.
Verification only (no revalidation) is sufficient when
- Same supplier, same drawing, new lot, with a certificate of analysis that confirms septum thickness, durometer, glass class, and dimensional conformance within the same tolerance block. Run a system suitability check and a 6-injection precision run at your mid-calibration level. If RSD is within 20% of your historical value, you are done.
- Packaging change (bag count, box format) with no change to the vial or closure.
- Color or marking change on the cap, provided the resin is the same.
No action required when
- Same lot, new box.
- Supplier’s internal process change that does not alter the certificate of analysis or the drawing revision.
The key discipline is demanding a drawing revision number and a certificate of analysis with measured values, not pass/fail. A certificate that says “conforms” tells you nothing. A certificate that says “septum thickness 1.02 mm, durometer 48 Shore A, neck ID 6.00 mm” lets you compare to the previous lot and decide in an afternoon.
A decision table for the change-control entry
This is the table I paste into the change-control record. It gives the inspector a defensible rationale in one page.
| Change type | Risk to method | Required action | Acceptance criterion |
|---|---|---|---|
| New lot, same drawing, same supplier | Low | System suitability + 6-injection precision | RSD ≤ 1.5% (or ≤ 20% above historical) |
| Septum thickness change ≤ 0.1 mm | Low | Verification + torque check on 10 caps | Torque within 0.8–1.2 N·m for screw caps |
| Septum thickness change > 0.1 mm | Medium | Precision + carryover + blank | Carryover ≤ 0.5% of LOQ peak area |
| Septum formulation change | High | Full revalidation (accuracy, precision, LOD/LOQ, extractables) | Per method validation protocol |
| Glass class change | High | Full revalidation + adsorption study at low concentration | Recovery ≥ 95% at LOQ |
| Neck/thread dimension change | High | Leak test + precision + autosampler pickup check | Zero leaks in 50-vial test; RSD ≤ 1.5% |
| New supplier, identical drawing | High | Full revalidation | Per method validation protocol |
The torque range in the table is for 9 mm screw caps on a typical autosampler; crimp caps are a different story and depend on the crimper jaw setting. If you are running autosampler vial closures at the high end of that range, you are compressing the septum and shortening the puncture life. I have seen septa fail at 40 punctures when they should have gone 100 because the torque was 1.4 N·m.
Two field cases where the lot change was the cause
Case 1: the 0.5 mm septum that moved the internal standard
Symptom: ISTD area dropped 6% across a 96-vial sequence, with the drop correlating to vial position, not analyte.
Measurement: We measured septum thickness on 20 caps from the new lot with a digital micrometer: mean 0.98 mm vs. 1.48 mm on the old lot. The autosampler’s cap-seating station was calibrated for the old thickness, so the needle was penetrating 0.5 mm less, and the septum was not fully compressed against the neck. The result was a partial seal and slow evaporation of the more volatile internal standard.
Fix: Recalibrated the seating station, re-ran the sequence, ISTD drift dropped to 1.2%. We added septum thickness to the incoming inspection plan at 10 caps per lot, and we now require the supplier to report measured thickness on the certificate.
Case 2: the glass lot that adsorbed the amine
Symptom: A method for a secondary amine at 50 ng/mL lost 15% recovery at the low calibrator, but only on vials from one pallet.
Measurement: We ran a silanol activity test (a basic dye adsorption assay) on 10 vials from the suspect pallet and 10 from a known-good pallet. The suspect vials showed 2.3× the dye uptake. The supplier had changed its annealing oven profile without a drawing revision, and the surface silanol concentration had increased.
Fix: Full revalidation was triggered, the supplier was put on a tighter annealing specification, and we added a silanol activity check to the incoming inspection for that method family. The vial is not inert by default; you have to specify the surface, not just the glass class.
Writing the change-control entry so an inspector accepts it
An inspector does not want a narrative. They want to see that you identified the change, assessed the risk, defined the action, executed it, and accepted the result against a pre-defined criterion. The entry needs six elements, in this order:
- Change description. “Supplier X, lot 2405A, 9 mm screw cap, septum thickness 0.98 mm vs. previous lot 1.48 mm.” Numbers, not adjectives.
- Risk assessment. One paragraph tying the change to the method. Reference the specific method parameter affected (seal integrity, extractables, adsorption).
- Action taken. “System suitability per SOP-1234, 6 injections, mid-calibrator, acceptance RSD ≤ 1.5%.”
- Result. The actual numbers. “RSD 0.8%, ISTD drift 1.2% over 96 injections.”
- Acceptance decision. “Accepted. No revalidation required per change-control matrix row 2.”
- Follow-up. “Septum thickness added to incoming inspection at 10 caps/lot.”
The single most common failure I see is a change-control entry that says “new lot evaluated, no impact” with no numbers. That is an invitation to a 483. The second most common is an entry that revalidates everything because the author did not have a risk matrix, which wastes time and signals to the inspector that you do not understand your own method.
One more point: the change-control entry should reference the method validation report revision, not just the method number. If the validation report has a section on consumable criticality, cite it. If it does not, that is a gap you should close at the next method review.
Where the standards and compendia actually help
USP SW-846 and the EPA’s waste testing program treat the sample container as part of the method, which gives you a defensible precedent for treating the vial as a critical consumable. For HPLC methods, USP <621> is the hook that makes the vial part of the chromatographic system. I am not going to re-litigate the chapter text here; the point is that you can cite it in the change-control entry to justify why a supplier change is a method change, not a purchasing change.
For the dimensional side, ISO 2859-1 gives you the sampling table for incoming inspection, and the GPI 12 x 32 mm dimensional standard gives you the tolerance block. If your supplier cannot produce a drawing that conforms to GPI, that is a supplier problem, not a method problem, and the change-control entry should say so.
Equipment vendors publish useful technical notes on this. Agilent’s consumables documentation and Thermo Fisher’s sample handling resources both have application notes on septa and vial effects that you can cite. Restek’s technical library has a particularly good piece on septum bleed and needle coring that I have used in training. None of these replace your own data, but they support the risk assessment.
The verification run: what to measure and how many injections
When verification only is required, I run a 12-injection sequence: 2 blanks, 1 system suitability injection, 6 mid-calibrator injections, 1 low-calibrator injection, 1 carryover blank, and 1 high-concentration injection followed by a blank. That is enough to catch precision drift, carryover change, and adsorption at the low end.
Acceptance criteria that have served me well:
- Precision: RSD ≤ 1.5% on 6 injections at mid-calibrator, or ≤ 20% above the historical RSD from the previous lot, whichever is tighter.
- Carryover: ≤ 0.5% of the LOQ peak area in the blank following the high injection.
- Adsorption: recovery ≥ 95% at the low calibrator vs. the historical mean.
- Seal integrity: zero leaks in 50 vials on a pressure-decay test, or zero dye ingress in 50 vials on a dye test.
- Torque: 0.8 to 1.2 N·m for 9 mm screw caps, measured on 10 caps with a calibrated torque tester.
If any of these fail, you escalate to revalidation. If all pass, the change-control entry closes with the numbers attached. That is the whole decision rule.
What to do when the supplier cannot give you measured values
Some suppliers will only issue a certificate of conformance, not a certificate of analysis with measured values. That is a red flag, but it is not automatically disqualifying. The workaround is to build the measurement into your incoming inspection: septum thickness on 10 caps, durometer on 5, dimensional check on 10, and a silanol activity check if your method is sensitive to it. That adds maybe 45 minutes per lot. If you are running 20 lots a year, that is 15 hours, which is cheaper than a failed audit or a batch of samples you have to re-run.
If the supplier cannot give you a drawing revision number, that is disqualifying. You cannot assess a change you cannot define. I have walked away from two suppliers over this, and I would do it again.
The decision rule, stated plainly
If the change is confined to a new lot from the same supplier, same drawing revision, with measured values on the certificate that fall inside the previous lot’s range, run the 12-injection verification and close the change-control entry with the numbers. If the change touches glass class, septum formulation, neck dimension, or the supplier itself, run full revalidation against the method validation protocol and cite the change-control matrix row in the report. Anything in between gets the decision table, a risk paragraph, and a verification run sized to the risk. The inspector is not looking for revalidation every time; they are looking for a documented reason why you did or did not. Give them the numbers, and the entry closes itself.
References & further reading
Related resources from our lab consumables network:
- Hplc Vial at hplcgc.com
- Autosampler Vial at autosamplerhplc.com
- Vial at vials-filters.com
- Headspace Vial at headspacevialsupplier.com
External references and standards: