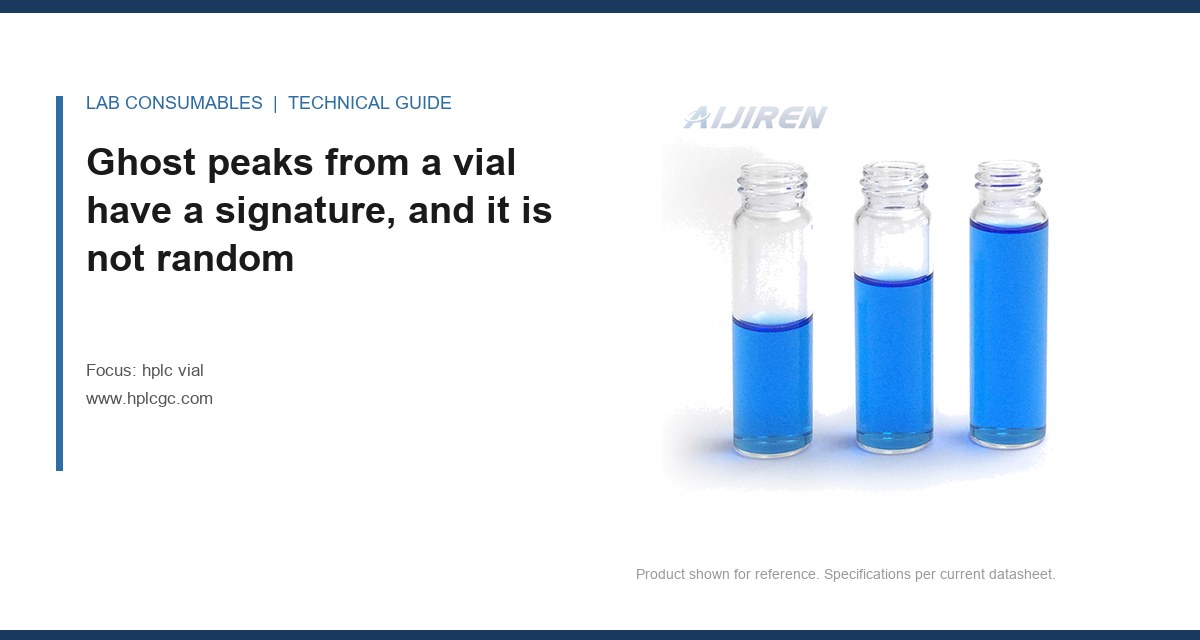
A 20 µL injection of mobile A on a Tuesday morning gave me 11 peaks where there should have been two, and the largest of them had an area RSD of 6.8% across six consecutive blanks. The column was three weeks old. The water was fresh. The ghost peaks traced back to a box of 2 mL clear glass vials with a silicone/PTFE septum that had been sitting on an open shelf next to a bottle of toluene since the previous Thursday. That is what HPLC vial ghost peaks and extractables look like when you finally catch them: not a single dramatic contaminant, but a slow bleed from a polymer that was never meant to see that solvent.
This article is about the chemical side of vial contamination: which materials release which compounds, at what temperature, into which solvent, and how to prove it with blank and placebo injections instead of guessing. If your problem is a septum that leaked or a cap that would not seat, that is a different failure mode and I am not covering it here.
Contaminant peaks from the container behave differently from sample peaks and differently from mobile phase contamination. Learn the signature and you will save yourself a week of column swapping.
Vial-derived peaks tend to grow with injection count when the same vial is sampled repeatedly, because each needle stroke exposes fresh septum surface to solvent vapor. They often appear in the same retention window across different samples run from the same lot of vials. They frequently vanish when you switch to a different lot number, which is the single most useful diagnostic you have. And their area scales with the solvent’s ability to swell the polymer, so an acetonitrile method will show more of them than a methanol method on identical vials.
Mobile phase contamination, by contrast, is usually steady across the run and shows up in the blank no matter which vial you use. Carryover from the previous injection decays with rinse volume and does not care about vial lot. If you want a deeper treatment of the vial as part of the method, the site has covered HPLC vial fundamentals elsewhere; this piece stays on the extractables chemistry.
What actually bleeds out of each material, and at what temperature
Four materials touch your sample in a standard 2 mL vial: the glass body, the septum, the cap polymer, and (for some products) a liner or a bonded coating on the septum. Each has a distinct extractables profile. The numbers below come from my own blank-injection work and from the extractables literature published by the major consumables vendors, including the technical notes Agilent publishes on chromatography consumables.
Type I borosilicate glass
Borosilicate is the least troublesome of the four and the least interesting to talk about. Hydrolytic class I glass releases trace sodium and boron at the parts-per-billion level, and those ions are invisible to a UV detector at 254 nm. The real glass problem is not the glass itself but what is on it: residual mold-release agents and cutting oils from the forming line, plus sodium from the fire-polishing step. A vial that has not been properly washed will show a broad hump at the solvent front and, in gradient runs, a rising baseline in the 200 to 220 nm region. At 210 nm, an unwashed vial can add 0.5 to 2 mAU of baseline drift across a 20-minute gradient. Washed and depyrogenated vials bring that under 0.2 mAU.
Silicone septum
This is where most ghost peaks come from. Silicone is a polydimethylsiloxane, and it bleeds low-molecular-weight cyclic siloxanes: primarily D4, D5, D6, D7 and the linear oligomers between them. These elute in the 250 to 400 °C range on GC and, on reversed-phase HPLC with a C18 column and acetonitrile/water, they tend to appear as a cluster of small peaks between 60% and 80% organic. They also show up in the 200 to 215 nm window on UV because the Si-O backbone absorbs weakly there.
The bleed rate is strongly temperature-dependent. At 25 °C in a sealed vial, silicone extractables into acetonitrile are typically below 5 µg/mL over 24 hours. At 40 °C they roughly double. At 60 °C, which is where many autosamplers sit when someone sets the tray temperature and forgets it, you can see 20 to 40 µg/mL of siloxane oligomers in 24 hours. If you are running a method at 40 °C tray temperature for a stability study, your septum is a reagent.
PTFE and PTFE-faced septa
PTFE is the most inert septum material you can buy and the one I recommend for any method with a tray temperature above 30 °C or any solvent more aggressive than methanol. Pure PTFE septa are soft and prone to coring (a mechanical problem, not this article’s subject), so most products are a silicone core with a PTFE face on the sample side. The PTFE face blocks silicone migration into the sample as long as it is intact. Once the needle has punched it 3 to 5 times, the face is compromised at the puncture site and silicone starts migrating through. A pre-slit PTFE/silicone septum gives you a clean path but also a wider exposure window.
PTFE itself does release trace fluorocarbons and, in some formulations, residual perfluorinated processing aids. These are usually below detection on UV but can show on LC-MS in negative mode. If you are running trace-level PFAS work, PTFE is the wrong septum and you need to talk to your vendor about a specialty product.
Butyl and bromobutyl rubber
Butyl rubber septa are common in headspace and in some pharmaceutical closures. They bleed antioxidants, vulcanization accelerators, and plasticizers: BHT, zinc stearate, and various thiuram and thiazole compounds. On HPLC-UV these show as late-eluting peaks in the 70 to 90% organic region. On LC-MS they are ionization suppressants and will quietly kill your sensitivity without producing a visible peak. If you are running a headspace method, the headspace vial selection matters as much as the HPLC vial because the septum sees the same solvent vapor at higher temperature.
Polypropylene caps and liners
Polypropylene is a relatively clean polymer but it contains antioxidants (typically Irganox 1010 and 1076) and slip agents (erucamide, oleamide). These extract slowly into organic solvents and appear as late-eluting peaks. Erucamide in particular is a classic ghost peak in the 85 to 95% organic window on a C18 method. The extraction rate is low, on the order of 1 to 3 µg per cap per 24 hours in acetonitrile at room temperature, but if your method has a 0.05% limit and you are injecting 20 µL from a 1 mL fill, that is enough to fail a blank.
| Component | Principal extractables | Bleed at 25 °C | Bleed at 40 °C | Bleed at 60 °C | UV window (nm) |
|---|---|---|---|---|---|
| Type I borosilicate glass (washed) | Na, B, trace cutting oils | <0.2 mAU drift | <0.3 mAU | <0.5 mAU | 200 to 220 (baseline) |
| Silicone septum (uncoated) | D4–D7 cyclic siloxanes, linear oligomers | <5 µg/mL | 10 to 15 µg/mL | 20 to 40 µg/mL | 200 to 215 |
| PTFE-faced silicone septum (intact) | Trace fluorocarbons | <1 µg/mL | <1 µg/mL | <2 µg/mL | <200 (LC-MS neg.) |
| Butyl rubber septum | BHT, zinc stearate, thiurams | 2 to 5 µg/mL | 5 to 10 µg/mL | 10 to 25 µg/mL | 250 to 280 |
| Polypropylene cap | Irganox 1010/1076, erucamide | 1 to 3 µg/cap | 2 to 5 µg/cap | 5 to 10 µg/cap | 220 to 260 |
These are order-of-magnitude figures from my own lab and from vendor technical notes; your solvent, fill volume, and headspace will move them. The point is the ranking, not the last digit. Silicone is the dominant source in most labs, and temperature is the dominant variable.
Solvent choice changes the bleed rate more than most people expect
The same vial that is clean in water can be a problem in acetonitrile. The solvent’s Hildebrand solubility parameter and its swelling behavior toward the polymer determine how fast extractables migrate. Ranked from most aggressive to least for a silicone septum:
- Dichloromethane and chloroform: severe swelling, rapid siloxane extraction, use PTFE-faced septa or glass-lined closures.
- Tetrahydrofuran: severe swelling, similar to DCM.
- Acetonitrile: moderate swelling, the most common problem solvent in reversed-phase work.
- Methanol: mild swelling, generally acceptable with silicone for short contact.
- Water and aqueous buffers: minimal swelling, silicone is fine.
- Hexane and heptane: low swelling but high penetration of the septum vapor space; watch for siloxane in the headspace.
If you are running a normal-phase method in heptane with a silicone septum and a 40 °C tray, you are asking for siloxane peaks. The fix is a PTFE-faced septum and a tray at ambient.
How to isolate the source with blank and placebo injections
You do not need an LC-MS to find a vial contaminant. You need a systematic injection sequence and the discipline to change one variable at a time. Here is the sequence I use. It takes about four hours and it will tell you whether the vial is the source, and which component of the vial.
Step 1: the solvent blank in a known-good vial
Inject mobile phase or the sample diluent from a freshly opened, certified-clean vial of a lot you trust. If this blank is clean, your mobile phase and your autosampler are not the source. If it is not clean, stop here and fix the mobile phase first. Run at least six injections to get an area RSD; a clean blank should be under 2% RSD on the largest peak, and ideally you see nothing above 0.1 mAU.
Step 2: the suspect vial, same solvent
Fill a suspect vial with the same diluent and inject six times. If peaks appear that were absent in step 1, the vial is implicated. Note the retention times and compare them against the extractables table above. Siloxane clusters in the 60 to 80% organic window point at the septum. Late peaks in the 85 to 95% window point at the cap.
Step 3: the component swap
Now isolate which part of the vial. Take the suspect vial body and cap it with a septum from your known-good lot. Take a known-good body and cap it with the suspect septum. Inject both. The component that carries the contamination is your culprit. I have run this exact test and found a single lot of caps where the erucamide peak was 4.2 minutes later than the analyte and 0.8 mAU tall, which was enough to fail a 0.1% limit.
Step 4: the placebo
A placebo is your formulation without the active ingredient. Inject it from a known-good vial and from a suspect vial. If the placebo from the suspect vial shows the ghost peaks and the placebo from the good vial does not, you have proven the vial is the source in the presence of your actual matrix. This is the injection that survives an audit. Document it.
Step 5: the temperature challenge
Take the suspect vial, fill it, and hold it in the autosampler at your method temperature for 0, 4, 8, and 24 hours, injecting at each point. If the ghost peak area grows with hold time, you have a time-dependent extractable and you can now quantify the rate. A septum that adds 0.3 mAU per hour at 40 °C is a septum that will fail a 24-hour run.
Two field cases where the vial was the source
Case 1: the siloxane cluster that only appeared on the second injection
A contract lab running a stability study on a small-molecule API saw a cluster of four peaks between 12.1 and 12.9 minutes that appeared on the second injection from each vial but not the first. The first injection from each vial was clean. The peaks grew with each subsequent injection from the same vial. The method used a 40 °C tray and acetonitrile as the organic. The measurement that identified it: a blank injection sequence where the same vial was punctured six times, showing the siloxane cluster area growing from 0.02 mAU to 0.31 mAU across the six injections. The fix was a PTFE-faced septum and dropping the tray to 25 °C, which brought the second-injection cluster below 0.05 mAU. The lesson: a septum that is fine on first puncture is not fine on the fifth.
Case 2: the erucamide peak that failed the 0.1% limit
A pharma QC lab running a 0.1% impurity limit saw a single late peak at 18.4 minutes that appeared in about one in five vials from a new lot. The peak was 0.11% by area, just over the limit. The measurement that identified it: the component swap test, which showed the peak traveled with the cap, not the vial body. The cap was a polypropylene closure from a supplier who had changed their slip-agent formulation. The fix was to switch to a cap with a documented low-erucamide polypropylene and to add a cap extractables specification to the incoming QC. The lot was rejected. The supplier’s CoA had not changed; the formulation had.
Both cases share a pattern: the contamination was lot-specific, it was invisible on first injection, and it was found by changing one variable at a time. Neither required a mass spectrometer.
A decision checklist for choosing a vial that will not ghost
Use this when you are specifying a vial for a new method or investigating a contamination problem. It is not exhaustive, but it covers the decisions that actually move the bleed rate.
- Tray temperature above 30 °C? Use a PTFE-faced septum. Uncoated silicone is not acceptable above 30 °C for methods with a limit below 0.5%.
- Organic content above 60% acetonitrile, or any DCM, THF, or chloroform? Use a PTFE-faced septum and reduce contact time. Consider a glass-lined closure for DCM.
- Method limit below 0.1%? Require a vendor extractables report for the specific lot, not just the product family. Ask for the siloxane and erucamide results at your method temperature.
- LC-MS in negative mode? Avoid PTFE-faced septa if you are running PFAS or other fluorinated analytes. Ask for a fluorocarbon-free closure.
- More than 3 injections per vial? Use a pre-slit septum or accept that the puncture site will leak extractables after the third stroke. Plan your injection count accordingly.
- Long autosampler hold times (over 8 hours)? Run the temperature challenge in step 5 before you commit. A septum that is clean at t=0 can fail at t=8.
- Headspace or GC methods? The same siloxane logic applies but the temperature is higher; see the headspace vial guidance for the septum temperature ratings that matter there.
- Regulated method (USP, EPA SW-846)? Document the vial lot in the method and keep a retention sample. The U.S. EPA SW-846 test methods treat the container as part of the method for a reason.
For the mechanical side of vial selection (dimensions, cap torque, GPI thread fit), the autosampler vial and vial references cover it. This article stays on the chemistry.
What to write into your method and your incoming QC
The fix for ghost peaks is not a better vial. It is a specification. Write the following into your method and your supplier agreement:
- A maximum tray temperature for the method, stated explicitly, with the septum type that is qualified at that temperature.
- A maximum injection count per vial, typically 3 for a standard septum and 5 for a pre-slit PTFE-faced product.
- An extractables specification for the septum and cap, with the solvent and temperature of the test, and a maximum area for the siloxane and erucamide windows.
- A lot retention requirement: keep one vial from each lot for the life of the method so you can re-test if a ghost peak appears.
- A blank injection sequence in the method validation that includes the component swap test, so the next person who investigates a ghost peak has a documented baseline.
The vendors who publish extractables data at your method temperature are the ones worth qualifying. The ones who only publish a material certificate are not. If you want a starting point for the extractables literature, the technical resources at Restek and the sample handling documentation from Thermo Fisher are both useful, and they are honest about the limits of what a septum can do.
The decision rule
If a ghost peak appears in a blank or placebo injection and it grows with injection count or hold time, suspect the septum first, the cap second, and the glass third, and prove it with the component swap test before you touch the column. Specify a PTFE-faced septum for any method above 30 °C or above 60% acetonitrile, cap your injection count per vial at three, and put an extractables specification on the incoming certificate rather than trusting the product family. The vial is a reagent, and reagents get a specification.
References & further reading
Related resources from our lab consumables network:
- Hplc Vial at hplcgc.com
- Autosampler Vial at autosamplerhplc.com
- Vial at vials-filters.com
- Headspace Vial at headspacevialsupplier.com
External references and standards: