I have watched a lab lose three weeks of method validation because a buyer swapped vial suppliers to save four cents a unit. The new vials looked identical in the catalogue photo. In reality they had a 0.2 mm thicker glass base, which pushed the sample meniscus about 1.5 mm higher in the autosampler needle path. Injection volume dropped by roughly 8 percent on the low-volume samples and the calibration curve went non-linear at the bottom end. Nobody caught it until the QC review. That is the whole reason this guide exists: the vial is the first component in the analytical chain, and it sets the floor on your data quality before the column ever sees the sample.
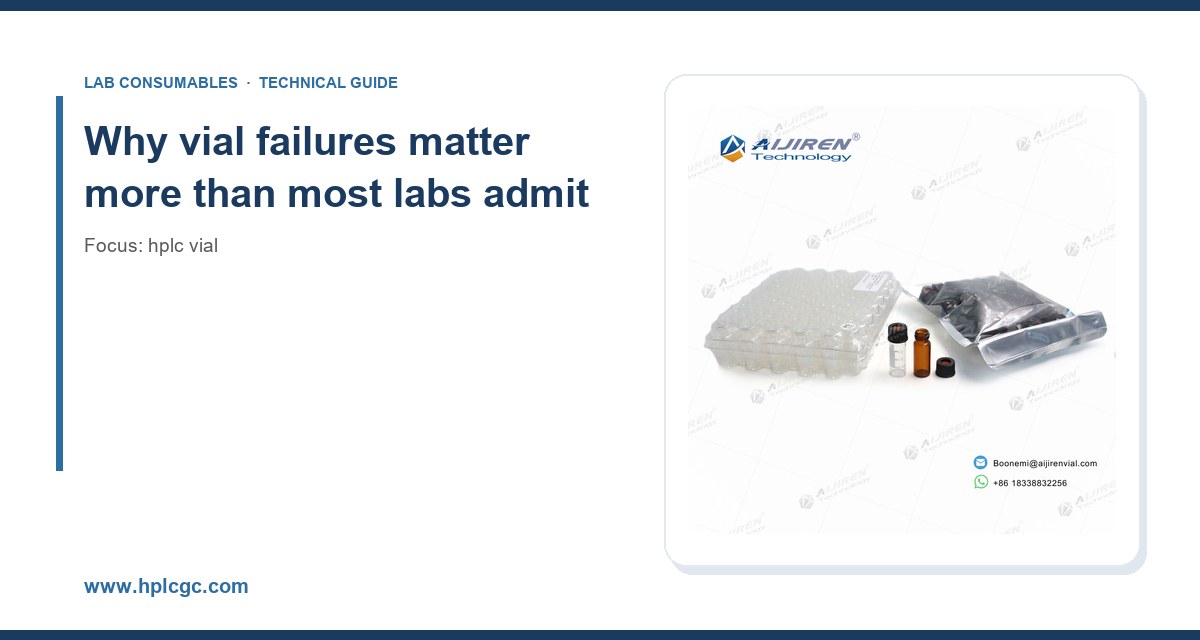
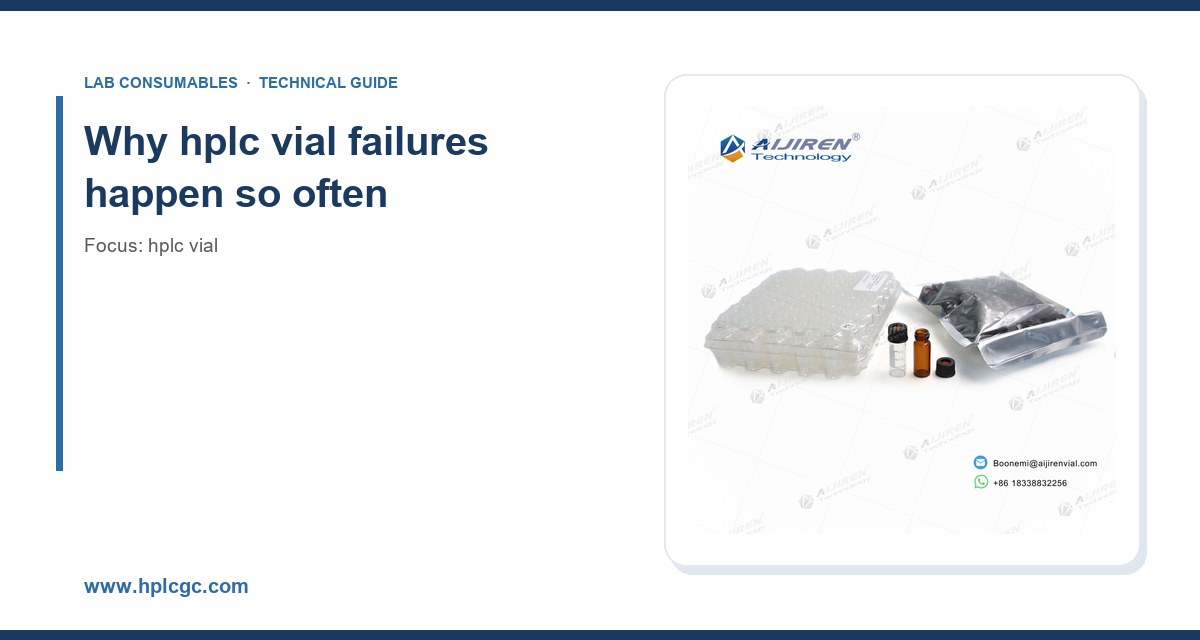
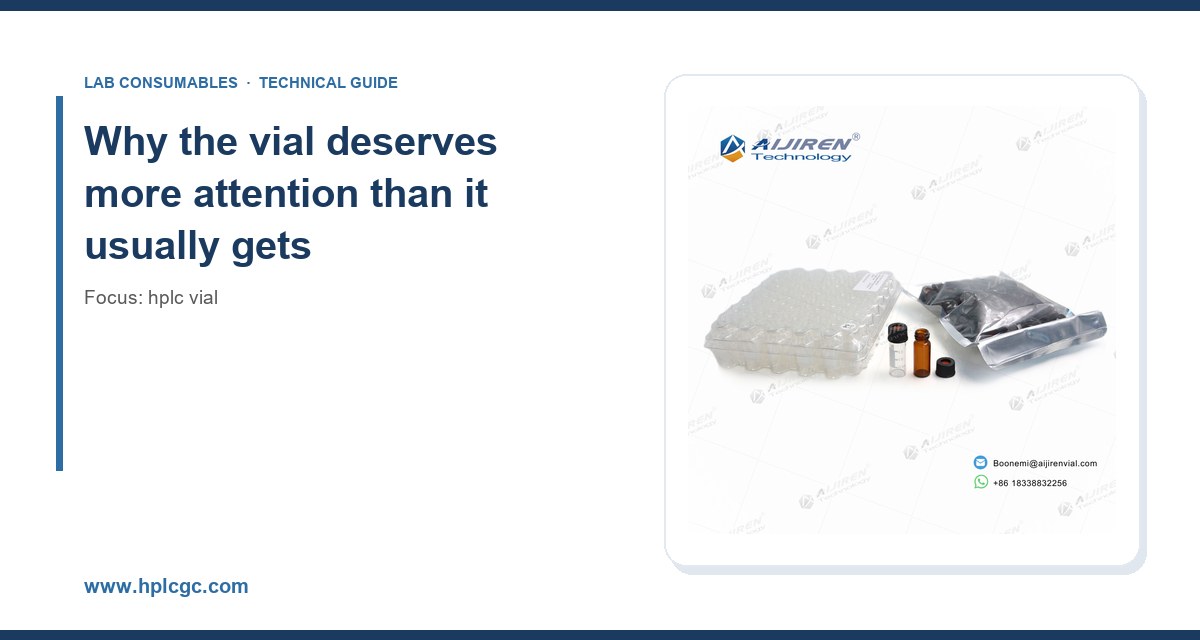
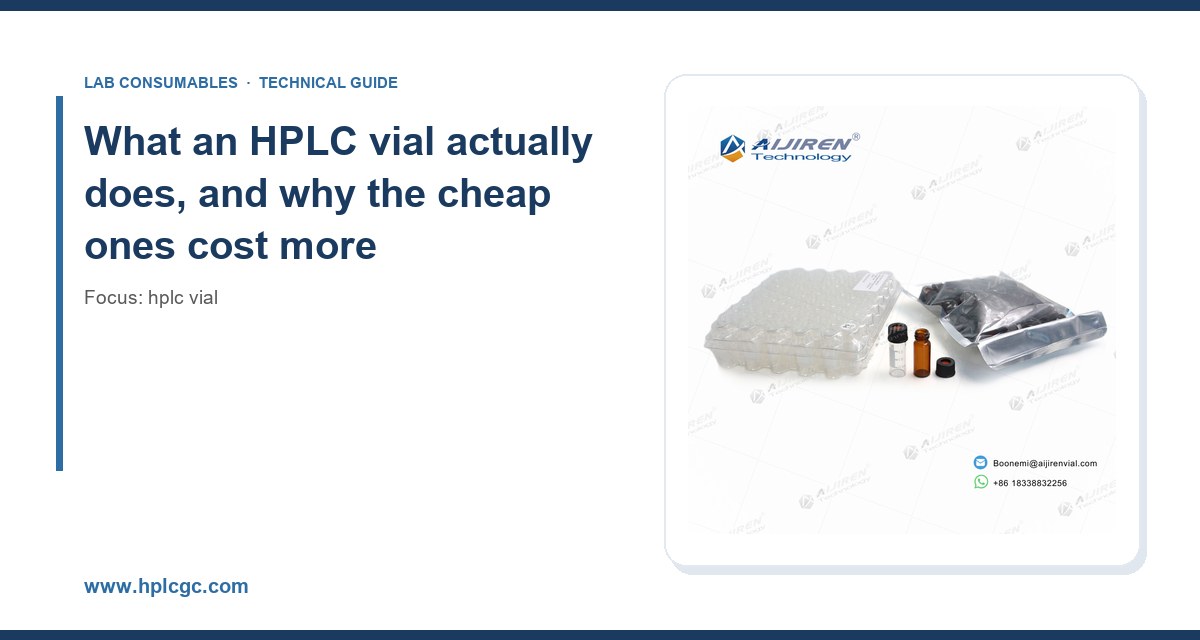
A standard 2 mL HPLC vial is a piece of Type I borosilicate glass, nominally 12 x 32 mm, closed with a septa-and-cap assembly on a GPI 8-425 screw thread or a 11 mm crimp neck. That is the physical description. The functional description is harder: the vial has to deliver a reproducible, particle-free, chemically inert aliquot to a needle that may be drawing 1 to 100 microliters from a total volume as low as 150 microliters, at a needle depth that is often fixed by the autosampler geometry and cannot be adjusted per vial.
Every one of those requirements has a failure mode attached. Glass dimensional tolerance drifting outside ±0.2 mm changes the needle-to-bottom clearance. A septa that coring-sheds silicone particles plugs a 0.17 mm needle. Residual mold release or sodium from the glass manufacturing process leaches into aqueous mobile phases and shows up as ghost peaks at 210 nm. None of this is visible on a purchase order. All of it is measurable in your chromatograms.
I buy vials the way I buy columns: by specification, with a certificate, and with a retention sample from each lot. If a supplier cannot give me a dimensional drawing and a batch certificate, I do not care how good the price is.
The five specifications that decide everything
1. Glass class and the UV cutoff
Type I borosilicate (borosilicate 3.3, USP Type I) is the default for HPLC because it has a low alkali extraction profile and a UV cutoff around 300 nm for the glass body itself. If you are running UV detection below 300 nm, which covers most pharmaceutical and environmental methods, the glass is not the limiting factor, but the glass quality and the annealing are. Poorly annealed glass leaches sodium and boron, and you see it as baseline drift or as sodium adducts in LC-MS.
For methods below 220 nm, or for trace metals work, ask for deactivated glass (often sold as “MS-certified” or “inert” vials). These are silanized or otherwise surface-treated to reduce silanol activity and metal leaching. The premium is typically 30 to 60 percent over standard vials, and it is worth every cent if you are doing LC-MS at low levels or running amines and phosphates that adsorb to active silanols.
Amber glass is a different question. It is for light-sensitive analytes (vitamins, some antibiotics, nitroaromatics). The amber color comes from iron oxide, and amber vials have a slightly different thermal expansion and a different UV transmission. Do not assume an amber vial is dimensionally identical to your clear vial from the same supplier. Check the drawing.
2. Dimensions and the autosampler interface
The 12 x 32 mm footprint is fixed by the GPI 8-425 and 11 mm crimp standards and by the physical carousel or tray geometry of every major autosampler. What varies is the internal geometry: the internal diameter, the bottom shape (flat, conical, rounded), and the wall thickness. A flat-bottom vial with a 6 mm internal diameter holds a different residual volume than a conical-bottom vial with the same external footprint.
If your autosampler has a fixed needle depth (many do, especially on older Agilent 1100/1200 and Waters 2695 systems), the bottom shape is the deciding variable. A conical-bottom vial lets the needle reach within 1 to 2 mm of the bottom and draw down to about 150 microliters. A flat-bottom vial in the same tray may leave 250 to 300 microliters behind. If your method injects 5 microliters from a 200 microliter sample, that difference is the difference between a valid run and a dry needle.
Measure it yourself before you commit to a supplier. Take ten vials, fill each with a known volume of water, and use a calibrated syringe to withdraw until the needle would run dry. The spread across ten vials tells you the dimensional consistency of the lot. I have seen lots with a 0.4 mm spread in internal depth, which is enough to fail a validated method.
3. Septa: the component that fails most often
The septa is where I see the most field failures. It is a silicone or silicone/PTFE laminate disc, usually 1.0 to 1.5 mm thick, sitting inside a polypropylene or aluminum cap. The job is to seal against the vial neck, survive multiple needle punctures without coring, and not contaminate the sample.
The two common constructions are silicone/PTFE (PTFE facing the sample, silicone providing the reseal) and pure silicone. For HPLC, always specify the PTFE-faced laminate. Pure silicone sheds particles and absorbs analytes. The PTFE face is chemically inert and does not absorb, but it is thin (often 0.05 to 0.13 mm) and it is the layer that gets punctured.
Puncture count matters. A good silicone/PTFE septa holds a seal for 5 to 10 punctures at a 0.5 to 0.7 mm needle gauge before it starts to leak or core. A cheap septa may fail at 3. If you are running a 96-well plate or a long autosampler sequence where the same vial is injected multiple times, this is the number that decides your septa budget. I specify a minimum of 8 punctures for multi-injection sequences and test a sample lot with a needle and a pressure-decay leak check before accepting a shipment.
Pre-slit septa are a separate case. They are slit to reduce coring and needle drag, and they are fine for single-injection workflows, but the slit is a leak path for volatile solvents and for headspace work. Do not use pre-slit septa on a headspace vial unless the method explicitly calls for it.
4. Caps, torque, and the GPI/ISO thread
The cap is not an afterthought. A screw cap on a GPI 8-425 thread needs to be torqued to a consistent value or the septa will not seat evenly. Too little torque and the septa leaks or the cap backs off during transport. Too much and you deform the septa, which changes the puncture geometry and can crack the neck.
My working number is 0.5 to 0.8 N·m for a 9 mm screw cap on a 2 mL vial, applied with a torque wrench or a calibrated capping station. Hand-tightening is not reproducible; the spread across operators is easily ±0.4 N·m, which is enough to cause septa deformation on the high end and leakage on the low end. For crimp caps, the crimping tool has to be set to the correct jaw height for the 11 mm neck; a mis-set crimper crushes the neck and the vial will not seat in the autosampler.
Check the thread standard on the drawing. GPI 8-425 is the common 8 mm screw thread; GPI 13-425 is the wider 13 mm thread used on some larger vials; 11 mm is the standard crimp neck. Mixing a GPI 8-425 cap with a vial that was molded to a slightly different thread pitch is a classic source of “the cap won’t stay on” complaints. Buy caps and vials from the same supplier, or verify the pitch against the drawing.
5. Cleanliness and certification
This is the spec that separates a serious supplier from a commodity one. Ask for:
- Lot traceability: a certificate of analysis tied to the glass lot and the septa lot, not just a generic spec sheet.
- Particle counts: a target of fewer than 5 particles per vial above 10 microns for MS-grade vials. Standard vials are often not particle-controlled.
- Residual extractables: a UV scan at 210 and 254 nm of a water extract, with a specification that no peak exceeds a defined absorbance threshold.
- DNase/RNase and endotoxin certification if you are doing molecular work or biopharma release testing.
If the supplier cannot produce these on request, treat the vial as a commodity and validate it yourself before it goes anywhere near a regulated method. The U.S. EPA SW-846 test methods and the relevant USP chapters give you the framework for that validation; the vial is a sample-preparation variable under method validation, and it needs to be controlled like one.
Matching the vial to the workflow
Standard reverse-phase HPLC
For a routine reverse-phase method with UV detection at 254 or 280 nm, a standard clear Type I borosilicate 12 x 32 mm vial with a silicone/PTFE septa and a screw cap is the right answer. Do not over-specify. The premium for MS-grade glass is wasted if you are not running MS or low-UV detection. What matters here is dimensional consistency and a septa that does not core. Buy from a supplier who publishes the drawing and the puncture rating.
LC-MS and low-wavelength UV
Below 220 nm, or on any LC-MS method, move to deactivated or MS-certified glass and specify particle control. The silanol activity of standard glass will adsorb basic analytes and give you peak tailing and carryover that you will spend a week chasing. This is where the HPLC vial selection actually changes your data, not just your invoice.
Headspace GC
Headspace is a different vial. You need a 20 mm crimp neck, a thicker septa (often 3 mm silicone/PTFE or a butyl laminate for volatile organics), and a pressure rating that matches your headspace sampler. The vial has to hold 1 to 2 bar of carrier gas without leaking. Pre-slit septa are out. Crimp torque and jaw height are critical. This is not the place to substitute a standard HPLC vial, and I have seen labs try. Use a dedicated headspace vial and a dedicated crimper.
Autosampler-specific considerations
Every autosampler has its own tray geometry and needle depth. The Agilent 1260 and Thermo Vanquish families both use the 12 x 32 mm footprint but differ in needle depth and in whether they support conical-bottom vials at full draw-down. Before you buy a case, check the autosampler manual for the recommended vial geometry, and check the Agilent chromatography consumables or Thermo Fisher chromatography and sample handling documentation for the specific model. The autosampler vial page on our sister site has a compatibility table that saves a lot of guesswork.
Comparison table: vial selection by application
| Application | Glass | Septa | Cap/thread | Key number |
|---|---|---|---|---|
| Routine RP-HPLC, UV 254 nm | Type I clear borosilicate, 12 x 32 mm | Silicone/PTFE, 1.0 mm | GPI 8-425 screw, 0.5-0.8 N·m | ≥8 punctures |
| LC-MS, low UV (<220 nm) | Deactivated/MS-certified, 12 x 32 mm | Silicone/PTFE, 1.0 mm, low-extractable | GPI 8-425 screw | <5 particles >10 µm per vial |
| Light-sensitive analytes | Amber Type I, 12 x 32 mm | Silicone/PTFE | GPI 8-425 screw | Verify amber drawing separately |
| Headspace GC | Type I clear, 20 mm neck | 3 mm silicone/PTFE or butyl | 20 mm crimp, jaw-height set | 1-2 bar pressure hold |
| Trace metals / ion chromatography | Deactivated or PFA-lined | PTFE-faced | GPI 8-425 screw | Na/B leaching below method LOQ |
Operational precautions that prevent most failures
Most vial failures I have investigated were not manufacturing defects. They were handling errors. The list below is the one I put on the wall of every lab I have run.
- Never reuse a septa. Once punctured, the reseal is compromised. A septa rated for 8 punctures is rated for 8, not 80.
- Fill to the correct volume. Overfilling a 2 mL vial past about 1.5 mL changes the headspace and can push sample into the septa, which is a contamination path. Underfilling below the needle draw-down leaves the needle dry.
- Cap with a torque wrench or a calibrated station. Hand-tight is not a specification. Target 0.5 to 0.8 N·m and verify with a torque tester quarterly.
- Store capped vials upright and at the method temperature. A capped vial laid on its side will wick sample into the septa and the cap thread.
- Do not sonicate a capped vial. The pressure pulse drives sample into the septa and the cap. Sonicate before capping, or use a vortex mixer.
- Check the needle depth on the autosampler before the first run of a new lot. A 0.2 mm dimensional shift is enough to change the draw-down volume.
- Retain a sample from every lot. If a method fails three months later, you want the vial that was in the run, not a replacement from the same catalogue number.
For method development and troubleshooting, the Restek technical resources are a good starting point on septa and inlet contamination, and the vial reference pages on our filter site cover the filter-and-vial interaction that catches people out when they filter a sample into a vial and wonder why the recovery dropped.
Troubleshooting checklist: symptom, cause, fix
When a method goes wrong and the column is not the suspect, work through this list in order.
- Ghost peaks at 210 nm, increasing over a run. Likely glass leaching or septa extractables. Fix: switch to deactivated glass and low-extractable septa, run a water blank through the full vial-and-cap chain.
- Peak area drift downward across a sequence. Likely septa coring or a partial leak at the cap. Fix: check torque, replace septa, inspect the needle for silicone debris.
- Needle clog or high backpressure at the autosampler. Likely septa particles. Fix: switch to a PTFE-faced septa with a higher puncture rating, inspect the needle and the injection port.
- Low recovery on low-volume samples. Likely needle not reaching the sample (flat-bottom vial, wrong geometry). Fix: switch to conical-bottom vial or adjust needle depth.
- Carryover between injections. Likely adsorption on active glass or a contaminated septa. Fix: deactivated glass, new septa, and a proper wash cycle.
- Cap backing off during transport or storage. Likely under-torque or a thread mismatch. Fix: verify GPI 8-425 on the drawing, torque to 0.5-0.8 N·m.
- Headspace leak or low response. Likely wrong septa or crimp jaw height. Fix: 3 mm septa, recalibrate the crimper, pressure-test a sample.
My recommendation, with numbers
For a general-purpose HPLC lab running validated reverse-phase methods with UV detection, I standardize on 12 x 32 mm Type I clear borosilicate vials, GPI 8-425 screw thread, silicone/PTFE septa rated for at least 8 punctures, capped to 0.5-0.8 N·m, bought from a supplier who provides a lot certificate, a dimensional drawing with a ±0.2 mm tolerance, and a UV extractables scan. That is the baseline. It is not the cheapest vial on the market and it should not be.
For LC-MS or any method below 220 nm, add deactivated glass and a particle specification of fewer than 5 particles above 10 microns per vial. For headspace, use a dedicated 20 mm crimp vial with a 3 mm septa and a calibrated crimper, and never substitute a standard HPLC vial. For light-sensitive work, verify the amber drawing independently because the colorant changes the glass.
Buy by specification, retain a sample from every lot, and re-verify the autosampler needle depth whenever you change suppliers. The vial is the cheapest component in the system and the one most likely to invalidate a run. Treat it like an analytical instrument, not a consumable, and the four-cent saving stops looking like a saving.
References & further reading
Related resources from our lab consumables network:
- Hplc Vial at hplcgc.com
- Autosampler Vial at autosamplerhplc.com
- Vial at vials-filters.com
- Headspace Vial at headspacevialsupplier.com
External references and standards: