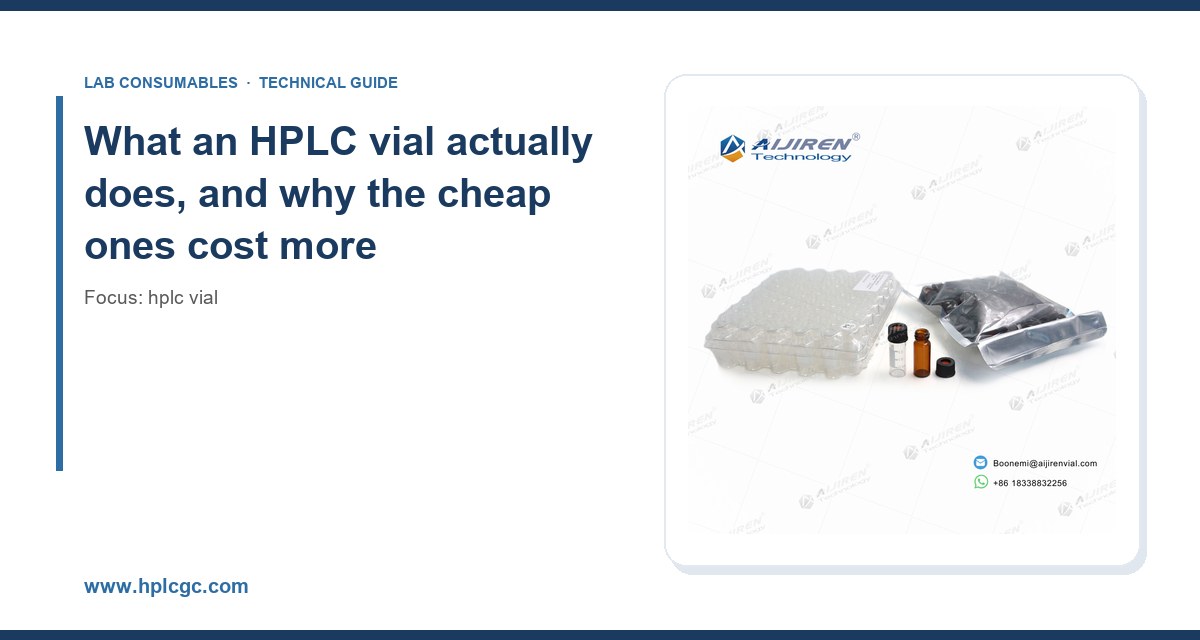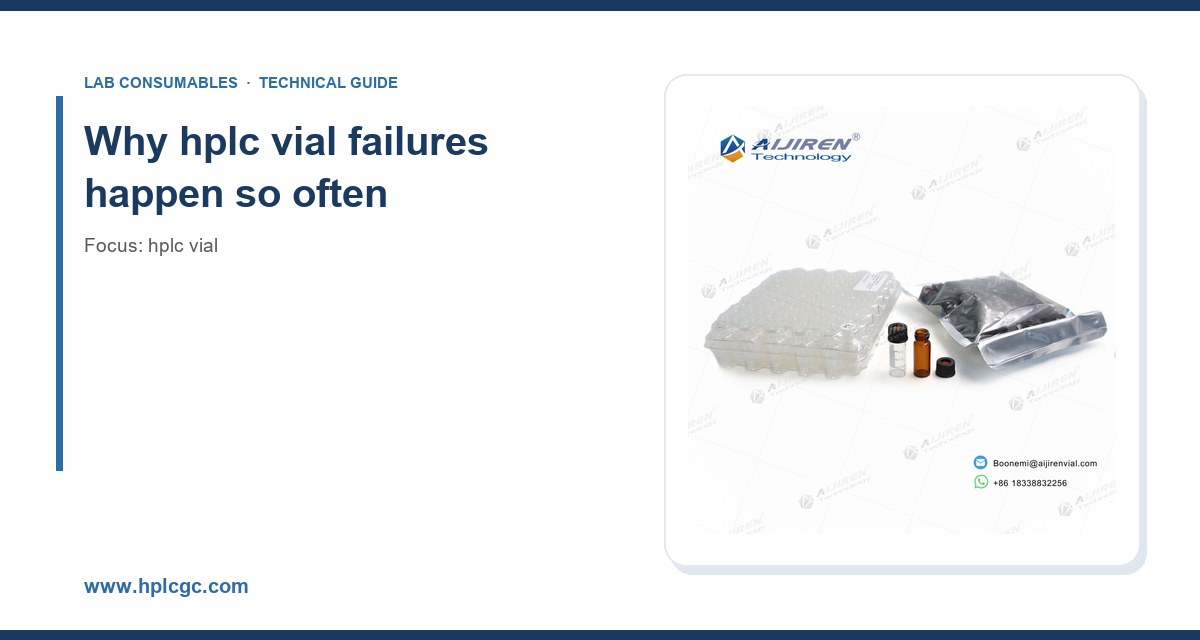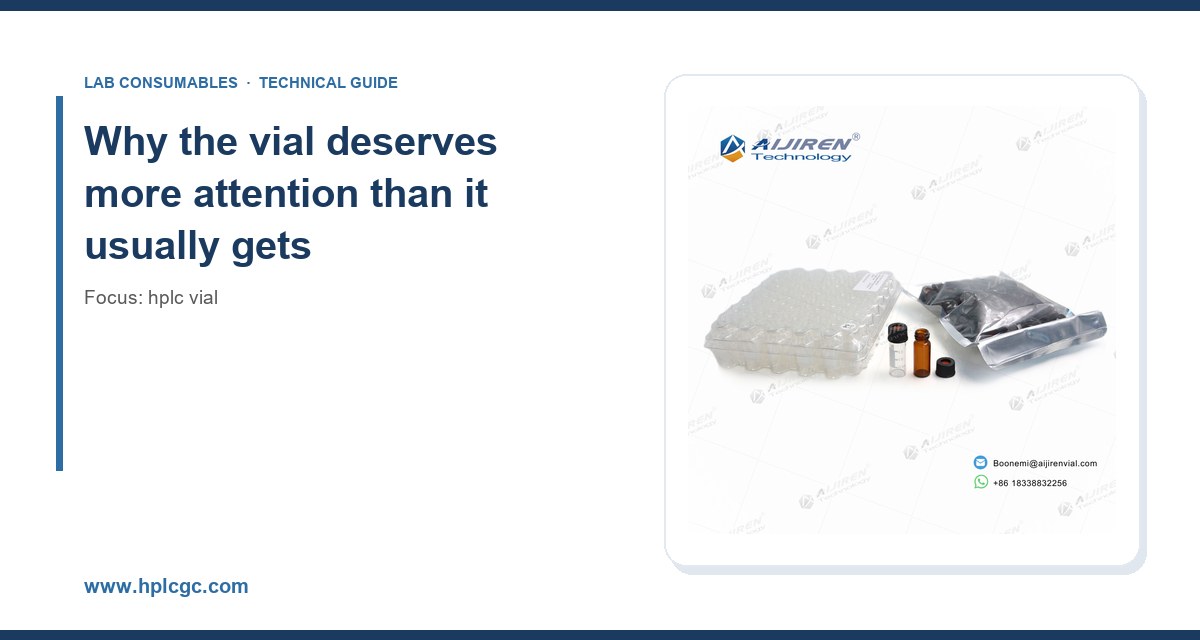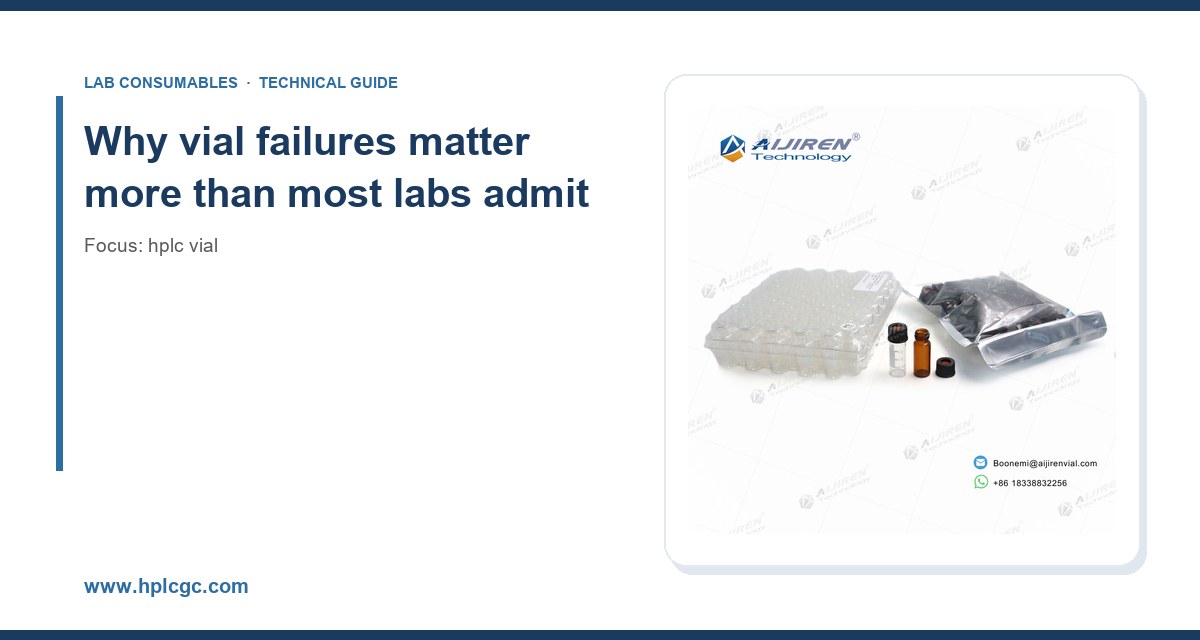
Last spring a QC analyst at a contract lab called me about a batch of 200 samples that had failed system suitability three times in one week. The autosampler was fine. The column was new. The problem turned out to be a case of 9 mm screw-top vials with caps that had been torqued by hand until the septa dimpled, then reopened and reclosed for a dilution step. Each reclosure punched a fresh hole through the silicone layer, and by the third injection the needle was coring rubber straight into the mobile phase. They lost two days and about 40 hours of instrument time on a consumable that costs roughly nine cents apiece. I have seen this pattern in dozens of labs, and it almost always traces back to one of a handful of failure modes that are entirely preventable once you know what to look for.
An HPLC vial is a small, cheap, chemically inert container, and that is exactly why nobody audits it. The column gets a logbook. The detector gets a performance qualification. The vial gets whatever box purchasing found on the shelf. Then a peak area RSD drifts from 0.4% to 1.8%, the method fails the USP <621> system suitability criterion, and the investigation starts with the instrument instead of the glass.
In my experience running consumables distribution, the vial is implicated in somewhere between 15% and 30% of the “mystery” chromatographic problems that reach a technical support line. That includes carryover, ghost peaks, peak splitting, retention time shifts, autosampler crashes, and needle blockage. Most of these are traceable to dimensional tolerance, septum chemistry, cap torque, or handling. None of them require a service call. All of them require a specification and a habit.
What follows is what I have learned from the field: the failure modes, the root causes, the numbers that matter, and the checks that catch problems before they cost you a sequence.
The dimensional failures: when the vial does not fit the autosampler
The single most common cause of autosampler faults I deal with is dimensional nonconformance. An HPLC vial is defined by a small set of critical dimensions, and if any of them drift outside tolerance, the sampler will either refuse the vial or, worse, pick it up at an angle and drive the needle into the glass shoulder.
The critical dimensions and their tolerances
For a standard 12 x 32 mm vial (the workhorse format for most HPLC autosamplers), the dimensions that matter are:
- Body diameter: 12.00 mm nominal, typically held to ±0.20 mm. A vial that runs large will bind in the tray; one that runs small will wobble in the gripper.
- Height: 32.00 mm nominal, typically ±0.30 mm. Height variation is the usual culprit when the needle penetrates too deep or not deep enough.
- Neck diameter and thread form: for screw-thread vials, the GPI 8-425 (8 mm) and GPI 9 mm short-thread formats are the common standards. The thread pitch and start position must match the cap or the cap will cross-thread.
- Neck inner diameter: typically 4.6 mm to 6.0 mm depending on format. A neck that runs undersize restricts needle access and increases the chance of bending a 22-gauge needle.
- Bottom geometry: flat, rounded, or conical. Conical (often called a “glass insert” or “micro-vial” format) is used when sample volume is below about 150 µL.
When I audit a new supplier, I ask for a certificate of analysis that reports these dimensions with the actual measured values, not just a pass/fail stamp. A supplier who cannot produce dimensional data on request is a supplier who does not measure.
What happens when dimensions drift
The failure signature is distinctive. If vials run tall, the needle may not reach the sample, and you get a short injection or a “no sample” error. If they run short, the needle can strike the bottom and bend, and you will see a bent needle on the next vial. If the body diameter runs large, the gripper may drop the vial mid-transfer, which produces a crash and a broken vial in the tray. I have seen a single out-of-spec case of 100 vials take down a 96-well autosampler run at 3 a.m. because the gripper could not seat one vial and the run aborted.
The fix is boring but effective: qualify the lot before it goes into production. Pull 10 vials at random, measure height and diameter with a caliper, and confirm they sit flush in a tray. If you buy in volume, ask for the CoA and keep it with the lot. For a deeper look at format options, the HPLC vial range at hplcgc.com lists dimensional specs by format, which is a useful starting point for a qualification checklist.
The septum problem: the most expensive nine-cent part in the lab
If I had to pick one component to blame for more failed sequences than any other, it is the septum. The septum is the only part of the vial that the needle interacts with, and it is the part most often specified by price rather than by performance.
Septum chemistry and what it means for your chromatogram
Most septa are a laminate: a soft silicone layer facing the sample and a PTFE (polytetrafluoroethylene) film facing the headspace and the needle. The silicone provides resealability; the PTFE provides chemical resistance. The specification that matters is the thickness of the PTFE film and the hardness of the silicone.
- Standard silicone/PTFE septum: about 1.0 mm thick, silicone 50 to 60 Shore A. Good general-purpose choice for reversed-phase work with aqueous and acetonitrile mobile phases.
- Thick silicone/PTFE (1.5 mm): better resealability for multi-injection sequences, but harder to penetrate and more prone to coring if the needle is dull.
- Pre-slit septum: a slit cut through the silicone to ease needle entry. Good for autosamplers with fragile needles and for headspace, but the slit is a path for evaporation and for sample cross-contamination if the vial sits on the tray for hours.
- Bonded septum (PTFE bonded to silicone): resists separation during needle penetration, which is the failure mode that produces floating PTFE fragments in the sample.
The chemistry matters because the septum is in contact with your sample vapor and, at the needle, with your sample liquid. A low-quality silicone can leach oligomers and plasticizers into the vial, which show up as ghost peaks in the 210 to 250 nm region on a UV detector. I have seen a single lot of budget septa produce a consistent peak at about 230 nm that vanished when the lot was changed. That is a lot of investigation time for a part that costs pennies.
Coring: the failure mode that ruins columns
Coring is what happens when the needle punches a plug of septum material instead of a clean hole. The plug can fall into the sample, and from there it goes into the injection loop and onto the column. A cored septum produces a characteristic symptom: intermittent spikes, a rising baseline, or a sudden pressure increase as the fragment lodges in the frit.
The root causes are predictable. A dull or burred needle cores. A needle that is too large for the septum cores. A septum that has been punctured too many times cores. And a cap that has been over-torqued compresses the septum and makes coring more likely.
My rule of thumb: a standard 1.0 mm silicone/PTFE septum is good for about 3 to 5 punctures before resealability degrades, and I do not trust it past 3 for quantitative work. Pre-slit septa are good for more punctures but leak more. If your method injects the same vial more than three times, use a fresh vial for the standard curve and a fresh vial for each sample, or move to a format with a thicker septum.
Cap torque and closure: the failures you cause yourself
I have watched analysts torque caps by hand until their knuckles went white, and I have watched them barely seat a cap and send it into the autosampler. Both are wrong, and both produce failures.
Under-torqued caps
An under-torqued screw cap does not compress the septum against the neck. The result is evaporation and, in headspace work, leakage. For a volatile analyte in a 2 mL vial sitting on an autosampler tray for a 12-hour sequence, an under-torqued cap can lose a measurable fraction of the sample to the headspace and out through the thread. In headspace GC, an under-torqued cap produces poor peak area reproducibility and, in the worst case, a pressure fault on the sampler.
For a 9 mm short-thread screw cap, I recommend a target torque of about 0.5 to 0.8 N·m (roughly 4 to 7 inch-pounds), applied with a torque driver or a calibrated capping tool. That is enough to compress the septum and seal the thread without deforming the cap or dimpling the septum. If you are capping by hand, the correct feel is firm, not forced: the cap should stop turning with light resistance, not with a crunch.
Over-torqued caps
Over-torquing is the more common error in labs that cap by hand. The symptoms are subtle at first. The septum dimples and thins, which reduces resealability. The cap skirt can crack, which produces a leak. The vial neck can chip, which produces glass fragments in the sample. And the septum can be pushed into the neck, which restricts the sample volume and can cause the needle to strike the septum rather than pass through it cleanly.
I have also seen over-torqued caps fail to open cleanly, which means the analyst uses pliers or a wrench, which introduces a whole new class of contamination and injury risk. The fix is a capping tool with a torque setting and a training sign-off. It sounds excessive for a vial cap. It is not, if you have ever lost a 96-well sequence to a cracked cap.
Crimp caps: a different set of failure modes
Crimp-top vials (typically 11 mm aluminum seals on a 12 x 32 mm vial) are sealed with a crimper rather than a screw cap. The failure modes are different and equally predictable. An under-crimped seal leaks; an over-crimped seal deforms the septum and can crack the neck. The correct crimp produces a seal that is tight to the touch and does not rotate freely. I recommend a crimper with a depth setting and a periodic check with a go/no-go gauge. For headspace work, a leaky crimp is the single most common cause of poor reproducibility, and it is worth pressure-testing a sample of crimped vials before a long run.
Chemical incompatibility and adsorption: the invisible failures
Not every vial failure is mechanical. Some are chemical, and they are harder to diagnose because the vial looks fine.
Adsorption of hydrophobic analytes
Borosilicate glass has a negatively charged surface at neutral pH, and some analytes, particularly basic compounds and certain proteins and peptides, adsorb to it. The result is a low recovery that gets worse at low concentrations. I have seen a method for a hydrophobic drug candidate lose 30% of the signal between the first and fifth injection of the same vial, purely from adsorption to the glass. The fix is a deactivated glass vial (often called a “silanized” or “low-adsorption” vial) or a glass insert with a polymer coating. If your analyte is basic or hydrophobic and your recovery is low, try a deactivated vial before you blame the column.
Extractables and leachables
Glass is not perfectly inert, and neither is the septum. Extractables from the septum (plasticizers, oligomers, antioxidants) and from the glass (trace metals, especially sodium and boron) can show up as ghost peaks or as baseline drift. For trace analysis, particularly at ppb levels, use a vial that has been certified for low extractables, and run a blank vial through the method before you trust a new lot. The vial selection at vials-filters.com includes low-extractable options, and it is worth comparing the certification data against your detection limit.
pH and solvent compatibility
Most HPLC vials are Type I borosilicate glass, which is resistant to most aqueous and organic solvents. But strong bases (pH above 10) can attack the glass over time, and certain solvents (chlorinated solvents, DMSO) can extract material from the septum. For high-pH methods, use a vial rated for the pH range, and keep the sample on the tray for the shortest time possible. For DMSO-containing samples, use a PTFE-lined septum and avoid pre-slit septa, which allow the solvent vapor to contact the silicone directly.
Handling and contamination failures
A remarkable number of vial failures happen before the vial reaches the autosampler. The most common are:
- Touch contamination: handling the vial neck or the septum with bare hands transfers oils and salts that show up as ghost peaks. Wear gloves and handle the vial by the body, not the neck.
- Dust and lint: a vial left open on the bench collects dust, which shows up as spikes. Cap the vial immediately after filling, and use a clean, covered tray.
- Cross-contamination from reusing vials: a washed vial can carry over analyte from the previous sample. If you must reuse, validate the wash procedure against your lowest calibration standard, and never reuse a vial that held a high-concentration standard for a low-concentration sample.
- Improper storage: vials stored in a humid or dusty environment can develop surface contamination. Keep them in the original sealed bag until use.
The autosampler vial handling guidance at autosamplerhplc.com covers tray loading and glove protocols in more detail, and it is a good reference for a lab SOP.
Headspace and GC-specific failures
Headspace vials are a separate format (typically 20 mm crimp or screw top, 10 mL or 20 mL) and they fail in ways that HPLC vials do not. The two that matter most are:
- Leakage at the crimp or screw thread: a leaky headspace vial produces poor reproducibility and, in extreme cases, a pressure fault. Use a torque or crimp setting that is validated for the vial, and check a sample of vials with a pressure test before a long run.
- Septum bleed at high temperature: headspace ovens run at 40 to 200 °C, and a standard silicone/PTFE septum can bleed at the upper end of that range. Use a high-temperature septum (often a PTFE/silicone laminate rated to 250 °C) and a septum thickness matched to the oven temperature. I have seen a headspace method at 150 °C produce a rising baseline from septum bleed that disappeared when the septum was changed to a high-temperature grade.
The headspace vial range at headspacevialsupplier.com lists temperature ratings by septum type, which is the first thing I check when a headspace method shows baseline drift.
A troubleshooting checklist you can put on the wall
When a sequence fails and the vial is a suspect, work through this list in order. It takes about 15 minutes and saves hours of instrument time.
Step 1: Check the physical condition of the vial
- Is the vial the correct format for the autosampler? Confirm 12 x 32 mm or the format your sampler requires.
- Is the cap fully seated and correctly torqued? Check for a dimpled septum or a cracked skirt.
- Is the septum intact? Look for a cored hole, a floating fragment, or a separated PTFE film.
- Is the vial free of cracks and chips, especially at the neck?
Step 2: Check the sample volume and position
- Is the sample volume at least 150 µL above the needle penetration depth? For a standard 12 x 32 mm vial, a fill of 0.5 to 1.5 mL is typical; below 150 µL, use a conical insert.
- Is the vial seated flush in the tray? A tilted vial is a crash waiting to happen.
- Is the sample within the vial’s pH and solvent compatibility range?
Step 3: Check for chemical interference
- Run a blank vial through the method. Ghost peaks point to septum or glass extractables.
- Compare recovery of a low-concentration standard in a new vial versus a used vial. A drop points to adsorption.
- Check the septum grade against the detection wavelength. A bleed peak near 230 nm points to a low-quality silicone.
Step 4: Check the handling and storage
- Were the vials handled with gloves and by the body?
- Were they capped immediately after filling?
- Were they stored in a sealed bag before use?
Comparison: vial formats and when to use each
The table below summarizes the formats I recommend most often, with the parameters that matter for selection. The numbers are typical values; confirm against the supplier’s certificate of analysis for your lot.
- Standard 12 x 32 mm screw top (9 mm, GPI short thread): body diameter 12.00 mm ±0.20, height 32.00 mm ±0.30, septum 1.0 mm silicone/PTFE, good for 3 to 5 punctures, torque 0.5 to 0.8 N·m. Best for routine reversed-phase HPLC with sample volumes above 150 µL.
- Standard 12 x 32 mm crimp top (11 mm): same body dimensions, sealed with a crimper, septum 1.0 to 1.5 mm. Best for headspace and for methods where a screw cap is not acceptable. Requires a calibrated crimper.
- Micro-vial with conical insert (12 x 32 mm, 150 to 300 µL insert): same body, conical interior. Best for sample volumes below 150 µL. Note that the insert reduces the usable volume and the needle depth must be set accordingly.
- Deactivated (silanized) glass: same dimensions as standard, surface treated to reduce adsorption. Best for basic or hydrophobic analytes at low concentration.
- Headspace vial (20 mm, 10 or 20 mL): crimp or screw top, septum rated to 250 °C for high-temperature work. Best for volatile analytes in GC headspace.
For the analytical methods that govern these choices, the U.S. EPA SW-846 test methods are a useful reference for sample handling and preservation requirements, and the Restek technical resources and Agilent chromatography consumables pages are good sources for septum and vial compatibility data. For sample preparation and handling in general, Thermo Fisher chromatography and sample handling has a broad set of application notes that cover vial selection for specific detection modes.
My recommendation: specify, qualify, and train
The pattern I see in labs that do not have vial failures is consistent, and it has three parts.
Specify the vial in the method. Write the format, the septum chemistry, the cap type, and the torque into the SOP. “12 x 32 mm, 9 mm screw top, 1.0 mm silicone/PTFE septum, torque 0.6 N·m” is a specification. “HPLC vial” is not. When the method specifies the part, purchasing cannot substitute a cheaper lot without a change control.
Qualify every lot. Pull 10 vials, measure height and diameter, check the septum for coring, and run a blank through the method. Keep the CoA with the lot number. This takes about 30 minutes per lot and catches the dimensional and extractable problems before they reach a sequence.
Train the handling. Gloves, body handling, immediate capping, correct torque, and a fresh vial for each standard. These are habits, not skills, and they need a sign-off and a periodic refresher. The labs that do this see vial-related failures drop to near zero, and the ones that do not keep calling me about mystery peaks.
The vial is the cheapest part of the analysis and the easiest to get wrong. Treat it like a component with a specification, not a consumable with a price, and the failures stop being mysterious.
If you are rebuilding a vial specification or auditing a supplier, start with the format and septum data, then work backward to the torque and handling SOP. The right vial, qualified and handled correctly, is one less variable in a method that already has enough of them.
References & further reading
Related resources from our lab consumables network:
- Hplc Vial at hplcgc.com
- Autosampler Vial at autosamplerhplc.com
- Vial at vials-filters.com
- Headspace Vial at headspacevialsupplier.com
External references and standards: