I spent the better part of a Tuesday morning last year chasing a ghost: a 4% RSD on an internal standard that should have been under 1.5%. The column was new, the mobile phase was fresh, the autosampler had just been serviced. The culprit was a box of 2 mL vials from a secondary supplier whose septa had been sitting in a warehouse long enough that the silicone had started to harden. The needle punched through, the septum failed to reseat, the sample evaporated by a few microliters overnight, and the integration drifted. That is the thing about vials: they are the cheapest component in the workflow and the most common source of silent, hard-to-diagnose data problems. This guide is what I wish someone had handed me fifteen years ago.
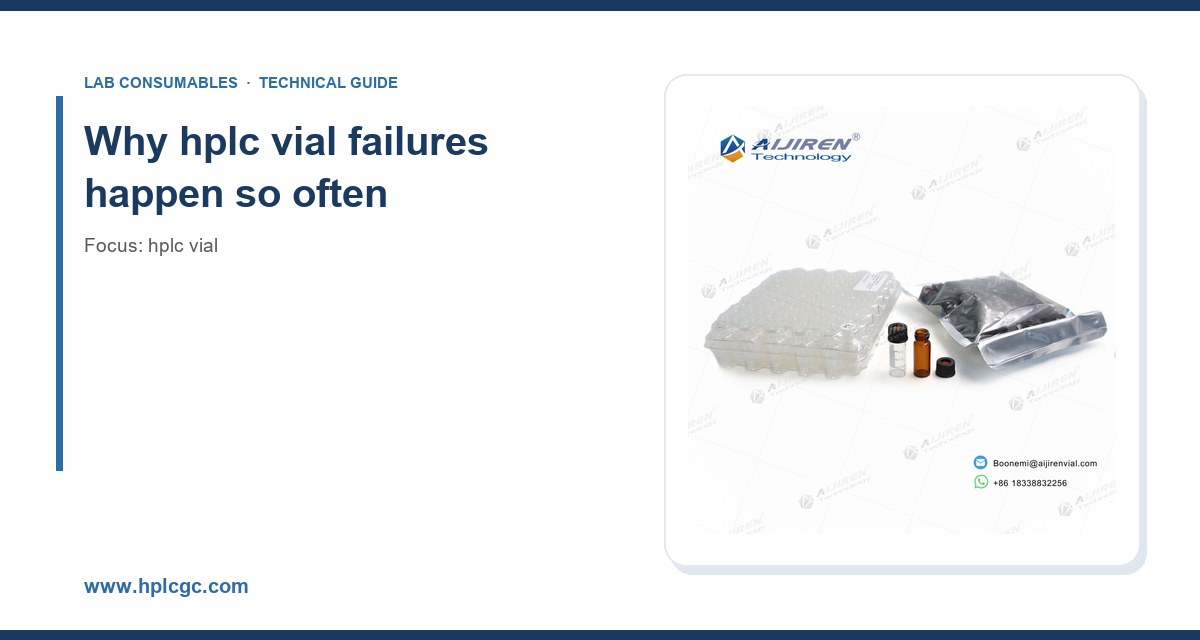
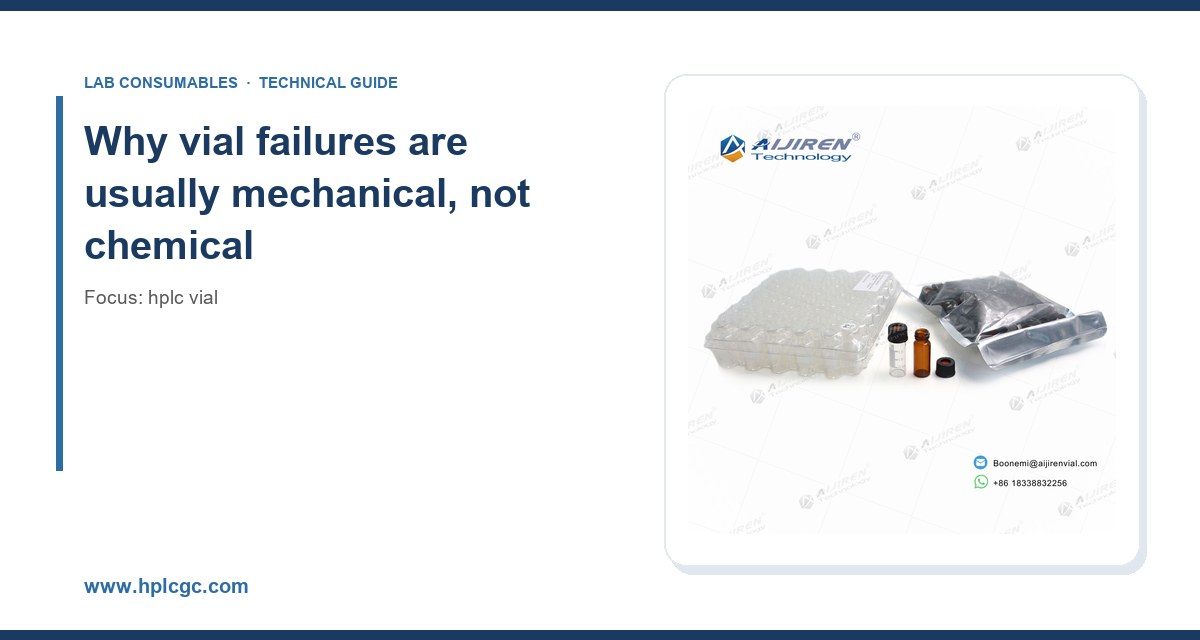
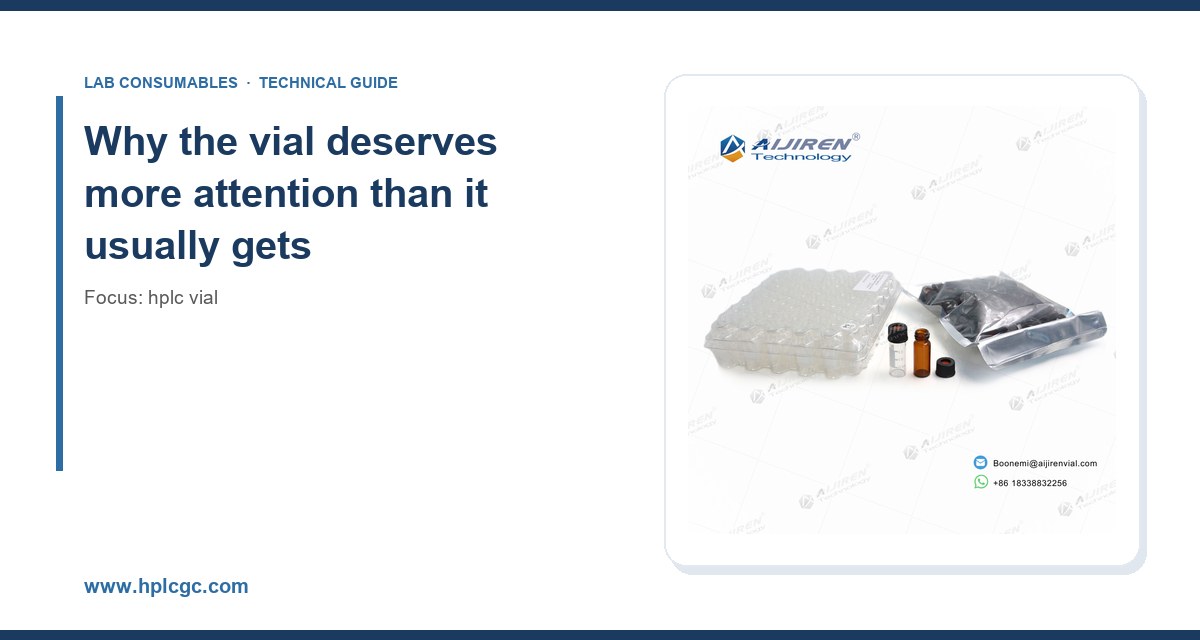
A 2 mL glass vial with a screw cap and a PTFE/silicone septum costs somewhere between 25 cents and a dollar depending on volume and quality. A single HPLC column costs several hundred. The instrument costs six figures. Yet the vial is the only component that touches every sample, sits in the autosampler for hours, and physically contacts the needle, the carrier gas, and the detector pathway. Get it wrong and you get tailing peaks, carryover, evaporation, adsorption of polar analytes onto glass, or septa fragments lodged in the needle seat.
I have seen labs buy premium UHPLC systems and then fill them with generic vials purchased on price alone. The instrument can resolve a 1.5 µm particle column, but it cannot fix a sample that lost 8% of its volume to evaporation because the cap torque was wrong. Selection starts with understanding what the vial actually does in your workflow: it is a container, a seal, a sampling interface, and a thermal environment all at once.
The core dimensions and what the numbers mean
Almost everything in HPLC autosampler vials traces back to a set of standardized dimensions. The dominant format is the 12 x 32 mm vial, which holds a nominal 2 mL and fits the vast majority of autosamplers from Agilent, Waters, Shimadzu, Thermo, and Hitachi. You will also encounter 9 mm and 11 mm neck formats, short 6 x 29 mm vials for high-throughput microplates, and larger 15 x 45 mm or 22 x 75 mm vials for fraction collection and prep work.
The GPI 9 mm (Glass Packaging Institute) thread finish is the de facto standard for screw-thread autosampler vials. It is a 9 mm neck with a specific thread pitch and root diameter that lets a cap seal reliably without over-compressing the septum. If you buy caps from one vendor and vials from another, both must conform to GPI 9 mm or you will get leaks and inconsistent penetration depth. The crimp equivalent is the 11 mm aluminum seal, which uses a different neck geometry and requires a crimper.
Screw thread vs. crimp: the real trade-off
Crimp vials seal better than screw vials, period. A properly crimped 11 mm aluminum seal compresses the septum uniformly and produces a hermetic seal that holds for weeks. Screw caps, even good ones, depend on the operator applying consistent torque. The trade-off is labor and tooling: crimping requires a crimper, a decapper, and a bit of technique. Screw caps require nothing but a hand and a torque wrench if you care about reproducibility.
My rule: if samples sit in the autosampler for more than 8 hours, or if you are running volatile analytes, crimp. If you are running high-throughput screening with short run times and non-volatile analytes, screw thread is faster and good enough. For anything going into a headspace sampler, use a dedicated headspace vial with a crimp seal rated for the pressure and temperature of your sampler.
Glass chemistry: where analytes go to disappear
Not all glass is the same, and the difference matters more than most buyers realize.
Type I borosilicate (borosilicate 3.3)
This is the default for HPLC work. It has low alkali leaching, good hydrolytic resistance (USP Type I), and handles temperature swings without cracking. For 95% of reversed-phase work, Type I borosilicate is the right answer. It is what you should specify by default.
Type I deactivated glass
If you run basic analytes, proteins, or anything with a tendency to adsorb onto silanol groups, deactivated glass makes a measurable difference. The interior surface is treated to cap active silanol sites. I have seen recovery of a moderately basic drug improve from 82% to 97% simply by switching to deactivated vials. It costs more, but if you are chasing low-level analytes it pays for itself in fewer repeat injections.
Amber vs. clear
Amber glass blocks UV and visible light below roughly 500 nm. If your analytes are photolabile (many vitamins, some antibiotics, catecholamines), amber is not optional. Clear glass is fine for everything else and lets you see the sample, which matters when you are troubleshooting a short fill.
Septum selection: the most under-specified part of the purchase
The septum is where most vial failures originate. It has to do three things: seal against pressure, allow the needle to penetrate cleanly, and reseal after the needle withdraws. Those requirements conflict, and the material choice is a compromise.
PTFE/silicone
The workhorse. A PTFE face on the sample side (inert, chemically resistant) bonded to a silicone core (resilient, reseals well). Rated to about 200 °C for short excursions. Good for most reversed-phase and normal-phase work. Puncture life is typically 3 to 5 punctures before coring becomes a risk. If your autosampler re-samples the same vial multiple times, track your punctures.
PTFE/silicone with a slit
Pre-slit septa reduce coring and needle bending, especially on autosamplers with fixed or slightly misaligned needles. The trade-off is slightly higher evaporation through the slit. For short runs, pre-slit is fine. For overnight runs, avoid it.
Butyl and bromobutyl rubber
Better gas barrier than silicone, used mostly in headspace and GC work. Higher puncture force and less resilient. Not my first choice for HPLC.
Laminated PTFE/silicone/PTFE
PTFE on both faces gives the best chemical inertness. Useful for aggressive solvents or trace analysis where any silicone contact is a contamination risk. Costs more, worth it for trace work.
One number to keep in mind: a septum that has been punctured more than 5 times is statistically more likely to leak or shed particles. If you are running a sequence that re-injects the same vial, either split the sample into multiple vials or accept the risk and validate your method accordingly.
Cap torque and the seal you cannot see
Here is a number I wish more labs tracked: screw cap torque. The target for a 9 mm screw cap is typically 0.5 to 1.0 N·m, applied consistently. Under-torque and the septum does not compress enough to seal; over-torque and you deform the septum, crack the cap, or strip the thread. Hand-tightening varies from operator to operator by a factor of two or more.
If you are running volatile analytes or long sequences, get a torque wrench or a semi-automatic capper. It sounds fussy until you have spent a day chasing evaporation losses that turned out to be inconsistent cap torque. For crimp vials, the crimper jaw setting matters similarly: too loose and the seal leaks, too tight and you crack the neck.
Matching the vial to your autosampler
This is where purchase orders go wrong. The vial has to physically fit the autosampler tray, the needle has to reach the sample, and the gripper has to be able to pick it up. Check these before you buy in bulk.
Agilent
Most Agilent autosamplers (1100, 1200, 1260, 1290 series) use 12 x 32 mm vials with 9 mm screw thread or 11 mm crimp. Agilent publishes detailed compatibility tables in their chromatography consumables catalog. The 1290 Infinity II autosampler, for example, handles both 2 mL vials and 96-well plates depending on the tray configuration.
Waters
Waters Alliance and ACQUITY systems use 12 x 32 mm vials, but the ACQUITY sample manager has specific tray and needle geometry that favors certain cap heights. Always verify cap height against the sample manager specification.
Thermo and Shimadzu
Thermo’s autosamplers (Dionex and Vanquish lines) and Shimadzu’s SIL series use standard 12 x 32 mm formats with 9 mm screw or 11 mm crimp necks. Thermo publishes compatibility guidance in their chromatography and sample handling resources.
If you are unsure, buy a small trial pack of 100 vials from your preferred HPLC vial supplier and run them on your actual instrument before committing to a case of 1000. This has saved me more than once.
Volume, fill level, and the injection you do not see
Fill level matters more than people think. The autosampler needle has a defined penetration depth, and if the vial is under-filled, the needle may not reach the sample. If it is over-filled, you risk overflow when the cap compresses the septum. The practical target for a 2 mL vial is 0.5 to 1.5 mL of sample, with the needle reaching into the lower third of the liquid column.
For micro-volume work (5 to 50 µL injections from limited samples), use microvolume inserts. A 150 µL insert in a 2 mL vial lets you run a 20 µL sample with proper needle immersion. The trade-off is that inserts add a handling step and can introduce their own contamination if not cleaned properly. If you are running low-volume samples at scale, consider dedicated autosampler vials with integrated inserts.
Temperature, pressure, and the operating envelope
Most autosampler trays run at 4 to 40 °C. The vial and septum must tolerate that range without deformation. Standard PTFE/silicone septa handle -40 to 200 °C without issue. The failure mode is not the septum melting; it is condensation on the vial exterior when you move a cold vial into a warm room, which can drip into the sample or fog the vial and confuse the vial-presence sensor.
For headspace and GC work, the operating envelope is wider. Headspace vials are typically rated to 150 to 200 °C and up to 5 bar depending on the seal. Crimp seals are mandatory here because screw caps do not reliably hold pressure at temperature. Check the sampler manufacturer’s pressure rating and never exceed it; a failed headspace vial in a heated sampler is a messy and potentially dangerous event.
Contamination and cleanliness: the invisible variable
Vials arrive from the factory with residual manufacturing oils, glass dust, and occasionally mold release agents. For trace analysis (ppb and below), this matters. Two options: buy pre-cleaned and certified vials, or wash your own.
Washing your own vials is a false economy for most labs. The labor, solvent, and validation effort usually exceeds the price premium for certified clean vials. If you do wash, use HPLC-grade solvent, dry in a clean oven, and validate the cleaning procedure against your lowest calibration standard. I have seen labs introduce 5 to 10 ppb of phthalate contamination by washing vials in a shared glassware washer.
For trace work, specify certified low-particle, low-extractable vials and verify with a blank injection. The cost difference is maybe 15 to 30 cents per vial. The cost of a failed batch of samples is much higher.
A decision checklist with concrete numbers
Here is the checklist I use when specifying vials for a new method. Copy it, adapt it, and keep it with your method documentation.
- Format: 12 x 32 mm, 2 mL, unless the autosampler specifies otherwise. Confirm against the instrument manual.
- Neck finish: GPI 9 mm screw thread or 11 mm crimp. Never mix vendors on cap and vial without verifying compatibility.
- Glass: Type I borosilicate. Deactivated if analytes are basic, polar, or proteinaceous. Amber if photolabile.
- Septum: PTFE/silicone for general HPLC. PTFE/silicone/PTFE for trace or aggressive solvents. Pre-slit only for short runs.
- Puncture budget: Replace septa or vials after 5 punctures. Track this in your sequence design.
- Cap torque: 0.5 to 1.0 N·m for 9 mm screw caps. Use a torque wrench or semi-automatic capper for reproducibility.
- Fill volume: 0.5 to 1.5 mL in a 2 mL vial. Use inserts for sub-100 µL samples.
- Temperature rating: At least -40 to 200 °C for the septum. Verify headspace vials are rated for your sampler’s pressure.
- Cleanliness: Certified low-particle for trace work. Verify with a blank injection before committing to a lot.
- Compatibility: Trial pack of 100 vials on the actual instrument before bulk purchase.
Troubleshooting: the failures I have actually seen
Peak tailing that appears mid-sequence
Usually a septum that has been punctured too many times or has started to core. The needle sheds silicone particles into the sample, which then adsorb onto the column. Fix: replace vials, inspect the needle for damage, and run a column flush. If the tailing persists, check for a partially seated column.
Evaporation losses
Symptoms: internal standard response drops over a long sequence, or volatile analytes show low recovery. Causes: under-torqued caps, pre-slit septa on long runs, or a tray that is not temperature-controlled. Fix: torque consistently, use non-slit septa, and validate tray temperature.
Carryover between samples
Not always a vial problem, but check the vial first. A damaged septum or a cap that does not seal can let sample splash onto the vial exterior, which then contaminates the autosampler tray and the next vial. Fix: inspect caps for damage, clean the tray, and run a blank between high-concentration samples.
Needle bending or “no sample” errors
Usually a vial that is too tall for the tray, a cap that is not fully seated, or a septum that is too thick for the needle penetration depth. Fix: verify cap height against the autosampler spec, and check that vials are seated flat in the tray. A 1 mm cap height difference is enough to cause intermittent errors.
Adsorption of polar analytes
Symptoms: low recovery of basic compounds, poor reproducibility at low concentrations. Cause: active silanol sites on the glass surface. Fix: switch to deactivated glass, or add a small amount of organic modifier to the sample diluent to compete for adsorption sites.
Where to buy and what to specify
Buy from a supplier who can give you a certificate of analysis, a lot number, and a compatibility statement for your instrument. The vial and filter catalogs from established distributors usually carry this documentation. For method development and regulatory work, the U.S. EPA SW-846 test methods and vendor technical resources like Restek’s chromatography technical library are useful references for validating vial and septum performance against your method requirements.
Specify in your purchase order: glass type, septum material, cap type and torque specification, cleanliness certification, and lot traceability. If the supplier cannot provide these, find another supplier. The price difference between a documented vial and an undocumented one is small; the difference in data quality is not.
Takeaway
Choose the vial by working backward from the failure modes: evaporation, adsorption, coring, and physical incompatibility. Specify 12 x 32 mm Type I borosilicate with a GPI 9 mm neck, a PTFE/silicone septum rated to 200 °C, and a cap torqued to 0.5 to 1.0 N·m. Buy certified clean for trace work, buy a trial pack before bulk, and replace septa after 5 punctures. The vial is the cheapest component in the workflow and the one most likely to quietly ruin a sequence. Treat it like it matters.
References & further reading
Related resources from our lab consumables network:
- Hplc Vial at hplcgc.com
- Autosampler Vial at autosamplerhplc.com
- Vial at vials-filters.com
- Headspace Vial at headspacevialsupplier.com
External references and standards: