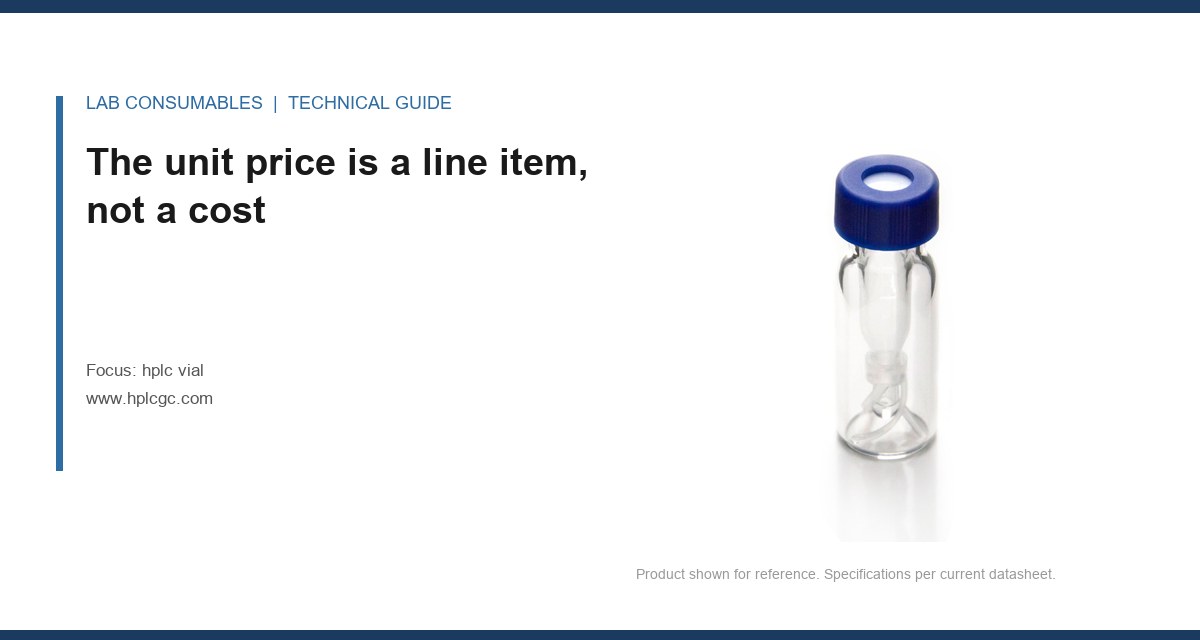
A 2 mL HPLC vial datasheet says “septum resealability: 100 injections.” You buy 500 vials. At injection 63, the autosampler needle starts carrying a sliver of PTFE into the injection port. Your precision drops from 0.3% RSD to 1.8%. The datasheet number was real, but it was tested on a 23-gauge needle with a polished conical tip. Your method uses a 26-gauge beveled needle. The number was not a lie, but it was not your number. Reading an HPLC vial datasheet specifications sheet correctly means knowing which values are measured under defined conditions, which are nominal starting points, and which are quietly inherited from the glass or polymer supplier without any test at all.
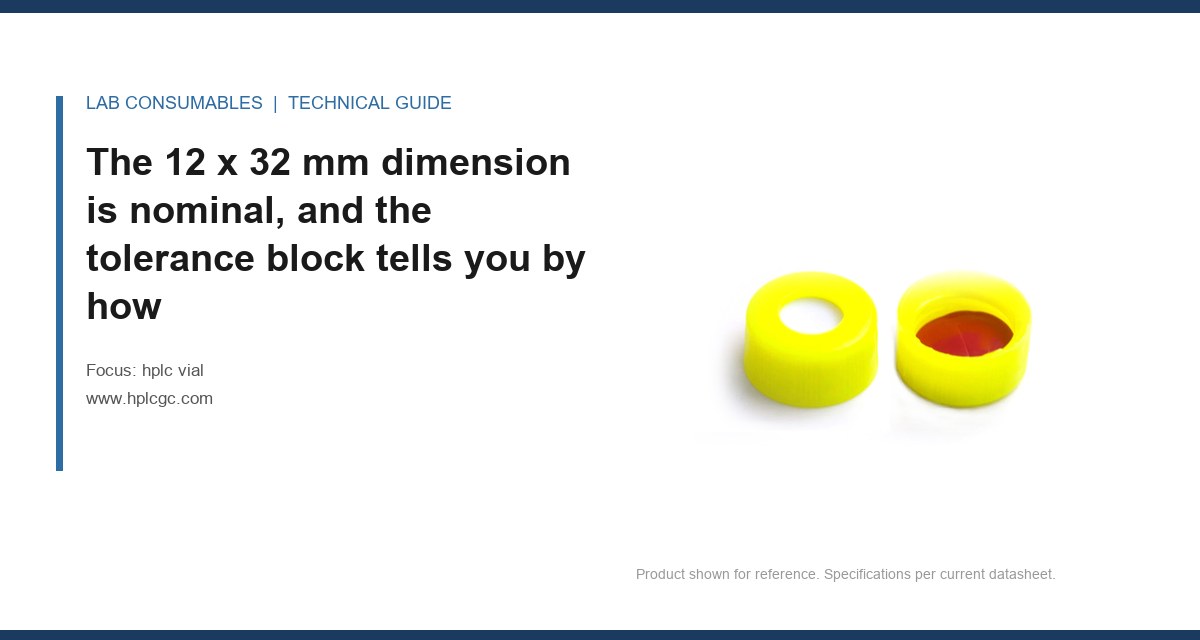
The 12 x 32 mm dimension is nominal, and the tolerance block tells you by how much
Every datasheet for a standard autosampler vial lists 12 x 32 mm. That is the nominal outer diameter and height. It is not a measured value for your lot. The actual vial you receive will be 11.6 to 12.4 mm in diameter depending on the forming tool and the glass tubing tolerance. The height will vary by plus or minus 0.25 to 0.5 mm depending on the draw length control on the forming line. A sheet that only says 12 x 32 mm without a tolerance block is telling you the design intent, not the part.
The tolerance block is the only part of the sheet that predicts whether the vial will sit correctly in a 96-position tray or a 2 mL well. I look for three numbers: outer diameter tolerance, height tolerance, and bottom flatness. A useful sheet says something like 11.75 ± 0.15 mm OD, 32.0 ± 0.25 mm height, bottom concavity less than 0.3 mm. A sheet that omits the bottom flatness number is hiding the most common cause of needle bottoming and vial lift in spring-loaded trays.
Glass tubing for HPLC vials is drawn to a nominal wall thickness of 1.0 mm for 12 mm OD tubing. The actual wall varies 0.9 to 1.1 mm around the circumference. That variation creates an internal diameter range of roughly 9.8 to 10.2 mm. None of this is tested on individual vials. It is controlled by the incoming tubing inspection, which checks a sample of each tube bundle, not each vial. When a datasheet says “ID 9.8 mm,” that is a calculated nominal from the tubing spec, not a per-vial measurement.
Septum thickness is a tested value, but only at the center of the disc
A septum datasheet line reads “1.3 mm thick” or “1.5 mm thick.” That number is measured with a dial gauge at the geometric center of the molded disc. The edge of the same septum can be 0.15 mm thinner because of mold flow and cooling shrinkage. If the closure compresses the edge more than the center, the effective sealing thickness at the needle puncture zone changes. I have seen 1.3 mm septa that measured 1.12 mm at the puncture annulus after crimping. That is a 14% loss in sealing material before the first injection.
Thickness is a guaranteed value only if the sheet states the measurement point. A supplier that tests septum thickness at the center and reports 1.3 ± 0.1 mm is giving you a tested specification. A supplier that says “1.3 mm” without a location or tolerance is giving you the mold cavity dimension, which is nominal. The mold cavity is cut to 1.3 mm, but no molded part fills a cavity exactly. Shrinkage, cooling rate, and material grade move the final part by 2 to 8%.
The hardness of the septum, reported in Shore A, is also a tested value, but the test is performed on a flat plaque of the same material, not on the molded septum. A 55 Shore A silicone septum will measure 55 on a 6 mm plaque. The molded disc with its PTFE facing will measure slightly different because the facing constrains deformation. Hardness matters for resealability and needle force. A 45 Shore A septum reseals faster but allows more needle drag. A 60 Shore A septum resists coring but requires more insertion force. The number on the sheet is real, but it is a material property, not a component property.
PTFE facing thickness is the number most buyers never verify, and it is the one that fails first
The datasheet says “PTFE/silicone septum.” The PTFE layer is listed as 0.25 mm or 0.5 mm in some cases, but most sheets omit it. When it is listed, it is the nominal film thickness from the PTFE supplier. The lamination process stretches and thins the film by 5 to 15% depending on the adhesive and the molding pressure. A 0.25 mm nominal facing can arrive at 0.21 mm in the finished septum. That 0.04 mm difference changes the puncture behavior because the PTFE layer is what prevents the silicone from contacting the sample.
PTFE facing thickness is a nominal value on every sheet I have read. No one tests it per septum. The test that exists is a visual inspection for delamination and a solvent exposure test on a sample basis. If your analyte attacks silicone, you need a facing that is actually 0.25 mm or thicker after lamination, not nominally 0.25 mm. The only way to confirm is to cross-section a septum from the lot and measure it under a microscope. That takes 20 minutes and a razor blade. I have rejected two lots this way.
Puncture count is tested, but the test method defines the number more than the septum does
A datasheet that says “resealable up to 100 punctures” is quoting a test result. The question is which test. The common method uses a 23-gauge needle with a 12-degree bevel, a 5 mm penetration depth, and a puncture speed of 10 mm per second. The septum passes if no visible leak occurs after 100 cycles. Change the needle to 26 gauge and the number drops. Change the bevel to 18 degrees and the number drops again. Change the penetration depth to 8 mm and the number drops further.
The puncture count is a tested value only under the stated conditions. A sheet that omits the needle gauge, bevel angle, penetration depth, and cycle speed is not giving you a tested number. It is giving you a marketing number. I have seen “100 punctures” on a sheet where the actual test used a 22-gauge blunt needle at 3 mm depth, which is not representative of any autosampler I have operated.
For autosampler vials used in routine HPLC with 26-gauge needles, I plan for 40 to 60 reliable punctures per septum. If the method uses a 23-gauge needle and a polished conical tip, 100 punctures is achievable. If the method uses a 26-gauge beveled needle, assume the datasheet number is optimistic by 40%. The failure mode is not a visible leak. It is microcoring, where the needle cuts a small sliver of PTFE and carries it into the injection port. That sliver ends up in the rotor seal or the column inlet frit.
Closure pressure is tested on the crimp, not on the vial in your tray
The datasheet line for closure pressure says “sealing force 45 N” or “crimp pressure 0.8 MPa.” That number is measured on a force gauge during the crimping operation, not on the finished assembly sitting in your autosampler tray. The crimp force is applied by the crimping tool, and it deforms the aluminum cap around the vial neck. The actual sealing force on the septum after crimping is lower because the aluminum relaxes slightly after the tool releases.
Closure pressure is a tested value if the sheet states the crimping tool model and the force gauge used. A sheet that says “45 N” without the tool reference is giving you a nominal crimping force. The relationship between crimp force and seal integrity is not linear. Too little force leaves the septum loose and allows solvent evaporation. Too much force deforms the septum and can crack the vial neck. The useful range for 11 mm crimp caps on 12 mm vials is 35 to 55 N. Below 30 N, I see evaporation losses of 2 to 5% per day for volatile solvents. Above 60 N, I see neck cracks in 1 to 3 vials per 100.
The torque value for screw caps is a different number. A screw cap datasheet says “torque 0.8 to 1.2 N·m.” That is a tested value if the sheet states the torque driver and the thread engagement depth. Most sheets do not. The 0.8 to 1.2 N·m range is the design torque for the thread form, not a per-cap measurement. In practice, I use 0.9 N·m for 9 mm screw caps and 1.1 N·m for 10 mm screw caps. Above 1.3 N·m, the cap skirt can crack. Below 0.7 N·m, the seal is not reliable for volatile solvents.
Glass type is a tested material property, but “Type 1 Class A” is not a vial test
The datasheet says “Type 1 Class A borosilicate glass.” That is a real classification from USP <660> and ASTM E438. It is tested on the glass tubing by the glass manufacturer, not on the finished vial. The test measures hydrolytic resistance, which is the amount of alkali released when the glass is exposed to water at 121°C. Type 1 Class A glass releases less than 0.1 mL of 0.02 N acid per gram of glass. Type 1 Class B releases up to 0.2 mL. The difference matters for pH-sensitive analytes and for long-term storage.
The vial manufacturer inherits the glass type from the tubing supplier. The vial forming process does not change the hydrolytic resistance classification, but it can introduce surface defects that affect extractables. A datasheet that says “Type 1 Class A” is giving you the incoming tubing spec, not a per-vial test. The per-vial test that matters is extractables, which is a separate line item. If the sheet does not list extractables, you are buying a glass type claim without a finished-part verification.
For vials used with LC-MS, I require an extractables test report that lists the specific compounds detected, the extraction solvent, the temperature, and the duration. A sheet that says “low extractables” without the test conditions is not a specification. It is an adjective. The EPA SW-846 methods for environmental samples, available at U.S. EPA SW-846 test methods, often require extractables data for vials used in volatile organic analysis. The method does not say “low extractables.” It says what the blank must show.
Residual volume is calculated, not measured, and the calculation assumptions matter
The datasheet line for residual volume says “less than 10 µL” or “dead volume 5 µL.” That number is calculated from the internal geometry of the vial and the needle position, not measured on a filled vial. The calculation assumes a flat bottom, a specific needle tip shape, and a specific needle insertion depth. Change any of those and the residual volume changes.
A conical bottom vial with a 60-degree cone angle and a 26-gauge needle inserted to 1 mm above the cone apex has a calculated residual volume of 3 to 5 µL. The same vial with a 23-gauge needle inserted to 2 mm has a residual volume of 8 to 12 µL. The datasheet number is the best case under the stated conditions. If the sheet does not state the needle gauge and insertion depth, the residual volume is a nominal calculation, not a tested value.
The internal bottom shape is the controlling factor. A flat-bottom vial with a 0.3 mm bottom concavity has a residual volume of 15 to 25 µL because the needle cannot reach the lowest point. A conical bottom with a 0.1 mm apex radius has a residual volume of 3 to 5 µL. The difference is a factor of 5. When I buy vials for low-volume methods, I ask for the bottom shape drawing and the apex radius, not just the residual volume number.
The autosampler compatibility line is a claim, not a test
The datasheet says “compatible with Agilent, Waters, Shimadzu, Thermo.” That line means the vial dimensions fall within the tray specifications of those autosamplers. It does not mean the manufacturer tested the vial on each instrument. Most vial manufacturers do not own every autosampler model. They rely on the published tray drawings and the tolerance block.
The compatibility claim is a nominal statement derived from the dimensional tolerance block. If the tolerance block is missing or loose, the compatibility claim is unverifiable. A vial that is 11.6 mm in diameter will fit an Agilent 1100 tray. A vial that is 12.4 mm in diameter will not fit the same tray reliably. The tray pocket is 12.5 mm. The difference between 11.6 and 12.4 is the difference between a drop-in fit and a jam.
For headspace vials, the compatibility claim is tighter because the vial is sealed under pressure and heated. A headspace vial datasheet says “20 mL, 22.5 x 75 mm.” The tolerance block for headspace vials is tighter than for HPLC vials: ± 0.1 mm on OD and ± 0.5 mm on height. The crimp seal must hold 2 to 4 bar at 80 to 120°C. That is a tested value if the sheet states the pressure test and the temperature. A sheet that omits the pressure rating is not giving you a headspace vial specification. It is giving you a glass tube dimension.
Where the numbers come from: a table of tested versus nominal lines
The table below separates the common datasheet lines into tested and nominal categories. Use it when comparing sheets from different suppliers. A supplier that lists a test method and a tolerance for a line is giving you a tested value. A supplier that lists only the number is giving you a nominal value.
| Datasheet line | Category | Test method if tested | What the number actually tells you |
|---|---|---|---|
| 12 x 32 mm dimensions | Nominal | Not tested per vial | Design intent; tolerance block is the real spec |
| Outer diameter tolerance | Tested | Laser gauge on forming line | Predicts tray fit; ± 0.15 mm is typical |
| Septum thickness | Tested at center | Dial gauge | Mold cavity nominal; edge is thinner |
| Septum hardness (Shore A) | Tested on plaque | Durometer on 6 mm plaque | Material property, not component property |
| PTFE facing thickness | Nominal | Not tested per septum | Film supplier nominal; lamination thins it |
| Puncture count | Tested under stated conditions | Needle cycling rig | Only valid for the stated needle gauge and depth |
| Closure pressure (crimp) | Tested on crimp tool | Force gauge during crimping | Crimp force, not seal force on finished vial |
| Torque value (screw cap) | Tested if tool stated | Torque driver | Design range; 0.8 to 1.2 N·m typical |
| Glass type (Type 1 Class A) | Tested on tubing | USP <660> hydrolytic resistance | Incoming tubing spec, not finished vial |
| Extractables | Tested if conditions stated | Solvent extraction plus GC-MS or LC-MS | Finished vial test; conditions define the result |
| Residual volume | Calculated | Geometry calculation | Best case under stated needle conditions |
| Autosampler compatibility | Nominal | Derived from tray drawings | Dimensional claim, not instrument test |
Field case one: the 0.25 mm PTFE facing that was actually 0.19 mm
A contract lab running a terpene assay on a 1260 Infinity with a 26-gauge needle started seeing ghost peaks in the blank after 30 injections. The blank showed a cluster of siloxane peaks at m/z 73, 147, and 207. The lab manager blamed the column. I asked for a septum from the same lot and cross-sectioned it under a stereo microscope at 40x. The PTFE facing measured 0.19 mm, not the 0.25 mm on the datasheet. The silicone underneath was exposed to the injection solvent after the needle had punctured the facing 30 times. The siloxanes were leaching from the silicone into the sample.
The fix was not a new column. It was a septum lot with a facing that measured 0.24 mm or better after lamination. The lab switched to a supplier that listed the facing thickness as a tested value with a tolerance of ± 0.02 mm. The ghost peaks disappeared. The datasheet number was real, but it was the film supplier’s nominal, not the finished septum’s actual.
Field case two: the 100-puncture claim that failed at 42 injections
A pharmaceutical QC lab running a dissolution method with a 26-gauge beveled needle bought septa rated for 100 punctures. At injection 42, the needle started carrying visible PTFE fragments into the injection port. The rotor seal failed at 2,000 injections, which is half its normal life. The datasheet said “100 punctures.” The test method, buried in the supplier’s technical note, used a 23-gauge needle with a polished conical tip at 5 mm depth. The lab’s 26-gauge beveled needle at 8 mm depth cut the PTFE facing instead of pushing through it.
The fix was to reduce the puncture depth to 5 mm by adjusting the needle height in the autosampler, and to switch to a septum with a 0.5 mm PTFE facing. The puncture count dropped to 50, but the rotor seal life returned to normal. The datasheet number was not wrong. It was tested under conditions that did not match the method. The lesson is that puncture count is a conditional number. The conditions are the specification.
A decision checklist for reading a datasheet in 10 minutes
When I evaluate a new HPLC vial datasheet, I go through this checklist in order. It takes 10 minutes and prevents most of the failures I have seen.
- Does the tolerance block exist? If not, the dimensions are nominal. Ask for the drawing. A supplier that will not provide a drawing with tolerances is not a supplier I use.
- Is the septum thickness measured at the center only? If the sheet does not state the measurement point, assume the number is the mold cavity dimension.
- Is the PTFE facing thickness listed? If not, assume 0.15 to 0.2 mm actual. If your method uses a beveled needle, you need 0.3 mm or more.
- Does the puncture count state the needle gauge, bevel angle, penetration depth, and cycle speed? If any of these are missing, the number is not transferable to your method.
- Does the closure pressure state the crimping tool and force gauge? If not, the number is a nominal crimp force. Verify with your own crimping tool.
- Does the extractables line state the solvent, temperature, and duration? If not, the claim is unverifiable. For LC-MS, require the full report.
- Is the residual volume calculated from a stated needle position? If not, the number is a best-case geometry calculation. Measure it on your autosampler if low-volume recovery matters.
- Does the compatibility line reference the tray drawing revision? If not, the claim is a marketing statement. Check the tolerance block against your autosampler’s published tray dimensions.
The suppliers with the most transparent datasheets in my experience are the ones that publish their test methods. Agilent lists the puncture test conditions for their chromatography consumables in the technical notes. Thermo Fisher publishes extractables data for their sample handling products with the solvent and temperature stated. Restek has a library of technical resources for chromatography that explains which numbers are tested and which are nominal. Use those as the benchmark. A datasheet that gives you fewer details than those suppliers is asking you to trust a number without a method.
The decision rule is simple. Every line on an HPLC vial datasheet is either a tested value or a nominal value. A tested value has a method, a tolerance, and a stated condition. A nominal value has none of those. When you compare two datasheets, compare the tested values first. The nominal values are the same for every supplier because they all buy the same glass tubing and the same PTFE film. The difference between a vial that works and a vial that fails your method is in the tested values, and in the conditions under which they were tested.
References & further reading
Related resources from our lab consumables network:
- Hplc Vial at hplcgc.com
- Autosampler Vial at autosamplerhplc.com
- Vial at vials-filters.com
- Headspace Vial at headspacevialsupplier.com
External references and standards: