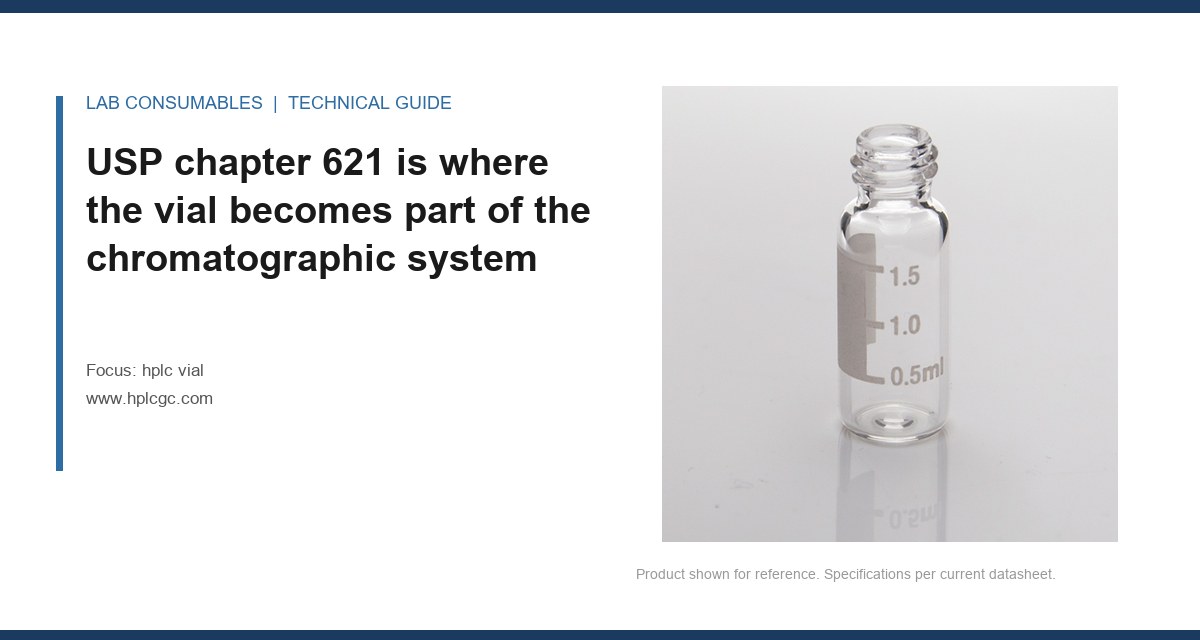
A 2 mL clear glass vial rolled off a forming line at 4:12 PM with an outer diameter of 11.58 mm. The spec was 11.60 mm ± 0.10 mm, so technically it passed. Six hours later, that same vial jammed in a 120-vial autosampler tray and stopped a 96-sample sequence cold. The problem was not the diameter. It was a 0.04 mm ridge left at the parting line, one that the end-of-line optical sorter never flagged because it only measured at two points. This is what actually happens inside an HPLC vial factory, and it is why understanding how an HPLC vial is manufactured and what the factory controls matters more than the certificate that ships with the box.
Most buyers imagine a vial factory as a long row of machines spitting out glass tubes. That is only the visible part. The real control system is split into two categories: parameters that are adjusted automatically by feedback loops during the run, and parameters that are measured after the fact by a QC lab that may be 40 meters away from the line. Knowing which is which tells you where failures hide.
The four closed-loop controls on a modern vial line are glass gob weight, mold cooling temperature, annealing lehr belt speed, and forming air pressure. These four run continuously and correct themselves every few seconds. Gob weight is measured by a shear sensor that weighs the molten glass drop before it enters the blank mold. If the gob drifts by more than 0.5% from target, the feeder plunger stroke adjusts automatically. Mold cooling temperature is controlled by thermocouples embedded in the mold halves, with water or oil circulating through channels. The setpoint depends on glass type: for 33 expansion borosilicate, mold surface temperature typically sits between 520°C and 560°C. Annealing lehr belt speed is tied to a pyrometer reading at the lehr exit. If glass exits above 70°C, the belt slows down. Forming air pressure, which blows the parison into the final vial shape, is regulated to ± 0.02 bar. These loops are the difference between a stable run and a drifting one.
Everything else on the line is end-of-line inspection or periodic sampling. Wall thickness, internal base flatness, thread profile, septum seat diameter, and residual stress are all checked after the vial has cooled. Some lines have inline laser wall-thickness gauges, but most do not. Most factories measure wall thickness on one vial every 15 to 30 minutes using a handheld ultrasonic gauge. That is not closed-loop control. That is a snapshot that can miss a 10-minute drift.
What the gob weight actually controls
Gob weight is the single most important variable in vial forming. A 2 mL HPLC vial blank typically starts as a gob weighing between 4.8 g and 5.4 g, depending on the mold design and the glass density. If the gob is 0.1 g light, the vial wall comes out thin in the heel area where the bottom meets the sidewall. That heel is exactly where autosampler needles strike when they bottom out. A heel that is 0.2 mm instead of 0.6 mm will crack on the third puncture. I have seen lots where 40% of vials failed a 5-puncture test because the gob weight drifted 0.15 g over a 20-minute period and nobody caught it until the QC lab ran the puncture test four hours later.
The gob weight is set by the feeder tube height and the plunger stroke. On a well-run line, the gob weight is checked every 10 minutes with a digital scale accurate to 0.01 g. On a poorly run line, it is checked once per shift. The difference shows up as intermittent heel cracks that no one can reproduce in the lab because the lab vials came from a different part of the run.
Mold temperature is a surface finish parameter, not just a dimension parameter
When a buyer asks about dimensional tolerances, they usually mean outer diameter, height, and thread specs. But mold temperature controls something more subtle: the parting line and the surface roughness of the glass. A mold that runs too cold produces vials with visible chill marks and a rough parting line. A mold that runs too hot produces vials that stick to the mold and come out with drag marks or micro-cracks at the neck.
The parting line is the seam where the two mold halves meet. On a HPLC vial, the parting line runs vertically along two opposite sides. If the mold halves are misaligned by more than 0.02 mm, the parting line becomes a raised ridge. That ridge is what jammed the autosampler I described at the start. The outer diameter at the ridge might be 11.62 mm, still within a 0.10 mm tolerance band, but the ridge is a localized high spot that a two-point diameter check misses. The fix is not a tighter diameter tolerance. The fix is a mold alignment check every 4 hours using a dial indicator on the mold faces while the mold is closed and hot.
Surface roughness matters for two reasons. First, a rough internal surface increases the surface area available for analyte adsorption, especially for basic compounds and proteins. Second, a rough external surface increases friction in the autosampler tray and can cause vials to sit slightly tilted. The standard control is a Ra value of 0.4 µm or better on the internal bore, measured with a stylus profilometer on one vial per mold cavity per shift. Molds that have run more than 500,000 cycles typically show Ra drift upward of 0.8 µm, at which point the mold should be repolished or replaced.
Annealing is where residual stress gets locked in or released
Glass that cools too fast retains residual stress. In an HPLC vial, residual stress shows up as spontaneous cracking during autoclaving, during cold storage, or during septum crimping. The annealing lehr is a long oven with a controlled temperature gradient. The vial enters at around 560°C and exits at below 70°C over a period of 45 to 90 minutes, depending on glass mass and wall thickness.
The critical control point is the strain point, which for 33 expansion borosilicate is around 515°C. The glass must spend enough time between the annealing point (560°C) and the strain point (515°C) for internal stresses to relax. If the belt speed is too high, the glass passes through this range too quickly and stress remains. The standard check is a polariscope examination. A vial with residual stress above 4 nm/cm optical retardation is at risk of cracking under thermal shock. I have rejected an entire lot of 10,000 vials because the polariscope showed 6 to 8 nm/cm retardation in the heel area. The vials looked fine. They would have cracked in a -80°C freezer within a week.
For headspace vials, which run at higher pressures and temperatures, the residual stress spec is tighter. A headspace vial that sees 140°C and 2 bar internal pressure needs residual stress below 2 nm/cm. The same annealing lehr can produce both types, but the belt speed and zone temperatures must be changed. A factory that runs HPLC vials and headspace vials on the same line without changing the lehr profile is producing one of them out of spec.
Septum seating is a forming problem, not a cap problem
Most people blame the cap when a septum leaks. In my experience, the vial neck is the culprit at least half the time. The septum seats against the top rim of the vial neck, called the landing surface. If that surface is not flat within 0.05 mm total indicated runout, the septum will not compress evenly. The cap may be torqued correctly, but the seal will leak at the low spot.
The landing surface is formed by the neck ring in the mold. After forming, the vial top is fire-polished to remove sharp edges. Fire polishing is a manual or semi-automated step on many lines, and it is where flatness drifts. An operator who holds the vial in the flame for an extra half-second melts the rim slightly and creates a wave. The QC check is a dial indicator on a granite surface plate, measuring the rim at 8 points around the circumference. A good factory checks 5 vials per mold cavity per shift. A bad factory checks one vial per shift and calls it a day.
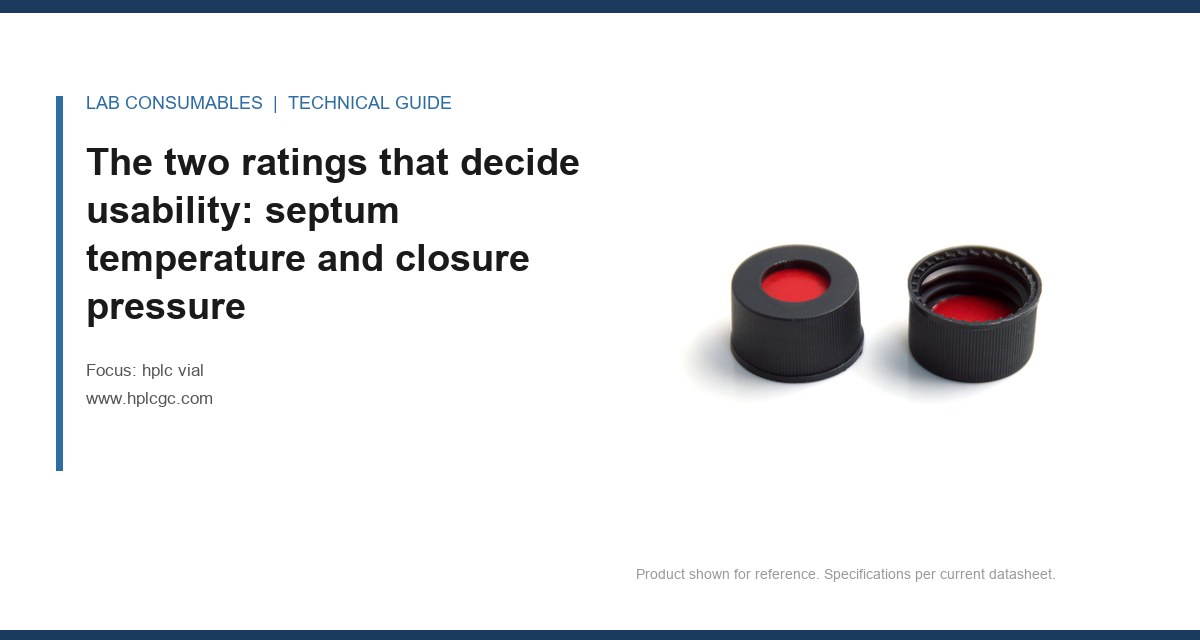
The interaction with the cap matters too. An autosampler vial cap with a PTFE/silicone septum requires a minimum compression of 0.25 mm to seal against 1 bar of internal pressure. If the landing surface is low on one side by 0.10 mm, that side gets only 0.15 mm of compression and will leak under repeated needle punctures. The standard puncture test for a 9 mm screw cap is 5 punctures with a 22-gauge needle at 1 puncture per second, with no leak detected by a pressure decay test at 0.5 bar. A vial with a wavy rim will fail that test on puncture 2 or 3.
Closed-loop vs. end-of-line: a decision table
Here is the practical breakdown of what a factory controls in real time versus what it only checks after the fact. This table is based on what I have observed on lines in three countries, not on what a brochure claims.
| Parameter | Control type | Measurement point | Typical spec | Failure if uncontrolled |
|---|---|---|---|---|
| Gob weight | Closed-loop | Feeder shear sensor | ± 0.5% of target | Thin heels, puncture cracks |
| Mold temperature | Closed-loop | Thermocouple in mold | 520–560°C | Parting line ridges, chill marks |
| Lehr belt speed | Closed-loop | Pyrometer at lehr exit | Exit below 70°C | Residual stress, thermal cracks |
| Forming air pressure | Closed-loop | Pressure transducer | ± 0.02 bar | Wall thickness variation |
| Wall thickness | End-of-line | Ultrasonic gauge, 1 per 15–30 min | 0.6–1.2 mm for 2 mL vial | Needle strike-through, breakage |
| Rim flatness | End-of-line | Dial indicator, 5 per cavity per shift | 0.05 mm TIR | Septum leak, cap cross-threading |
| Residual stress | End-of-line | Polariscope, 2 per cavity per shift | Below 4 nm/cm | Spontaneous cracking, autoclave failure |
| Surface roughness | End-of-line | Profilometer, 1 per cavity per shift | Ra 0.4 µm or better | Adsorption, tray jamming |
The takeaway from this table: if a parameter drifts during the run, the closed-loop system catches it and corrects it. If a parameter drifts between QC checks, the factory ships bad vials and the certificate of analysis still looks fine because the sampled vials happened to be good.
Two field cases where the factory control gap caused a lab failure
Case 1: The intermittent heel crack in a 2 mL screw-top vial. A contract lab running 400 samples per day started seeing vial breakage in the autosampler at a rate of 3 to 5 per 1000. The vials were from a new supplier, and the certificate showed all dimensions in spec. I asked for the gob weight records. The supplier sent a summary sheet showing gob weight checked once per shift. I asked for the raw feeder log. It showed a 0.12 g drift over a 25-minute period that happened to fall between shift checks. The vials produced in that window had heel walls as thin as 0.3 mm. The fix was not a new supplier. It was a supplier requirement for gob weight checks every 10 minutes with a control chart, plus a 100% inline wall-thickness laser on the heel. The failure rate dropped to zero within two weeks.
Case 2: The wavy rim on a 9 mm screw-top vial. A pharmaceutical QC lab reported that 8% of their vials leaked after crimping, detected by a pressure decay test after 5 needle punctures. The caps were from a reputable supplier and the septum compression was set to 0.30 mm. I measured the rim flatness on 50 vials from the lot. Twelve of them had a low spot of 0.08 to 0.12 mm on one side. The fire-polishing operator had been holding each vial in the flame for slightly too long, creating a wave on the rim. The factory’s QC had measured rim flatness on 5 vials per shift, but all 5 came from the same mold cavity and the same operator’s first hour of work. The fix was a 100% automated rim flatness check using a laser profilometer at the end of the line, plus retraining the fire-polishing operator. The lab switched to a vial supplier that had the inline laser check, and the leak rate dropped below 0.1%.
What to ask the factory before you sign the PO
You cannot visit every factory, but you can ask the right questions. Here is the checklist I use when qualifying a new HPLC vial supplier. If they cannot answer these, they are not controlling the line. They are sorting at the end and hoping.
- What is the gob weight target for the specific vial I am buying, and how often is it checked? The answer should be a specific weight in grams and a frequency of 10 minutes or less.
- Do you have inline wall-thickness measurement on the heel, or is it manual? Manual is acceptable for low-volume, but for anything over 50,000 vials per month, I want inline.
- What is your mold temperature setpoint and your mold alignment check frequency? The setpoint should be in the 520–560°C range for borosilicate, and alignment should be checked every 4 hours.
- What is your lehr profile for HPLC vials versus headspace vials? If they give you the same profile for both, walk away.
- What is your rim flatness spec and how many vials per cavity per shift do you measure? The spec should be 0.05 mm TIR or better, and the sample size should be at least 5 per cavity.
- Do you run a polariscope on every shift, and what is your rejection limit? The limit should be 4 nm/cm or less for HPLC vials, 2 nm/cm or less for headspace vials.
- Can you send the raw control charts for gob weight, mold temperature, and lehr exit temperature for the last three production runs? If they send only summary statistics, they are hiding the drift.
These questions map directly to the control points I described above. A factory that controls gob weight, mold temperature, lehr speed, and forming air pressure in closed loops, and that checks wall thickness, rim flatness, residual stress, and surface roughness at meaningful frequencies, will produce vials that work. A factory that skips any one of these will eventually produce a lot that fails in your autosampler, and you will be the one who finds it.
The decision rule is simple: buy from a factory that can show you the control charts, not just the certificate. The certificate tells you what the sampled vials looked like. The control charts tell you what every vial looked like. For HPLC vials, that difference is the difference between a sequence that runs overnight and a sequence that stops at 2 AM. Reference standards from Agilent, Thermo Fisher, U.S. EPA SW-846, and Restek all assume a vial that is mechanically stable. If the vial is not, no method will save the run.
References & further reading
Related resources from our lab consumables network:
- Hplc Vial at hplcgc.com
- Autosampler Vial at autosamplerhplc.com
- Vial at vials-filters.com
- Headspace Vial at headspacevialsupplier.com
External references and standards: