I once watched a lab lose three days of method validation because someone pulled a case of 12 x 32 mm vials out of the general consumables cupboard and ran an ambient-temperature method on an autosampler that had been set to 8 °C the week before. The vials were fine at 22 °C. At 8 °C the septa stiffened, the needle punched cleanly for the first forty injections, then started dragging. By injection 60 the puncture holes had stopped resealing and the run sequence was bleeding solvent vapour into every sample. Nobody had checked a temperature rating because nobody knew one existed. That is the whole problem in a sentence: most buyers pick a vial by dimension and closure style, and never look at the two numbers that actually govern whether it survives the method.
This guide is about those two numbers. Temperature and pressure. Not the four dimensions (we have covered those), not coring mechanics, not lot-to-lot variation. Just the thermal and pressure envelope of the vial, the septum, and the cap, and how to read that envelope against your autosampler, your sample matrix, and your injection count. If you buy vials, specify methods, or sign off on consumables, this is the part of the datasheet that decides whether the vial is usable at all.
A standard HPLC vial is a borosilicate glass cylinder with a crimp or screw closure and an elastomeric septum. Each of those three components has its own thermal limit. The one that fails first is almost always the septum, not the glass. Borosilicate 33 expansion glass (the USP Type I material most HPLC vials are molded from) handles continuous service well above 100 °C and short excursions past 150 °C without deformation. The septum is the weak link, and the closure is the pressure boundary.
So the ratings that matter are:
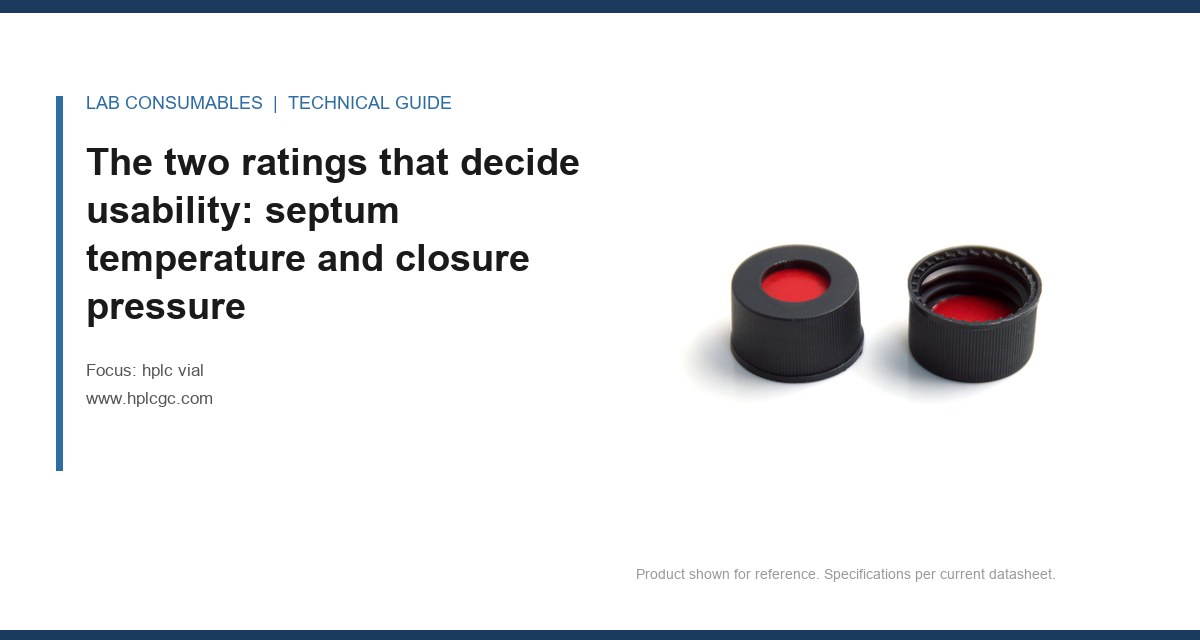
- Septum continuous service temperature: the ceiling at which the elastomer still reseals after puncture. Typical values: silicone/PTFE 70 to 100 °C, red rubber 80 to 100 °C, butyl 90 to 100 °C, EPDM 120 to 135 °C, silicone 180 to 200 °C.
- Septum glass transition or softening point: the temperature above which the material creeps under the cap’s compression and stops sealing. For silicone this is around -120 °C (Tg) so it stays flexible cold; for butyl it stiffens sharply below 0 °C.
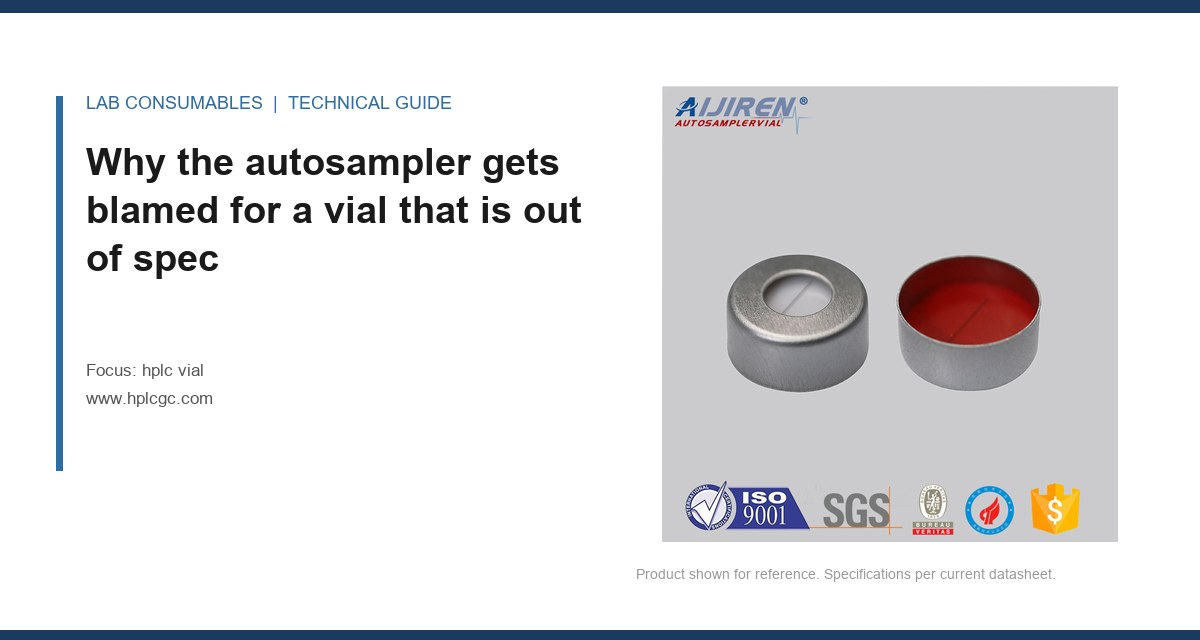
- Closure pressure rating: the internal pressure the cap and septum can hold without lifting or extruding the septum. For a standard 11 mm aluminium crimp with a 1 mm PTFE-faced silicone septum, that is roughly 1.5 to 2 bar differential. For a 13 mm crimp, slightly higher. For a screw cap with a PTFE-lined silicone septum, typically 1 to 1.5 bar, because screw caps seal by torque, not by crimp deformation.
- Headspace pressure at your autosampler temperature: this is the number nobody calculates, and it is the one that causes most of the failures.
If you only remember one thing from this article: the pressure inside a sealed vial is not the pressure you set on the instrument. It is the vapour pressure of your sample at the temperature the vial actually sits at, plus any gas you introduced during preparation. Those are different numbers, and the gap between them is where vials fail.
Why temperature ratings on septa are not the same as “max temp”
I have seen septa datasheets that quote “max 100 °C” and nothing else. That number is usually a compression-set limit, not a functional limit. It tells you the temperature at which the elastomer will take a permanent deformation under the cap’s compression. It does not tell you the temperature at which the septum stops resealing after puncture, which is the property that matters for an autosampler.
Resealing is a mechanical recovery process. The needle punches a hole (typically 0.5 to 0.63 mm for a 23-gauge needle, 0.8 mm for a 21-gauge). The elastomer has to close that hole against the internal pressure within the time between needle withdrawal and the next injection. At room temperature a good silicone septum closes a 0.63 mm hole in well under a second. At 5 °C the same septum is stiffer, recovery is slower, and if the internal pressure is above about 0.3 bar the hole stays open long enough to lose a measurable amount of solvent. At -20 °C most silicone septa still function, which is why they dominate cold autosampler applications. Butyl and red rubber do not, and that is why you should not use them below 0 °C even though the datasheet may say “80 °C max” and say nothing about the cold end.
What the septum temperature rating actually covers
When a supplier quotes a temperature range, ask what test produced it. A defensible rating comes from a compression set test (ASTM D395, method B, 22 hours at temperature) plus a reseal test after repeated puncture. The reseal test is the one to insist on. A septum that passes compression set at 100 °C but fails reseal at 60 °C is a septum rated for a static seal, not for an autosampler. Most of the septa sold into HPLC are rated by compression set alone because it is cheaper to run. That is why the “100 °C” on the box so often does not survive contact with a real method.
For a working number: a PTFE-faced silicone septum in an 11 mm crimp closure will hold a reseal through at least 100 punctures at 40 °C with a 0.63 mm needle and less than 0.5% sample loss per injection. Push the same septum to 80 °C and the puncture count before measurable loss drops to roughly 30 to 50. Push to 100 °C and you are down to a handful. That is the trade you are making when you run a hot method on a standard septum.
Pressure limits: what the cap actually holds
Pressure inside a sealed vial comes from three sources, and they add:
- Vapour pressure of the sample at the autosampler temperature. Water at 40 °C is about 0.07 bar. Methanol at 40 °C is about 0.35 bar. Acetonitrile at 40 °C is about 0.18 bar. At 60 °C those roughly double. At 80 °C methanol is near 0.8 bar.
- Dissolved gas from preparation (degassing, sonication, sparging). A sample sonicated warm and capped hot can carry 0.2 to 0.5 bar of excess pressure once it cools.
- Headspace expansion if the vial is filled cold and then warmed in the autosampler tray. A 1.5 mL fill in a 2 mL vial leaves 0.5 mL headspace; warming that headspace from 5 °C to 40 °C raises its pressure by roughly 0.12 bar on its own.
Add those up for a methanol-rich sample at 40 °C with a warm-capped preparation and you can be at 0.6 to 0.8 bar before the needle touches the septum. That is within the rating of a good 11 mm crimp, but it is close enough to the limit that a marginal crimp will lift. And a lifted crimp is not a dramatic failure. It is a slow leak that shows up as a drifting internal standard peak area over a 40-injection sequence, which is exactly the kind of thing that gets blamed on the column.
Crimp versus screw cap: the pressure difference is real
I have run both. A properly set 11 mm crimp (jaw height 5.5 mm, crimp diameter 11.0 mm) produces a metal-to-glass seal that is genuinely pressure-tight to about 1.5 to 2 bar. A screw cap with the same septum, torqued to the manufacturer’s spec (usually 0.8 to 1.2 N·m for a 9 mm or 10-425 cap), is pressure-tight to about 1 to 1.5 bar, and only if the torque is right. Under-torque and it leaks at 0.3 bar. Over-torque and you deform the septum, which shortens its reseal life and can extrude it into the neck.
If your method runs above 0.5 bar internal pressure, crimp. If your method is ambient and you value the ability to re-open and re-cap, screw cap is fine. Do not mix the two within a sequence, because the pressure behaviour is different and the autosampler’s needle guide is set for one closure height.
For headspace work the pressure story is different again. A headspace vial is pressurised deliberately (typically to 1 to 2 bar with carrier gas) and then heated to 60 to 200 °C. That is why headspace vials use a thicker septum, a heavier crimp, and a different closure geometry. Do not substitute an HPLC vial into a headspace method. The pressure rating is not there.
The autosampler tray temperature is the number you are actually fighting
Here is the operational point that most selection guides skip. The relevant temperature is not the column oven temperature, not the method temperature, and not the ambient lab temperature. It is the temperature of the sample compartment in your autosampler, at the moment of injection, for the duration of the sequence. Those can differ by 20 °C or more.
Common autosampler sample compartment setpoints I have worked with:
- Ambient (no control): 20 to 25 °C in a conditioned lab, but 28 to 32 °C near a window or above a heat source. I have seen a tray at 34 °C in July because the lab HVAC was undersized.
- Peltier cooled: 4 to 15 °C, typically settable to 4 °C. This is where septum stiffness starts to matter.
- Peltier heated: 30 to 60 °C, used for viscous or high-melting samples.
- Refrigerated: 4 °C nominal, but the tray can cycle between 3 and 7 °C as the compressor runs. That cycling is a pressure cycle on every vial.
If your tray is at 4 °C and your sample is 80% methanol, the vapour pressure inside the vial is low (about 0.08 bar at 4 °C), which is good for pressure but bad for septum stiffness. A butyl septum at 4 °C is noticeably stiff and will start to leak after 50 to 80 punctures. A silicone septum at 4 °C is fine. This is why cold methods should specify silicone, and why the “temperature rating” on the datasheet needs to be read at both ends, not just the top.
What happens at the cold end
Cold failures are quieter than hot failures. The septum does not blow out. It just stops resealing cleanly, and you get a slow ingress of air and moisture into the vial over the sequence. For a method using a volatile internal standard, the standard evaporates out through the leak and the peak area drifts down. For a method sensitive to oxygen, the sample oxidises and you get a new peak that was not there at injection 1. Both look like method problems. Both are septum temperature problems.
The fix is not complicated. Use a silicone or silicone/PTFE septum below 10 °C. Do not use butyl or red rubber below 0 °C. And if your tray cycles (refrigerated units do), give the septum a compression set margin: choose a septum rated at least 20 °C below your lowest tray temperature.
A selection checklist with real numbers
This is the table I would hand to a buyer. It is not exhaustive, but it covers the decisions that actually change which vial you can use.
Decision checklist: temperature and pressure
- Tray temperature at injection: measure it, do not assume it. Log it for a week. If it swings more than 5 °C, treat the high end as your operating temperature.
- Sample vapour pressure at tray temperature: look it up for your dominant solvent. Methanol 0.35 bar at 40 °C, 0.8 bar at 80 °C. Water 0.07 bar at 40 °C. Acetonitrile 0.18 bar at 40 °C.
- Preparation overpressure: if you sonicate, vortex warm, or cap hot, add 0.2 to 0.5 bar. If you degas and cap cold, add nothing.
- Total internal pressure: sum the two. Compare to closure rating. Crimp 11 mm: 1.5 to 2 bar. Screw 9 mm: 1 to 1.5 bar. Headspace crimp 20 mm: 2 to 3 bar.
- Septum material at tray temperature: silicone/PTFE for -20 to 100 °C; silicone for -60 to 180 °C; EPDM for 0 to 130 °C; butyl for 5 to 90 °C only; red rubber for 5 to 80 °C only.
- Puncture count expected: single-injection vials (1 puncture) can use a thin septum. Multi-injection sequences (10 to 100 punctures) need a reseal-rated septum. Above 100 punctures, use a pre-slit septum or accept a defined loss.
- Needle gauge: 23-gauge (0.63 mm) is standard. 21-gauge (0.8 mm) needs a thicker septum and reduces puncture count by roughly 40%.
- Torque for screw caps: 0.8 to 1.2 N·m for 9 mm; 1.0 to 1.5 N·m for 10-425. Check with a torque wrench quarterly.
- Crimp jaw setting: 5.5 mm jaw height, 11.0 mm crimp diameter for 11 mm aluminium. Verify with a crimp gauge every 500 caps.
If you want a single number to remember: 0.5 bar. Below 0.5 bar internal pressure, almost any correctly fitted closure with a silicone septum will hold. Above 0.5 bar, you need to be deliberate about closure choice, septum thickness, and crimp or torque verification. Above 1 bar, you are in headspace territory and should be using headspace hardware, not an HPLC vial.
Where the standards come in
There is no single ISO standard that gives an HPLC vial a temperature and pressure rating. What exists is a set of dimensional standards that fix the geometry, and a set of material standards that fix the elastomer. The ratings themselves come from the manufacturer’s test data, and the quality of that data varies enormously.
The dimensional standards you should know:
- GPI 9 mm and 10-425 thread specifications for screw caps. The GPI (Glass Packaging Institute) thread finish defines the cap engagement, which determines how much compression the septum sees at a given torque.
- ISO 4796 for laboratory glassware, which covers the borosilicate material but not the closure.
- USP <660> for containment performance of glass and elastomeric closures, which is the closest thing to a functional standard for the septum.
- ASTM D395 for compression set of the elastomer, which is the test behind most temperature ratings.
For method-specific requirements, the EPA’s SW-846 test methods specify vial types for particular determinands (for example, volatile organics by GC-MS require a specific headspace or purge-and-trap vial, and the method text gives the closure requirements). Read the method, not the catalogue.
For instrument-specific fit and temperature behaviour, the autosampler manufacturer’s consumables documentation is the authority. Agilent’s consumables and column documentation and Thermo Fisher’s chromatography and sample handling pages both publish vial and septum specifications by instrument model, including tray temperature ranges and recommended septum materials. Restek’s technical resources are also worth bookmarking for septum selection by application. None of these will hand you a single “max pressure” number, but they will tell you which septum the instrument maker expects in a given tray.
Troubleshooting: matching symptoms to the temperature or pressure limit
When a sequence goes wrong, the vial is usually the last thing checked. Here is how I work backwards from the symptom to the rating.
Symptom: peak area drift downward over the sequence
Likely a slow leak, which is a pressure or reseal failure. Check the tray temperature against the septum rating. Check the crimp or torque. If the tray is cold and the septum is butyl, that is the answer. If the tray is warm and the sample is methanol-rich, calculate the internal pressure and compare to the closure rating. A 0.2 bar leak over 40 injections will cost you 5 to 15% of peak area on a volatile analyte.
Symptom: new peak appears mid-sequence
Likely ingress of air or moisture through a septum that has stopped resealing. This is a cold-end or high-puncture-count failure. Count the punctures. If you are above 50 on a standard septum, that is your answer. Move to a reseal-rated septum or a pre-slit design.
Symptom: septum pushed into the vial
This is a pressure event, not a puncture event. Internal pressure exceeded the closure’s ability to hold the septum in compression, and the septum extruded. Causes: overfilled vial (too little headspace), hot-capped sample, or a crimp that was set too loose. Check fill volume (leave at least 25% headspace), check crimp diameter with a gauge, and check whether the sample was capped warm.
Symptom: needle bends or cores
Usually a fit problem, but can be a temperature problem if the septum has hardened. A butyl septum at 4 °C is hard enough to deflect a 23-gauge needle on an autosampler with a worn needle guide. If you see this only in cold methods, change the septum material before you change the needle.
Symptom: cap lifts or loosens during the run
Pressure. The internal pressure exceeded the crimp or torque. This is the clearest signal that you are above the closure rating. Recrimp, retorque, and if it recurs, move to a heavier closure or reduce the sample’s vapour pressure (lower tray temperature, change solvent, reduce fill).
What I recommend, concretely
For a standard reverse-phase HPLC method at ambient tray temperature with a methanol or acetonitrile mobile phase and a single injection per vial: a 2 mL clear glass 12 x 32 mm vial, 11 mm aluminium crimp, 1 mm PTFE-faced silicone septum. It is rated to 1.5 to 2 bar, reseals through 100+ punctures at 40 °C, and costs little. This is the default and it covers most work.
For a cold tray (4 to 10 °C): same vial, but specify a silicone or silicone/PTFE septum rated to -20 °C, and avoid butyl. If the tray cycles, add a 20 °C margin.
For a warm tray (40 to 60 °C) with a volatile solvent: 11 mm crimp with a thicker septum (1.5 mm), verified crimp geometry, and a fill volume that leaves at least 30% headspace. Calculate the internal pressure before you commit. If it exceeds 1 bar, move to a headspace vial and a pressure-rated closure.
For multi-injection sequences above 50 punctures: pre-slit septum or a reseal-rated silicone, and a documented puncture count per vial in the method. Do not reuse a vial past its rated puncture count just because it looks intact.
For anything involving heating above 60 °C or deliberate pressurisation: use a headspace vial with a 20 mm crimp and a PTFE-faced silicone septum rated for the temperature. An autosampler vial is not a pressure vessel; a headspace vial is designed as one. And when you are cross-referencing part numbers across suppliers, check the vial specification against the instrument maker’s tray temperature range, not just the dimensions.
The takeaway: temperature and pressure are the two ratings that decide whether a vial is usable, and they interact. A septum that reseals perfectly at 22 °C can fail at 4 °C or at 60 °C, and the pressure inside the vial is set by your sample and your tray, not by the instrument’s setpoint. Measure the tray temperature, calculate the internal pressure, match the septum material to both ends of the temperature range, and verify the crimp or torque. Do that, and the vial stops being the variable in your method.
References & further reading
Related resources from our lab consumables network:
- Hplc Vial at hplcgc.com
- Autosampler Vial at autosamplerhplc.com
- Vial at vials-filters.com
- Headspace Vial at headspacevialsupplier.com
External references and standards: