I have watched a tray gripper drop the same sample three times in one afternoon, and the analyst blamed the autosampler. It was not the autosampler. The vial body was 0.4 mm oversize at the shoulder, the gripper jaws closed on the taper instead of the straight wall, and the vial tilted about 3 degrees before the transfer arm got there. The instrument logged a “vial not found” error. The method had nothing to do with it. That pattern repeats across labs more than anyone wants to admit, so this piece is about the specific mechanical faults in grippers and trays that trace back to the vial, and how to tell them apart from real instrument failures.
An autosampler is a positioning machine. It expects a vial to sit inside a defined envelope, in a defined tray pocket, at a defined height relative to the needle guide. When that envelope is violated, the firmware reports a position error, a gripper error, or a tray jam. All three sound like instrument problems. None of them tell you the vial is the cause.
The reason is that the error codes are written around the mechanism, not the consumable. A CTC PAL, an Agilent 7693A, a Thermo TriPlus, and a Waters 2777 all use different gripper geometries, but they share one assumption: the vial body diameter is consistent to within about ±0.2 mm and the closure sits square to the body axis. Real molded glass varies more than that if the mold is worn or the annealing is off. I have measured 12 mm vials from three lots of the same catalog number and found shoulder diameters spanning 11.86 to 12.31 mm. That 0.45 mm spread is enough to change how a gripper jaw seats.
If you are buying on price alone and not checking dimensional consistency, you are handing the instrument a moving target. The right starting point is a vial whose molded dimensions are controlled against a stated tolerance, not a nominal dimension. See the Hplc Vial range at hplcgc.com for the dimensional spec sheet that should accompany every lot.
The gripper mechanism and what it actually grips
Most autosampler grippers use two jaws that close on the vial body at a fixed height above the tray floor, usually between 10 and 18 mm from the base. That height is chosen to clear the tray pocket and to sit below the closure. If the vial is short by 1 mm because the base is concave (a common molding defect), the jaws close higher up the body, sometimes on the shoulder taper. The grip is then unstable, and the transfer arm swings the vial with visible play.
Jaw contact geometry
Jaws are usually fitted with a soft pad, often PEEK or a glass-filled polymer, to avoid chipping the glass. The pad has a working life. After roughly 50,000 to 80,000 grip cycles the pad compresses or glazes, and grip force drops. When that happens, the instrument starts dropping vials that it used to handle cleanly. The fix is a pad replacement, not a new tray. But the failure is often triggered earlier by vials with rough or out-of-round bodies, which wear the pad faster.
What “out of round” means in numbers
A 12 x 32 mm vial should measure 12.00 mm ±0.15 mm on the body diameter at the grip zone. Out-of-roundness (the difference between the largest and smallest diameter in one cross-section) should stay under 0.10 mm. I have seen cheap lots run at 0.25 mm out-of-round, and those vials cause gripper slip on every third or fourth pick. If your instrument logs intermittent “vial lost” errors on the same tray position, measure the vials before you call service.
Tray pocket errors that are really vial height problems
Trays are molded or machined to hold a specific vial format. A standard 12 x 32 mm tray pocket is about 12.3 mm in diameter and 32.5 mm deep. The tolerance on pocket depth is usually ±0.2 mm. A vial that is 32.6 mm tall will sit proud by 0.1 mm. That sounds trivial until the needle guide has only 0.3 mm of clearance above the septum, and the needle punches through at an angle. The result is a bent needle, a coring event, or a septum pushed into the vial.
Height variation across a lot is the culprit more often than nominal height. Molded glass can vary by 0.3 to 0.5 mm in overall height if the parison weight is not controlled. If you are running a tray of 100 vials and 6 of them are 0.4 mm tall, those 6 will fail. The other 94 will not. That is why the error looks random.
Checking tray pocket depth against vial height
Take a random sample of 10 vials from a lot. Measure overall height with a digital caliper to 0.01 mm. Then measure the tray pocket depth at five positions. The clearance is pocket depth minus vial height. You want a positive clearance of at least 0.2 mm and no more than 0.8 mm. Too little clearance means the vial sits proud. Too much means the vial rocks in the pocket, which misaligns the septum under the needle.
The closure is part of the grip envelope
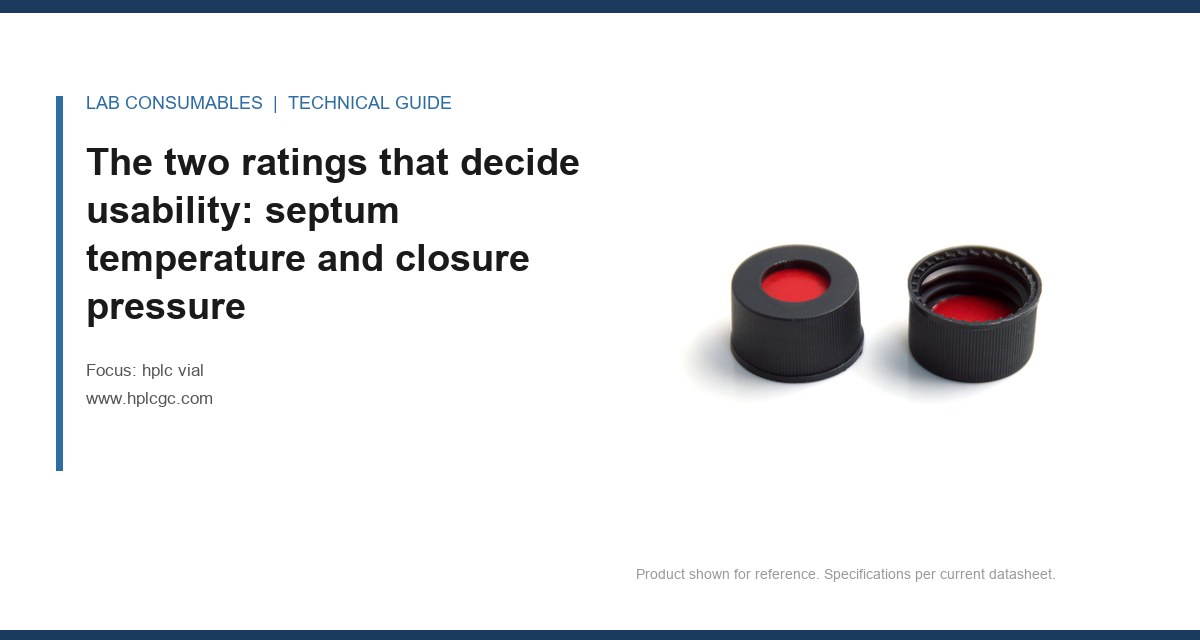
Grippers do not touch the closure, but the closure changes the effective height of the vial. A crimp cap adds about 6.5 mm above the glass rim. A screw cap adds about 5.8 mm. If you switch from crimp to screw-top vials without re-teaching the tray, the transfer arm may grip too high or too low. I have seen this exact mistake cause a week of intermittent errors on a Thermo TriPlus after a method transfer.
The other issue is cap diameter. A standard 11 mm crimp cap measures about 11.0 mm across the skirt. Some cheap caps run to 11.3 mm. That extra 0.3 mm can rub against the tray pocket wall during the pick, and the gripper has to overcome friction. Over a 96-well tray that friction adds up, and the gripper motor current rises until the firmware flags a stall. The cap is the problem, not the gripper.
For a full picture of how closure geometry interacts with the instrument, the Autosampler Vial reference at autosamplerhplc.com covers the cap-to-body interface in detail.
A troubleshooting checklist for gripper and tray errors
Work through this in order. Do not skip to the instrument until you have cleared the vial side.
- Measure 10 vials from the lot for body diameter (target 12.00 ±0.15 mm), overall height (target 32.0 ±0.3 mm), and out-of-roundness (under 0.10 mm).
- Check the shoulder diameter at the grip zone. It should not exceed the body diameter by more than 0.2 mm.
- Inspect the closure skirt for diameter (11.0 ±0.1 mm for 11 mm caps) and for squareness to the body axis. A cap that sits 1 degree off square will catch on the tray wall.
- Measure tray pocket depth at five positions per tray. Clearance to vial height should be 0.2 to 0.8 mm.
- Check the gripper pad for glazing, compression, or glass dust. Replace if grip force has dropped or the pad is visibly worn.
- Log the failing tray position across three runs. If the same position fails, the tray is the suspect. If random positions fail, the vial lot is the suspect.
- Run a control tray of vials from a known-good lot. If the errors disappear, the new lot is the cause.
The failure modes I see most often, ranked by frequency
1. Shoulder taper grip (about 40% of cases)
The gripper closes on the shoulder instead of the straight body wall. The vial tilts during transfer. The needle then enters off-centre, which shows up later as a coring or septum-push event. The root cause is a vial with a short body section or an oversized shoulder. Fix: specify a vial with a straight grip zone of at least 8 mm below the closure.
2. Base concavity (about 25%)
The base of a molded vial is slightly concave to help it stand. If the concavity exceeds 0.5 mm, the vial sits lower in the pocket than the tray expects. The gripper closes higher on the body and the transfer arm swings with play. Fix: check base flatness on a surface plate. A vial that rocks more than 0.3 mm is out of spec.
3. Cap skirt interference (about 20%)
The cap rubs the pocket wall. The gripper has to pull harder, and the firmware flags a stall or a position error. Fix: measure cap diameter and switch to a closure with a controlled skirt. This is where cheap caps cost you instrument time.
4. Height variation within a lot (about 10%)
Some vials sit proud and get hit by the needle guide. Fix: sort or reject the lot. A lot with a height spread over 0.4 mm is not fit for a 96-position tray.
5. Glass dust on the gripper pad (about 5%)
Rough vial rims shed glass particles that accumulate on the pad and reduce grip. Fix: inspect the rim finish. A fire-polished rim sheds far less than a raw cut rim.
Decision checklist: vial spec versus instrument requirement
Before you approve a lot for a given autosampler, run this comparison. The numbers are the ones I use in my own QC.
- Body diameter: 12.00 ±0.15 mm. Instrument gripper expects 11.9 to 12.2 mm.
- Overall height: 32.0 ±0.3 mm. Tray pocket depth 32.5 ±0.2 mm. Clearance 0.2 to 0.8 mm.
- Out-of-roundness: under 0.10 mm. Gripper pad contact requires a consistent arc.
- Base flatness: rock under 0.3 mm. Concavity under 0.5 mm.
- Cap skirt diameter: 11.0 ±0.1 mm for 11 mm caps. Pocket wall clearance at least 0.15 mm per side.
- Cap squareness: under 0.5 degree off the body axis.
- Rim finish: fire-polished preferred. Raw cut rims shed particles.
- Grip zone length: at least 8 mm of straight body below the closure.
If a lot fails any of the first four, reject it. The last four are negotiable depending on instrument model, but I would not run a 96-position tray without them.
Why the instrument firmware cannot tell you the vial is the cause
Autosampler firmware is built to report mechanism state, not consumable quality. A “vial not found” error means the optical or mechanical sensor did not detect a vial at the expected position. It does not know whether the vial is missing, mis-sized, or sitting at the wrong height because the base is concave. The error is real; the interpretation is incomplete.
That is why I always ask for the tray position and the vial lot number when a lab reports gripper errors. In about 7 out of 10 cases the lot number changes and the errors stop. The instrument was never the problem. The vial was.
If you want the instrument-side reference for gripper and tray specifications, the manufacturer documentation is the place to start. Agilent publishes autosampler and tray specifications alongside its chromatography consumables and columns documentation, and Thermo Fisher covers sample handling hardware in its chromatography and sample handling resources. Restek also publishes useful application notes on vial and septum behaviour in autosamplers at its technical resources page. None of these will tell you your vial lot is out of spec, but they will tell you what the instrument expects.
Operational precautions that prevent most of these errors
You cannot inspect your way out of a bad lot. You can, however, set up incoming checks that catch the bad lots before they reach the tray.
Incoming dimensional check
Sample 10 vials per lot. Measure body diameter, height, out-of-roundness, base flatness, and cap skirt diameter. Record the values. A lot that fails any of the first four dimensions goes back. This takes about 15 minutes per lot and has saved me more instrument downtime than any other single procedure.
Tray loading discipline
Load vials by hand into the tray, not by pouring. A vial that lands at an angle can sit on the pocket rim instead of in the pocket. The gripper then picks it at the wrong height. This alone accounts for a surprising number of “random” errors.
Gripper pad maintenance
Inspect the pad every 20,000 grip cycles or every 3 months, whichever comes first. Replace at 80,000 cycles regardless of appearance. Keep a spare pad on the shelf. It is a cheap part and a 20-minute swap.
Lot traceability
Record the lot number of every vial box that goes onto a tray. When errors appear, you can trace them to a lot in minutes instead of hours. This is the single most useful habit I have built in 15 years of running a consumables operation.
For a broader look at how vial geometry affects sample handling beyond the autosampler, the Vial reference at vials-filters.com covers the dimensional and material side. If you run headspace, the tray and gripper issues are different again, and the Headspace Vial reference at headspacevialsupplier.com covers the crimp and pressure side that matters there.
What to do when the error will not go away
If you have checked the vial dimensions, the tray pocket depth, the gripper pad, and the cap skirt, and the error persists, then you have a genuine instrument problem. Call service. But do it with data: the vial lot number, the measured dimensions, the failing tray position, and the error code. That turns a vague “the autosampler is broken” call into a specific fault report, and it usually gets fixed faster.
One more thing. If you are running a method under a regulated framework, the vial is part of the method. The U.S. EPA SW-846 test methods make this explicit for environmental work: the sample container and handling are part of the validated procedure. A vial that fails dimensionally is a deviation, not just an inconvenience. Document it.
Takeaway
Gripper and tray errors are mechanical events with mechanical causes, and the vial is a mechanical part. Measure the lot before you blame the instrument: body diameter 12.00 ±0.15 mm, height 32.0 ±0.3 mm, out-of-roundness under 0.10 mm, base flatness under 0.3 mm, cap skirt 11.0 ±0.1 mm. If the numbers hold and the errors persist, the instrument is the suspect. If they do not hold, you have found your fault in 15 minutes with a caliper and a lot number.
References & further reading
Related resources from our lab consumables network:
- Hplc Vial at hplcgc.com
- Autosampler Vial at autosamplerhplc.com
- Vial at vials-filters.com
- Headspace Vial at headspacevialsupplier.com
External references and standards: