I once watched a lab spend three weeks chasing a ghost peak that turned out to be nothing more than a 12 x 32 mm vial sitting in a tray bored for 11 mm vials. The needle was clipping the septum on every injection, coring it a little more each time, and the fragments were landing in the sample. The method was fine. The column was fine. The vial was the wrong shape for the autosampler, and nobody had checked. That experience is why I now treat vial dimension matching as a specification exercise, not a shopping preference. If you get the geometry wrong, no amount of method development will save you.
This guide is about the physical interface between the vial and the instrument: the dimensions that matter, the tolerances that bite, and how to pick stock that actually fits your autosampler or inlet. I will give you numbers you can put on a purchase requisition and a checklist you can run against your instrument list this week.
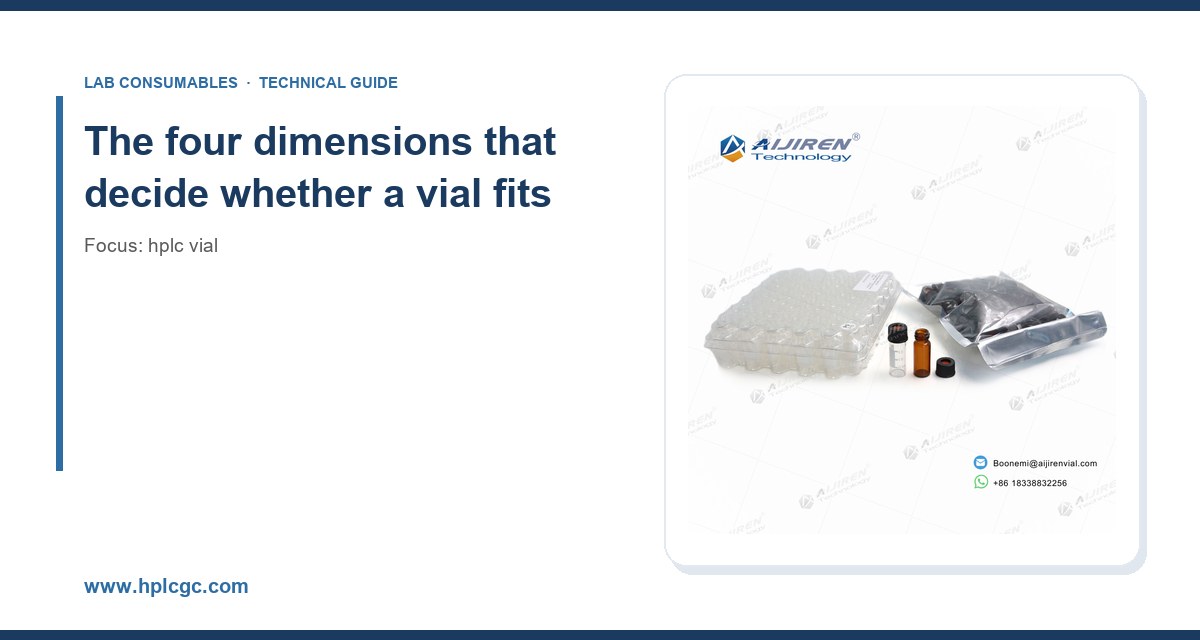
A standard HPLC vial is defined by four measurements. Get any one of them wrong and you have a problem, though the failure mode differs in each case.
- Body diameter. The common sizes are 12 mm (the workhorse for HPLC autosamplers), 11 mm (older and some dedicated systems), 9 mm (narrow-bore and some micro-flow systems), and 6 mm (microvolume). The tray bore and the gripper fingers are cut for one of these. A 12 mm vial in an 11 mm bore will not seat, and a needle will not find the centre.
- Body height. The two standard heights are 32 mm (short, the most common) and 40 mm (tall, used where the autosampler needs the extra reach or where a larger fill volume is required). Height affects where the needle stops in its travel. Too tall and the needle may not reach the sample; too short and the needle can bottom out on the glass.
- Neck finish. The crimp or screw thread geometry. The two you will meet are 11 mm (crimp or screw) and 13 mm (mainly crimp, common on headspace and some GC inlets). The neck finish must match the cap, and the cap must match the crimper or the screw thread on the instrument’s handling arm.
- Internal geometry and bottom shape. Flat bottom, rounded bottom, or conical (sometimes called a “glass insert” or “micro-insert” profile). This decides the residual volume the needle can reach. A flat-bottom 12 x 32 mm vial typically leaves 150 to 250 microlitres unreachable; a conical or pulled-bottom vial can get that down to 20 to 50 microlitres.
Those four numbers, printed on the box, are the whole specification. Everything else (glass type, closure material, septa durometer) is a secondary choice. Match the four first.
Matching to your autosampler: the practical rules
Autosamplers are the fussiest consumers of vials. They grip, lift, pierce, and return the vial dozens of times per run, and they do it with a needle that has maybe 0.5 mm of clearance to the glass wall. Here is how I match vials to the common autosampler families.
Agilent 1100/1200/1260/1290 series
These are built around 12 x 32 mm vials with an 11 mm neck. The standard tray holds 100 vials in a 10 x 10 layout, and the gripper is cut for 12 mm bodies. If you are running a well-plate autosampler (the 1260 Infinity II multisampler), it also accepts 96-well plates, but the vial tray is still 12 mm. The needle depth is set in the method; if you switch from a 32 mm to a 40 mm vial without changing the depth, the needle will not reach the liquid. I have seen this exact mistake cost a lab a full day of “no sample” errors. Agilent publishes the tray and vial specifications in their consumables catalogue, and it is worth bookmarking the Agilent chromatography consumables and columns page for the current part numbers.
Thermo Scientific autosamplers (Vanquish, Ultimate, Dionex)
Thermo’s Vanquish and Ultimate systems also standardise on 12 x 32 mm, but the Vanquish split-sampler and the older Dionex AS-AP have different tray geometries. The AS-AP in particular uses a 10 mm body in some configurations, so check the tray part number before you order a case of 12 mm vials. Thermo’s chromatography and sample handling documentation lists the vial and tray compatibility for each model. I keep a printed copy of that table taped inside the autosampler door.
Waters Alliance and ACQUITY
Waters systems use 12 x 32 mm vials with an 11 mm neck, but the ACQUITY sample manager has a tighter tray bore than the Alliance. A 12 mm vial with a slightly oversized body (some cheap moulds run 0.3 mm over) will stick in an ACQUITY tray. This is where tolerance matters: a good vial is 12.00 mm +/- 0.15 mm on the body diameter. A cheap one can be 12.4 mm and still be sold as “12 mm”.
Shimadzu and Hitachi
Shimadzu’s SIL series and Hitachi’s LaChrom use 12 x 32 mm as standard, with some older models taking 11 mm bodies. The tray on the SIL-20A is a 12 mm bore; the SIL-10A is an 11 mm bore. If you are running a mixed fleet, this is the single most common source of “vial not found” errors.
Micro-flow and nano-flow systems
If you are running micro-flow, you are probably using 6 mm or 9 mm vials with a pulled bottom. These are a different animal: the body is narrower, the fill volume is smaller, and the needle is finer. Do not assume a 12 mm vial will fit a micro-flow tray, even if the tray looks like it will accept one. The gripper will not close on it.
Matching to your inlet: GC and headspace
GC inlets and headspace samplers have their own geometry, and the rules are different from HPLC.
Liquid injection GC
Most liquid-injection GC autosamplers (the Agilent 7693, the Thermo TriPlus, the Shimadzu AOC) use 2 mL vials with an 11 mm crimp or screw neck, 12 x 32 mm body. The same four dimensions apply. The difference is that GC vials are often crimped rather than screwed, and the crimp geometry matters: an 11 mm crimp cap needs an 11 mm crimper, and the crimp height should be set so the septum is compressed but not cut. A badly crimped cap will leak, and a leaking GC vial shows up as a wandering baseline and a low response, not as an obvious error.
Headspace
Headspace vials are a different specification entirely. The standard is 20 mm crimp or screw neck, 22.5 x 75 mm body, 10 mL or 20 mL volume. The neck finish is 20 mm, and the septum is a thick PTFE-faced silicone (often 3 mm thick) because it has to hold pressure at 80 to 150 degrees C for the equilibration time. If you try to run a headspace method with an HPLC vial, the sampler will not grip it, and if it does, the septum will fail under pressure. The headspace vial specification is worth reading in full before you order, because the pressure and temperature ratings are not interchangeable with HPLC vials.
The tolerance problem: why “12 mm” is not always 12 mm
Here is the thing nobody tells you at the quotation stage. Vial dimensions are nominal. The actual moulded part has a tolerance, and the tolerance is where cheap vials fail. A reputable manufacturer holds the body diameter to +/- 0.15 mm and the height to +/- 0.3 mm. A cheap mould can drift to +/- 0.5 mm on diameter and still be sold as “12 x 32 mm”. On a tray with a 12.2 mm bore, that is the difference between a vial that drops in and one that jams.
I have measured this. A batch of budget vials I once received had a body diameter ranging from 11.8 mm to 12.6 mm across a single case. The 12.6 mm ones would not seat in an ACQUITY tray. The 11.8 mm ones wobbled and the gripper missed them. We rejected the lot. The specification on the box said 12 mm. The reality did not.
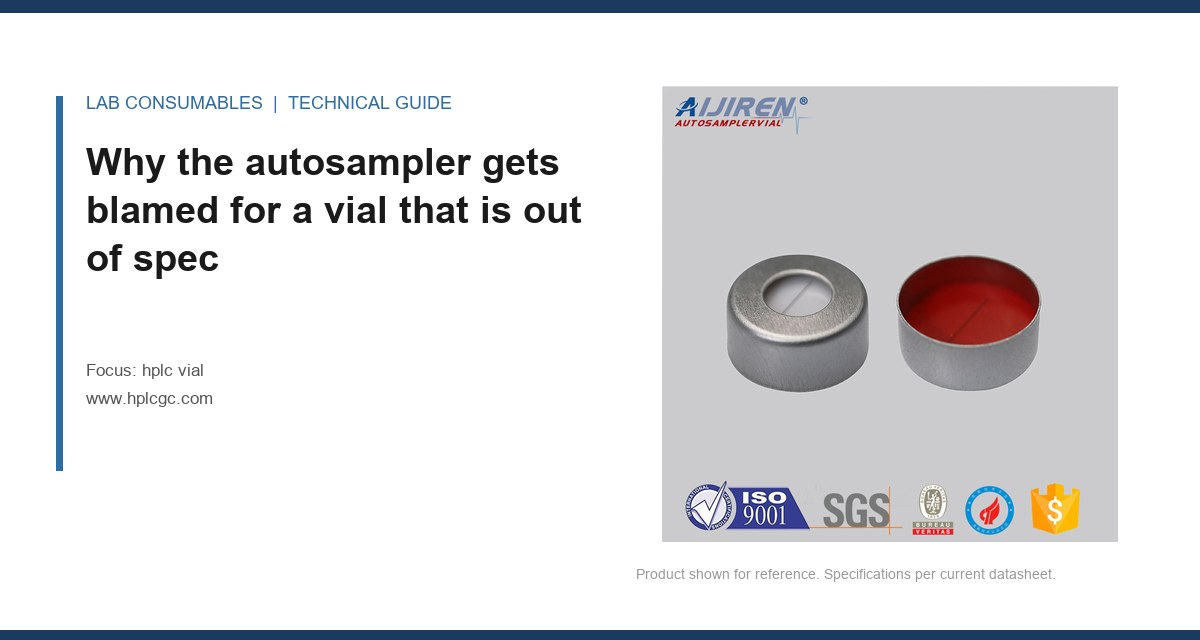
The same applies to the neck finish. An 11 mm screw neck has a defined thread pitch and a defined sealing land. A cheap mould with a sloppy thread will cross-thread, and a cross-threaded cap leaks. On a crimp neck, the crimp diameter and the crimp height are both specified; a cap crimped to the wrong height will either leak or crack the neck. The GPI (Glass Packaging Institute) finish specifications and the relevant ISO 4796 glassware standards define these geometries, and a supplier who cannot tell you which finish they mould to is a supplier to avoid.
A decision checklist you can run this week
Print this. Walk your instrument list. Fill in the blanks. It takes about an hour and it will save you a month of troubleshooting.
- Instrument model and tray part number: write it down for every autosampler and inlet you run.
- Body diameter: 12 mm, 11 mm, 9 mm, or 6 mm. Confirm against the tray bore, not the datasheet.
- Body height: 32 mm or 40 mm. Confirm against the needle depth setting in the method.
- Neck finish: 11 mm crimp, 11 mm screw, 13 mm crimp, or 20 mm (headspace). Confirm against the cap and the crimper.
- Bottom shape: flat, rounded, or conical. Confirm against the residual volume your method needs (see the table below).
- Glass type: Type I borosilicate (USP <660>) for most HPLC; Type I or Type II for sensitive analytes. Confirm the certificate of analysis.
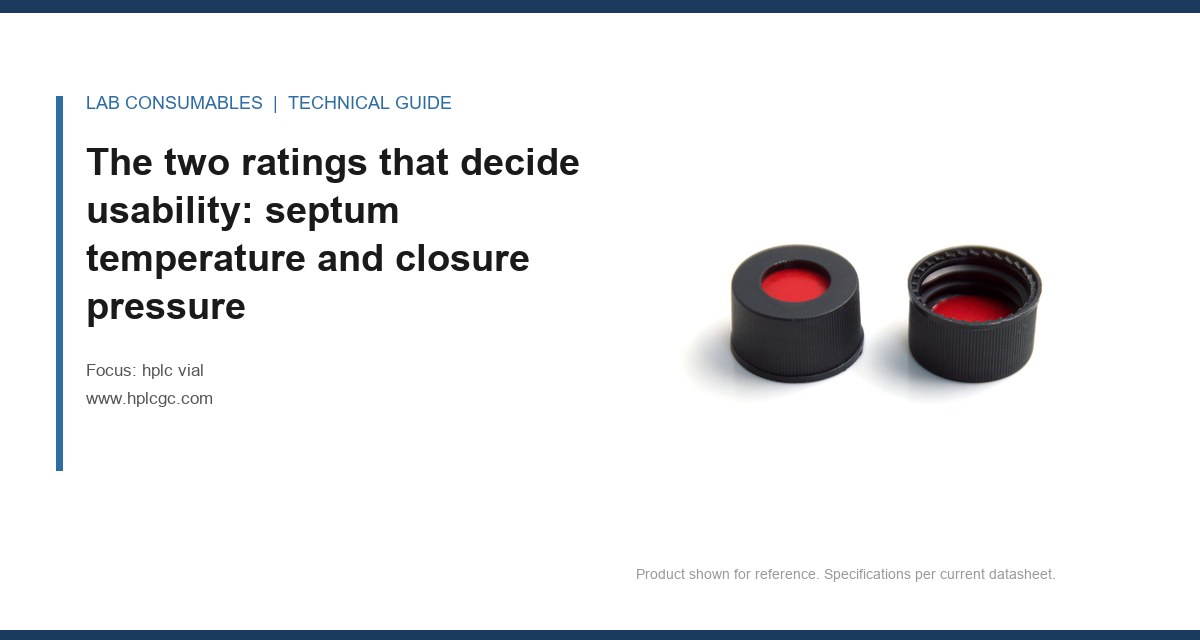
- Septum: silicone/PTFE for aqueous and reversed-phase; butyl or PTFE/silicone for GC; thick PTFE-faced for headspace. Confirm the durometer and the temperature rating.
- Puncture count: how many injections before you change the septum? Write it into the SOP.
- Fill volume: minimum and maximum. A 12 x 32 mm vial holds about 1.5 mL usable; do not overfill past the shoulder or the needle will hit liquid on the way in.
Comparison table: vial formats by application
| Format | Body (mm) | Neck (mm) | Typical volume | Residual volume | Best for |
|---|---|---|---|---|---|
| Standard HPLC | 12 x 32 | 11 screw/crimp | 1.5 mL | 150 to 250 microL | Most HPLC autosamplers |
| HPLC, pulled bottom | 12 x 32 | 11 screw/crimp | 1.5 mL | 20 to 50 microL | Small sample volumes, precious analytes |
| Narrow-bore HPLC | 9 x 32 | 9 screw | 0.3 to 0.5 mL | 50 to 100 microL | Micro-flow, capillary |
| Microvolume | 6 x 32 | 6 screw | 0.1 to 0.2 mL | 10 to 20 microL | Nano-flow, very small samples |
| GC liquid injection | 12 x 32 | 11 crimp | 2 mL | n/a | GC autosamplers |
| Headspace | 22.5 x 75 | 20 crimp/screw | 10 or 20 mL | n/a | Headspace GC, volatiles |
If your instrument is not on this list, the HPLC vial catalogue at hplcgc.com carries the dimensional drawings for each format, and the autosampler vial section cross-references tray part numbers. Use the drawings, not the product photos.
Operational precautions that prevent dimension-related failures
Even with the right vial, you can create a dimension problem at the bench. These are the ones I see most often.
Do not mix vial heights in one tray
If you load 32 mm and 40 mm vials in the same tray, the needle depth is set for one of them. The other will either not be reached or will be bottomed out. Pick one height per tray and stick to it. If you must mix, set the needle depth to the taller vial and accept that the shorter ones will be sampled from a higher point in the liquid.
Check the crimp height on every batch
For crimp vials, the crimp height should be set with a gauge, not by feel. A cap crimped too high leaks; too low and it cracks the neck. The target is usually 5.5 to 6.0 mm from the top of the cap to the shoulder of the vial, but check your cap manufacturer’s specification. I keep a go/no-go gauge at the crimper and check the first five caps of every batch.
Torque screw caps to the manufacturer’s value
Screw caps are not “hand tight”. Most 11 mm screw caps specify 0.5 to 1.0 Nm (about 4 to 9 inch-pounds). Over-torque and you deform the septum and create a leak path; under-torque and the cap backs off during the run. A torque screwdriver is cheap. Buy one.
Watch the fill volume against the needle depth
A 12 x 32 mm vial filled to 1.5 mL leaves the liquid level close to the shoulder. If the needle depth is set too shallow, it samples air; too deep and it hits the bottom. Set the depth so the needle tip sits 2 to 3 mm above the bottom for a flat-bottom vial, or 1 mm above the bottom for a conical vial. This is the single setting that causes the most “no sample” errors I have seen.
Change septa on a schedule, not on failure
A silicone/PTFE septum will take about 50 to 100 punctures before coring becomes a problem. A butyl septum is good for fewer. Write the puncture count into the SOP and change the septum (or the cap) on a fixed schedule, not when you see a ghost peak. I use a simple rule: change caps every 50 injections on a method with a 0.5 mm needle, every 100 on a method with a larger needle.
Troubleshooting checklist for dimension-related problems
When a run goes wrong and you suspect the vial, work through this in order. It is faster than guessing.
- Symptom: “vial not found” or “no sample”. Check body diameter against the tray bore. Check body height against the needle depth. Check that the vial is seated flat, not tilted.
- Symptom: ghost peaks or carryover. Check for a cored septum. Look at the cap: a ring of missing silicone means the needle is clipping the septum. Check the needle alignment against the vial centre.
- Symptom: low response or wandering baseline on GC. Check the crimp height and the septum compression. A leaking cap shows up here first.
- Symptom: needle bending or breakage. Check the bottom shape against the needle depth. A flat-bottom vial with a needle set too deep will bend the needle on the glass.
- Symptom: inconsistent injection volumes. Check the fill volume against the needle depth. If the needle is sampling near the surface, small level changes cause big volume changes.
- Symptom: vial jams in the tray. Measure the body diameter of a sample of vials. If any are over 12.2 mm, the lot is out of tolerance.
For method-specific troubleshooting, the U.S. EPA SW-846 test methods are a good reference for sample handling requirements in environmental work, and the Restek technical resources cover the GC inlet and septum side in more detail than most instrument manuals.
What I recommend you buy
For a general-purpose HPLC lab running 12 x 32 mm autosamplers, I recommend 12 x 32 mm, 11 mm screw neck, Type I borosilicate glass, with a silicone/PTFE septum and a polypropylene screw cap. Specify a body diameter tolerance of +/- 0.15 mm and a height tolerance of +/- 0.3 mm. Ask for the certificate of analysis and the dimensional drawing. If the supplier cannot provide both, walk away.
For trace analysis or small sample volumes, add a pulled-bottom (conical) version of the same vial. The residual volume drops from about 200 microlitres to about 30 microlitres, which matters when you have 100 microlitres of sample and no way to get more.
For GC, use 2 mL, 11 mm crimp, 12 x 32 mm vials with a butyl or PTFE/silicone septum, and crimp to the gauge. For headspace, use 20 mL, 20 mm crimp, 22.5 x 75 mm vials with a 3 mm PTFE-faced silicone septum rated to at least 150 degrees C. Do not substitute an HPLC vial into a headspace method, ever.
If you run a mixed fleet, standardise on one body diameter and one neck finish per instrument group, and label the trays. The cost of a wrong vial is not the vial; it is the run you have to repeat and the analyst who has to explain why the results are late. The vial selection pages at vials-filters.com list the dimensional drawings by format, and that is where I would start if you are rebuilding a purchasing specification from scratch.
Match the four dimensions first, hold the tolerances to the numbers above, and set the needle depth and crimp height with a gauge rather than by feel. Do that and the vial stops being a variable in your method. It becomes what it should be: a container that does its job quietly, run after run, while you get on with the chemistry.
References & further reading
Related resources from our lab consumables network:
- Hplc Vial at hplcgc.com
- Autosampler Vial at autosamplerhplc.com
- Vial at vials-filters.com
- Headspace Vial at headspacevialsupplier.com
External references and standards: