I watched a lab burn through a full tray of 2 mL vials in a single overnight sequence last year, and the culprit was not the column, the method, or the sample prep. It was the septa. The autosampler needle had punched through the same spot on each cap roughly 96 times, and by the third injection the needle was dragging silicone shards into the glass and bending slightly on the return stroke. The chromatograms showed a fat, split solvent front and a phantom peak at 2.1 minutes that nobody could account for. That is what coring looks like from the bench: nothing dramatic, just a slow bleed of rubber into your flow path and a needle that never quite runs true again.
Coring is the mechanical failure mode most often blamed on the wrong component. It gets filed under “bad luck” or “needle problem” when the real cause is a septum formulation that was never rated for the number of punctures the method demands, or a cap that is not fully torqued, or a needle that is the wrong gauge for the guide hole. This article is about the physical interaction between needle and vial closure: how coring happens, how to recognize it before it wrecks a sequence, and how to specify closures that survive the puncture count your autosampler actually delivers.
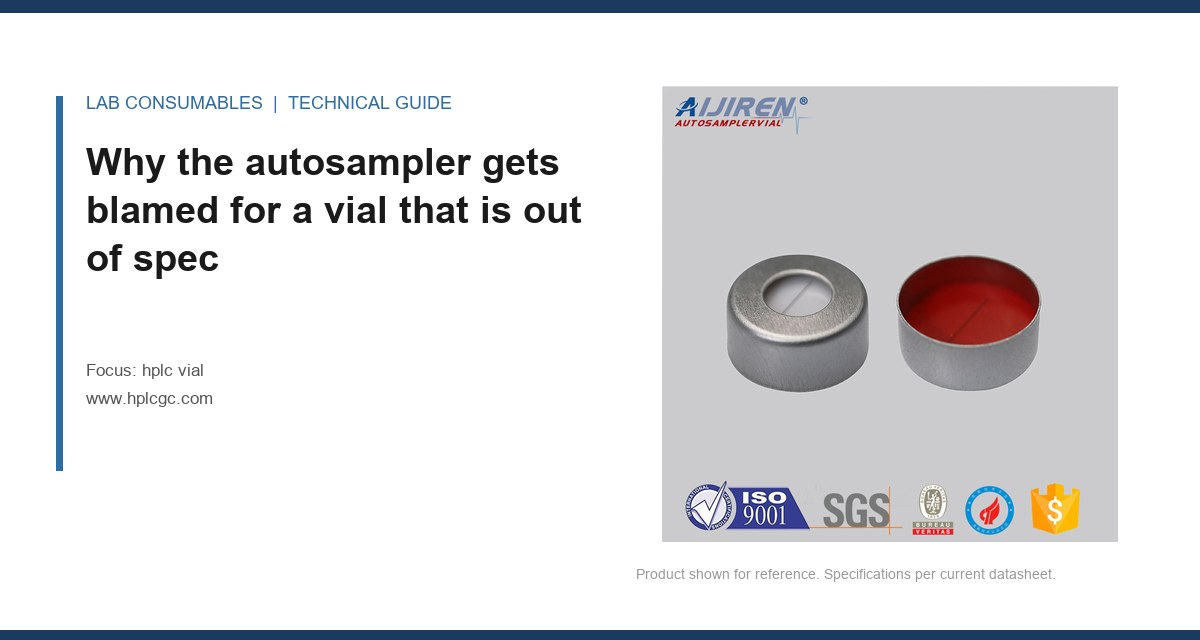
Coring is the removal of a plug of septum material by the needle. The needle does not cut a clean, self-healing slit; instead it punches a disc of elastomer that either stays lodged in the needle bore, drops into the sample, or hangs off the septum underside and sheds particles over subsequent injections. The mechanism has three contributors, and they compound:
- Needle geometry. A beveled, sharp needle with a side-port (common on split-loop autosamplers) slices rather than punches. A blunt or square-ended needle, or one with a burr from a previous bad puncture, tears the septum and pulls the plug.
- Septum hardness and thickness. A soft silicone septum (Shore A around 40 to 50) cores more readily than a harder silicone/PTFE laminate. Thickness matters too: a 3 mm septum deflects more under needle pressure than a 1.5 mm one, and the deflection is what lets the needle catch the edge of the guide hole.
- Puncture location drift. If the vial is not seated concentrically, the needle strikes a slightly different point each time. Over 50 to 100 injections the strike zone becomes a ragged ring rather than a clean hole, and the probability of coring climbs sharply.
The material science is straightforward. Silicone has excellent reseal properties because its elastic recovery is fast, but that same softness means a sharp needle removes material rather than displacing it. PTFE-faced septa resist coring better because the PTFE skin is harder and slicker, but a pure PTFE septum will not reseal and will leak on the second injection. The practical answer is almost always a laminate: PTFE on the sample side for chemical inertness and reduced coring, silicone behind it for reseal.
How to recognize coring before the data is ruined
Coring rarely announces itself with a single obvious symptom. It shows up as a cluster of small degradations that individually look like something else. I keep a short list on the wall above the autosampler, and I check it whenever a sequence starts drifting.
Symptoms in the chromatogram
- Ghost peaks in the 1.5 to 3 minute window that appear only on later injections in a tray. Silicone oligomers and plasticizer leach from the cored plug and elute early on a C18 column.
- Rising baseline noise across the run, often with a slight upward drift. Particulate silicone scatters light in the detector flow cell.
- Peak area RSD climbing from below 1% to 3 to 5% without any change in sample prep. The needle is partially occluded, so injection volume is inconsistent.
- Carryover that will not wash out. Material lodged in the needle bore slowly bleeds into every subsequent injection, so blank injections show a persistent low-level peak.
Symptoms on the hardware
- Visible septum damage. Pull a used cap and look at the underside under a loupe. A clean puncture is a small, tight slit. Coring shows as a cratered hole with a missing disc, or a ring of torn material around the strike zone.
- Needle bend or burr. Hold the needle against a straightedge. A needle that has hit a cored plug or a mis-seated vial will show a slight deflection at the tip. A burred tip cores the next septum faster.
- Septum fragments in the vial. Shine a light through the glass. Silicone discs sitting at the bottom are a definitive sign, and they also mean every injection from that vial was contaminated.
- Needle height errors or crash alarms. If the autosampler reports a vial-bottom or septum-pierce error, the needle has likely met a plug that would not yield.
The diagnostic order matters. Check the septum first, then the needle, then the vial seating. In my experience roughly 70% of coring events trace to the septum formulation or puncture count, 20% to a bent or burred needle, and 10% to a vial that was not seated concentrically in the tray.
Puncture count: the number nobody tracks
Every septum has a rated puncture count, and almost no lab tracks it. A standard silicone/PTFE laminate septum in a 2 mL HPLC vial is typically rated for 50 to 100 punctures before reseal integrity degrades enough to matter. A pre-slit septum can go considerably further because the needle passes through an existing slit rather than creating a new one, but pre-slit septa trade puncture life for a small evaporation and contamination risk that matters for volatile analytes.
Here is the arithmetic that catches people. A 96-well tray run twice a day, five days a week, with each vial injected once, is fine: one puncture per septum. But a method that injects each vial three times (sample, duplicate, confirmation) across a 96-position tray delivers 288 punctures per tray cycle. If the lab reuses caps across sequences, which happens more than anyone admits, a single cap can see 30 to 50 punctures in a week. That is inside the rated window, but only just, and any needle misalignment pushes it over the edge.
The fix is boring and effective: log puncture counts per cap, retire caps at 60% of the rated count, and use pre-slit septa for any method that injects the same vial more than twice. I have seen labs cut coring incidents by more than half just by instituting a cap retirement schedule.
Matching needle gauge to septum and guide hole
Needle gauge is the variable most often ignored when specifying a autosampler vial and closure. The needle has to pass through the cap’s guide hole and the septum without excessive lateral force. A few concrete relationships matter:
- 22 gauge (0.72 mm OD) is the common default for analytical HPLC autosamplers. It pairs well with a 1.5 mm septum and a guide hole of about 1.0 mm.
- 26 gauge (0.46 mm OD) is used on some micro-volume and LC-MS systems. Thinner needles core less material per puncture but bend more easily if the vial is mis-seated, so seating tolerance becomes tighter.
- Guide hole diameter should be 0.2 to 0.3 mm larger than the needle OD. Too tight and the needle drags; too loose and the strike point drifts, which is the drift that produces ragged strike zones.
If your method uses a 26 gauge needle on a standard 2 mL vial with a 1.5 mm septum, expect coring sooner than a 22 gauge setup. The thinner needle removes a smaller plug, but it also deflects the septum less predictably, and the smaller plug is more likely to lodge in the bore. For micro-volume work I specify pre-slit septa as a matter of course.
A specification checklist with numbers
When I specify closures for a method, I run through this table. The numbers are the ones I have found reliable across Agilent, Waters, and Thermo autosamplers, and they align with the dimensional conventions in the Agilent consumables catalog and the Thermo Fisher sample handling range.
- Septum thickness: 1.5 mm for standard 2 mL vials; 3.0 mm only for headspace or high-pressure applications where the extra thickness is needed for reseal.
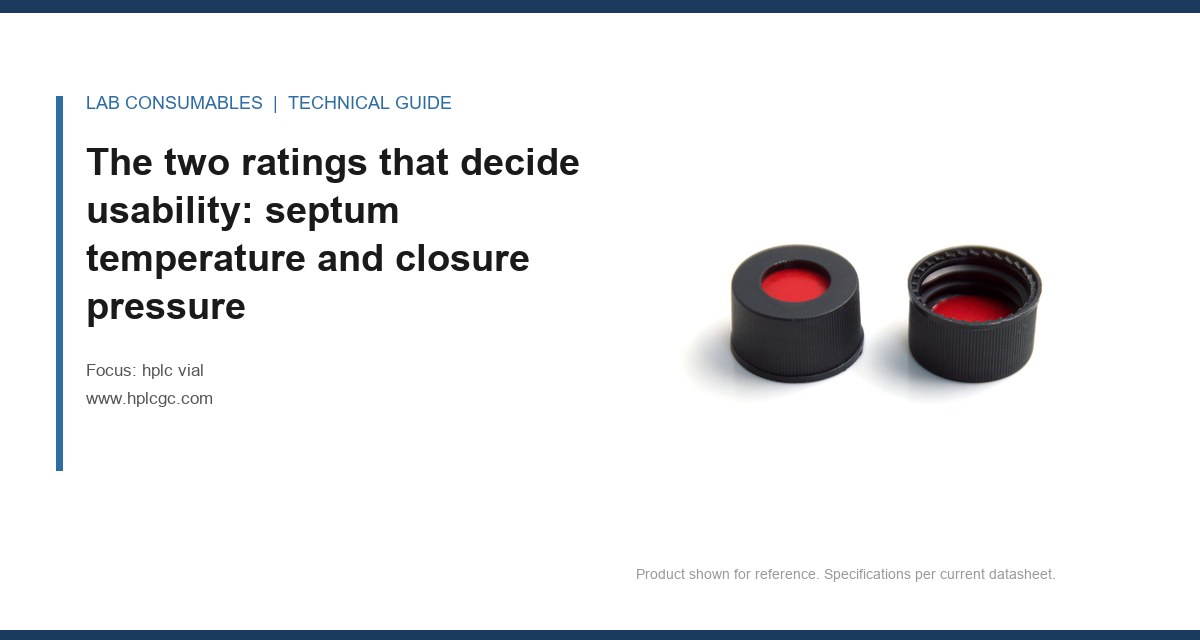
- Septum construction: PTFE/silicone laminate, PTFE facing the sample. Pure silicone only for short sequences with non-volatile analytes.
- Rated puncture count: 50 for standard laminate, 100 for premium laminate, 150+ for pre-slit. Retire at 60% of rating.
- Cap torque: 1.0 to 1.5 N·m for screw caps on 9 mm threads. Over-torquing deforms the septum and creates a coring-prone bulge; under-torquing lets the vial shift.
- Vial seating tolerance: concentric within 0.5 mm of the tray well center. Anything more and the strike point drifts.
- Needle gauge: 22 gauge standard, 26 gauge for micro-volume. Guide hole 0.2 to 0.3 mm larger than needle OD.
- Thread standard: 9 mm short thread (GPI 9) for 2 mL vials; 13-425 for 4 mL; 18 mm for 10 mL and headspace. Confirm the GPI callout against the cap drawing before ordering.
That table is the difference between a closure that survives a 500-injection sequence and one that starts shedding silicone by injection 80. The torque number in particular is worth a torque wrench on the bench: I have measured caps hand-tightened to 2.5 N·m that visibly compressed the septum and doubled the coring rate.
Headspace and large-volume vials: a different coring profile
Headspace vials core differently because the needle is a press-fit through a thicker septum, often 3 mm, and the vial is crimped rather than screwed. Crimping that is too tight deforms the septum into a dome, and the needle then strikes the dome off-center. A headspace vial with a properly set crimper (crimp height 5.5 to 6.0 mm for 20 mm caps) seats the septum flat and cores far less. I have seen a lab cut headspace coring dramatically just by recalibrating the crimper and switching to a PTFE/silicone laminate rated for 100 punctures.
For large-volume injection (LVI) and 4 mL or 10 mL vials, the needle travel is longer and the septum is under more stress. Use a thicker laminate and check the guide hole diameter against the needle, because the longer stroke amplifies any lateral misalignment.
Operational precautions that actually prevent coring
Specification gets you most of the way. The rest is bench discipline, and a few habits matter more than the rest:
- Seat vials by hand, not by dropping them. A vial that lands off-center in the tray well will be struck off-center on every injection. Push down until it seats, then check it is flush.
- Inspect needles weekly. A loupe and a straightedge catch a burr before it cores a tray. Replace any needle with a visible tip deflection.
- Do not reuse caps across sequences. The rated puncture count assumes a fresh strike zone. Reused caps develop a ragged ring that cores fast.
- Match septum to analyte volatility. Volatile analytes need a tighter reseal, which argues for silicone-heavy laminates, but those core more readily. Pre-slit septa with a PTFE facing are the compromise for volatile work with high puncture counts.
- Watch the first and last injections of a tray. Coring often shows up at the tray edges first because seating tolerance is worst there.
If you want a deeper technical reference on septum materials and autosampler compatibility, the Restek technical resources are worth bookmarking, and the EPA SW-846 test methods specify vial and closure requirements for environmental work that many labs inherit without realizing it.
Troubleshooting checklist for a coring event
When a sequence starts drifting, I work through this list in order. It takes about 20 minutes and catches the cause most of the time.
- Pull the septum and inspect the underside. Cratered hole or missing disc means coring. A clean slit means the septum is fine and the problem is elsewhere.
- Check the needle for bend or burr. Straightedge and loupe. Replace if suspect.
- Count punctures on the cap. If it is past 60% of the rated count, retire it and re-run the sequence with fresh caps.
- Verify vial seating in the tray. Any vial that rocks or sits proud is a coring risk.
- Check cap torque. A torque wrench at 1.0 to 1.5 N·m catches over-tightened caps.
- Confirm needle gauge against the guide hole. A 26 gauge needle in a tight guide hole drags and cores.
- Run a blank tray. If ghost peaks persist with fresh caps and a new needle, the contamination is upstream in the flow path, not the vial.
That last step is the one people skip. Coring debris can lodge in the injection port or the needle seat and keep bleeding long after the vial is replaced. A blank tray run after the fix confirms the flow path is clean.
Recommendation
For a standard 2 mL HPLC method at 22 gauge, I specify a 9 mm short-thread (GPI 9) screw vial with a 1.5 mm PTFE/silicone laminate septum, PTFE facing the sample, rated for 100 punctures, torqued to 1.0 to 1.5 N·m, with caps retired at 60 punctures. For methods injecting the same vial more than twice, or any micro-volume method at 26 gauge, switch to pre-slit septa and log punctures per cap. For headspace, use a 20 mm crimp cap with a 3 mm laminate, crimp height 5.5 to 6.0 mm, and recalibrate the crimper quarterly. All of these are stocked through the vial and filter range if you need a single source.
The takeaway is simple and unglamorous: coring is a puncture-count and seating problem, not a mystery. Track the count, retire caps on schedule, keep the needle straight, and seat the vial by hand. Do those four things and the phantom peaks at 2.1 minutes stop appearing, the RSD drops back under 1%, and the needle stops bending on the return stroke. The vial is a consumable, but the closure is a specified component, and treating it that way is what keeps a sequence clean from the first injection to the last.
References & further reading
Related resources from our lab consumables network:
- Hplc Vial at hplcgc.com
- Autosampler Vial at autosamplerhplc.com
- Vial at vials-filters.com
- Headspace Vial at headspacevialsupplier.com
External references and standards: